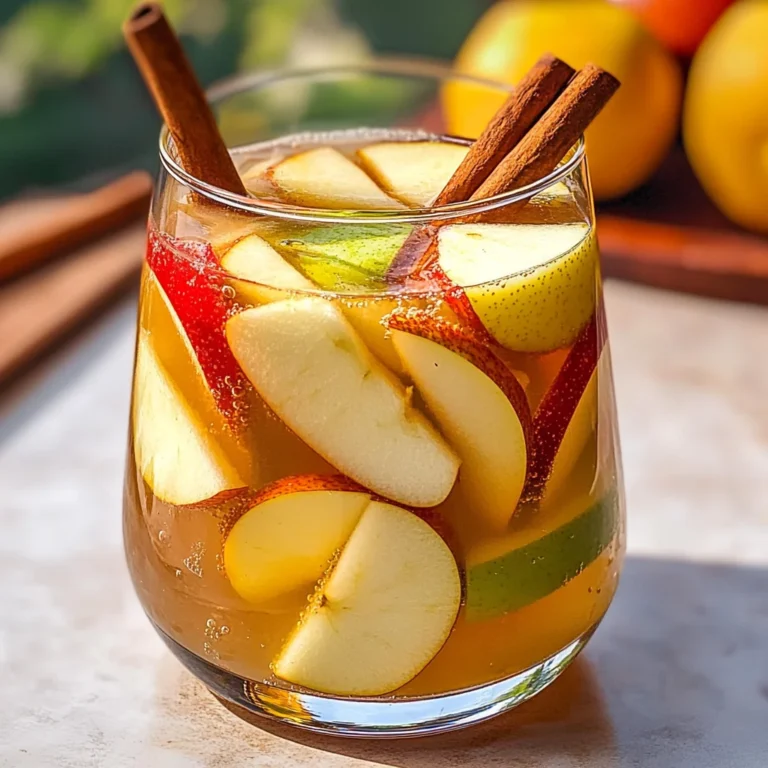
Grandma’s Easy Apple Pie Recipe
There’s something almost magical about the scent of apples baking in a pie, isn’t there? It’s like a warm hug that draws you into the kitchen and wraps you in memories—memories of family gatherings, laughter, and the simple joy of sharing something sweet. This is not just any recipe; it’s Grandma’s Easy Apple Pie Recipe, a cherished gem passed down through generations, capturing the essence of comfort food. Each slice is an invitation to gather around the table, where stories are exchanged and smiles are shared over this delicious creation. The blend of tender apples with just the right amount of sweetness and spices creates a symphony of flavors that will have everyone asking for seconds. I promise you, this pie is not just dessert; it’s an experience that connects us to our roots while allowing us to create new memories.
As I think back on my childhood, I can still picture my grandmother standing at her kitchen counter, her hands deftly rolling out dough while she hummed softly to herself. She taught me that cooking is as much about love as it is about technique. This recipe is simple yet profound—a perfect balance of sweetness from the apples and a hint of warmth from cinnamon and nutmeg. It’s also incredibly versatile; whether it’s Thanksgiving or just a cozy weeknight dinner at home, this pie fits perfectly into any occasion. The beauty lies in its simplicity: no fancy ingredients or complicated techniques—just real food made with love. So grab your apron and let’s dive into this culinary journey together!
Grandma’s Easy Apple Pie Recipe: A Slice of Home
This easy apple pie recipe is more than just a way to enjoy fresh apples; it’s a celebration of flavors that brings warmth to your kitchen and heart alike. With every bite, you’ll be reminded of those cherished moments spent with loved ones. Let’s embark on this delightful adventure together!
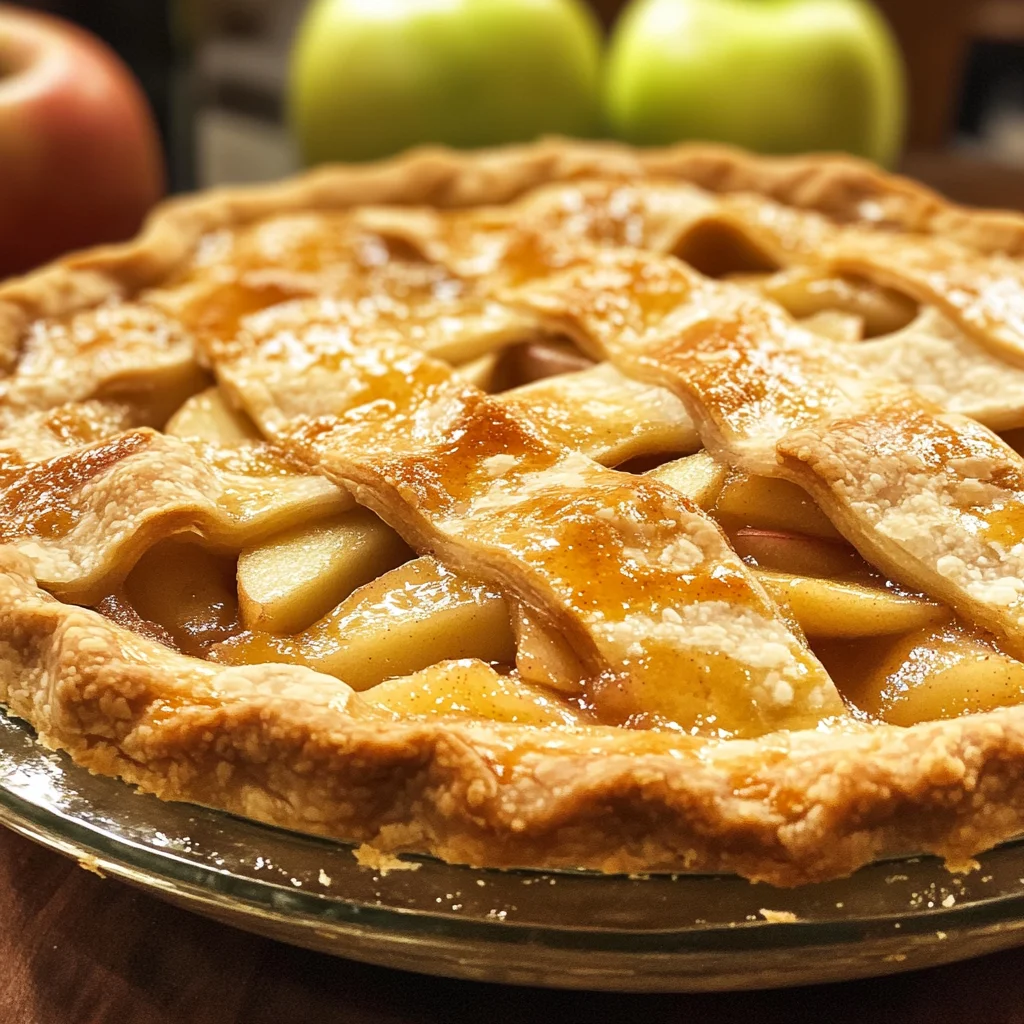
Ingredients:
As we begin this journey, let’s take a moment to appreciate each ingredient that makes up Grandma’s Easy Apple Pie Recipe. Each one holds its own special place in this symphony of flavors.
- 6-7 cups medium apples, cored, peeled, and thinly sliced. The star of our show! When selecting apples, go for varieties like Granny Smith or Honeycrisp for their perfect balance between tartness and sweetness. This combination keeps the filling bright and flavorful while ensuring the texture remains tender but not mushy when baked. Don’t rush the peeling and slicing process—take your time to ensure even pieces that will cook uniformly.
- 1/2 cup sugar. This granulated sugar plays a crucial role in balancing out the tartness of our apples while enhancing their natural sweetness as they bake down into delicious gooeyness. You can adjust this amount based on your taste preference or the sweetness of your apples; some prefer it a little sweeter while others appreciate a more balanced flavor profile.
- 1/4 cup brown sugar. Ah, brown sugar! It adds that lovely depth with its subtle caramel notes which elevate our pie from ordinary to extraordinary. Using light brown sugar will give you a milder flavor, while dark brown adds richer taste nuances thanks to its higher molasses content.
- 1/4 teaspoon salt. While it may seem counterintuitive to add salt to something sweet like pie filling, it actually enhances all the flavors present in the dish without making it taste salty! Salt acts as an excellent flavor enhancer—it rounds out sweetness beautifully.
- 3/4 teaspoon cinnamon. This fragrant spice infuses warmth and nostalgia into our filling! Cinnamon complements apples so beautifully that skipping it would be unthinkable—trust me! If you want to experiment further, consider adding cardamom or allspice for additional depth.
- 1/4 teaspoon nutmeg. Just like cinnamon, nutmeg adds a warm spice note that envelops your taste buds in comfort with every bite. Freshly grated nutmeg brings an even more vibrant flavor compared to pre-ground; it’s worth seeking out if you can!
- 2 tablespoons all-purpose flour. This ingredient serves as our thickener; as the apples cook down and release juices, flour helps bind those lovely liquids together resulting in a perfectly cohesive filling that’s neither soupy nor dry—absolutely paramount for achieving that ideal slice.
- 2 tablespoons butter. Finally, we’ll dot our filling with butter before sealing it up with the crust! Butter contributes richness and helps create an irresistible golden crust as it bakes away—don’t skimp on these little chunks because they add so much flavor!
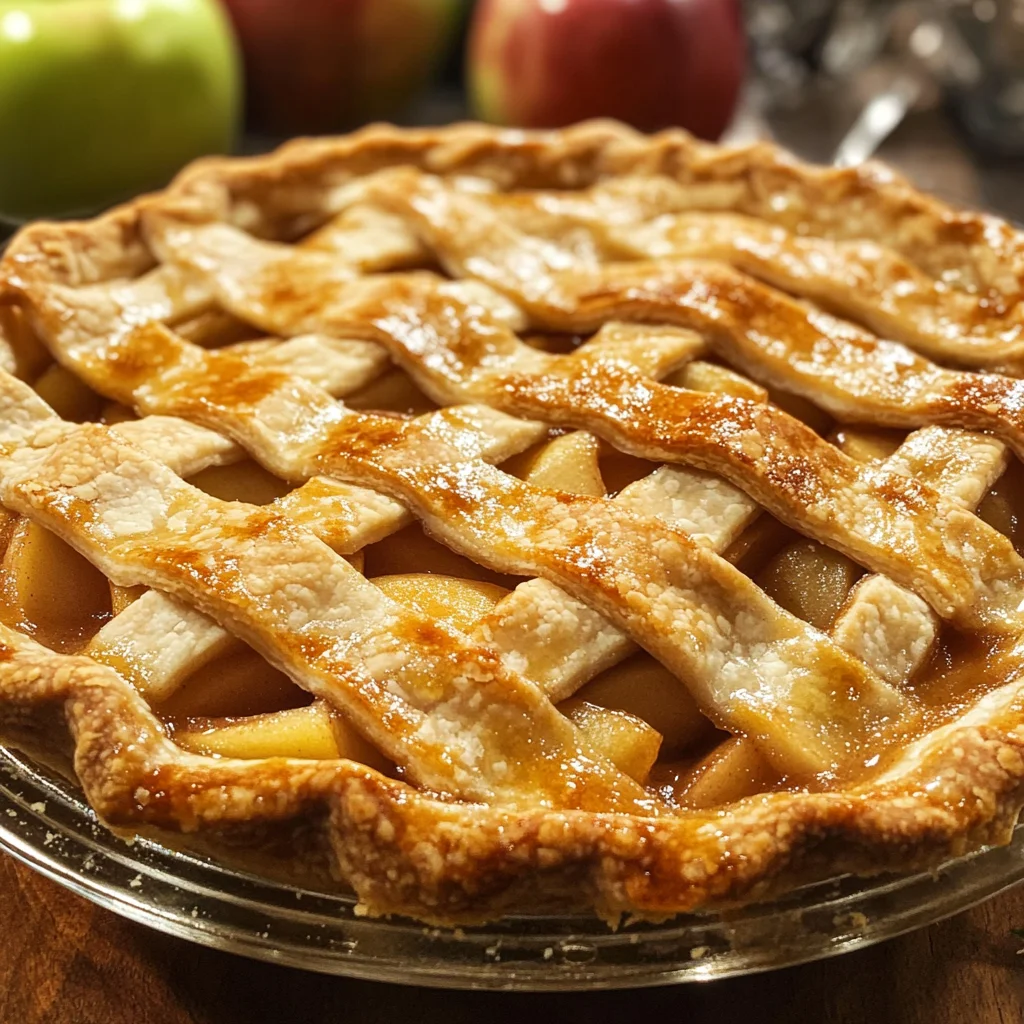
Equipment You’ll Need:
Before we get started on creating this delightful pie, let’s ensure we have all the right tools on hand—they’re essential partners in crafting something truly special!
- Mixing bowl – A large mixing bowl provides ample space for combining your ingredients without creating chaos in your kitchen! Make sure it’s sturdy enough to withstand some enthusiastic mixing.
- Microwave-safe bowl – Since we’ll be giving our apple mixture a quick blast in the microwave before baking (a fantastic tip!), having a microwave-safe bowl will save us from unnecessary clean-up later.
- Measuring cups and spoons – Precision matters when baking! These tools are non-negotiable when measuring out our sugars and spices accurately so that everything melds perfectly together.
- Pie crust (store-bought or homemade) – Whether you choose convenience or love putting effort into making your own crust from scratch (which I wholeheartedly encourage!), having this ready is key since it’s what cradles our luscious filling!
- Baking sheet – Don’t forget about this handy tool! Placing your pie on a baking sheet prevents any drips from sullying your oven floor while also catching any bubbling juices escaping through the steam slits.
Now that we have gathered our ingredients and tools let’s roll up our sleeves and get started on preparing this unforgettable treat!
Step 1: Mix Up Your Filling
To kick off Grandma’s Easy Apple Pie Recipe, begin by combining all those beautiful ingredients except for the butter in your mixing bowl. Take care as you slice those apples—you want them thin enough for even cooking but not so thin they turn mushy too soon! Once mixed well with sugars, spices, flour—and oh boy—the aroma begins wafting around—it’s truly intoxicating! Trust me on this: letting them rest just allows all those flavors to deepen before they hit heat later!
Step 2: Microwave Magic
Now comes one of my favorite parts—microwaving our apple mixture for 2-3 minutes! Why do we do this? It helps soften those raw apple slices slightly beforehand so they don’t turn tough during baking but rather yield tender bites instead! Just think about how luscious they’ll become once combined with crispy crust layers—it’ll be heavenly!
Step 3: Pouring Into The Crust
With your filling ready after microwaving (and smelling divine!), pour it carefully into your prepared pie crust nestled within its pan like royalty deserving respect! Ensure you spread it evenly across—all those gorgeous slices should be visible peeking through—that way everyone gets equal amounts when served later!
Step 4: Dotting With Butter
Before sealing everything up under another layer of crust (which we’ll get to shortly), take those precious little bits of butter we’ve set aside earlier and dot them generously over top amongst all those apple slices soaking up goodness below them—it’ll melt down during baking creating liquid gold underneath while contributing richness throughout every bite!
And there we go—a few steps completed on our way toward crafting Grandma’s Easy Apple Pie Recipe masterpiece! I can’t wait for you to experience how comforting this dish truly is once baked.
Step 5: Pouring the Apple Filling into the Crust
Now that your apple filling is perfectly mixed and has had a brief encounter with the microwave, it’s time to bring all those flavors together in your pie crust. Grab your prepared pie crust—whether you’ve made it from scratch or have taken a shortcut with store-bought, there’s no judgment here! The warmth of the filling will meld beautifully with the crust, creating that irresistible contrast of textures that we all crave in a pie. Carefully pour the apple mixture into the center of your pie crust, allowing it to cascade like a beautiful waterfall. Use a spatula to gently spread it out evenly; this ensures every slice will be filled with that delightful combination of sweet and spicy apples.
But why do we microwave the filling first? This step serves a dual purpose: it helps soften the apples slightly, allowing them to release their juices and start mingling with the sugar and spices, while also ensuring that when baked, they become tender without turning mushy. You want those luscious slices to hold their shape while still being wonderfully soft—imagine biting into a perfectly cooked apple that’s still bursting with flavor! Trust me on this; taking this extra step is absolutely paramount for achieving that ideal texture in your pie.
Step 6: Dotting with Butter for Ultimate Flavor
Next up, we’re going to elevate our pie game even further by dotting the apple filling with chunks of butter. I recommend cutting your butter into small cubes—about a tablespoon’s worth—is perfect. Scatter these little nuggets of creamy goodness over the surface of your apple mixture. This might seem like an optional step, but I promise you it’s crucial! As the pie bakes, this butter will melt into those sweet apples, creating an utterly intoxicating sauce that seeps into every crevice of your pie crust. It adds richness and depth that you simply can’t replicate any other way.
Take a moment to appreciate what this means for our final dish—the juxtaposition of buttery goodness against tart apples is nothing short of magical. It transforms an already delicious dessert into something profoundly satisfying. And don’t worry if some butter lands directly on top of the apples; it will all melt together beautifully during baking. Just imagine how amazing your kitchen will smell as it fills with warm aromas while this beauty bakes!
Step 7: Sealing in Those Flavors
Now, let’s move on to sealing everything in by placing the second pie crust over our glorious apple mound. If you’re using pre-made dough, just unfold it gently onto your filled pie. If you’re rolling out homemade dough, make sure it’s slightly larger than your pie dish so that it can fully cover those apples. Once you’ve laid down the top crust, press down around the edges firmly but gently—it’s important to seal all those delicious juices inside so they don’t escape during baking! This secure closure is what allows our flavors to intensify as they meld together.
What makes this step so special? Well, think about it: sealing in all those aromatic spices and sweet apples creates a little flavor cocoon! That means every bite will be packed full of mouthwatering goodness and won’t dry out during baking. Don’t forget to cut several steam vents in the top crust before moving on; these little slits are essential for letting steam escape as well as providing an inviting peek at what’s happening inside! Trust me—you want that bubbling action visible when your guests lay their eyes on this masterpiece.
Step 8: Baking Your Perfect Grandma’s Easy Apple Pie Recipe
Ahh, now we reach one of my favorite parts—the baking process! Preheat your oven to a sizzling 450°F (232°C). This initial high temperature is key because it helps set that crust beautifully golden brown while also beginning to cook down those apples quickly without losing their structural integrity. Slide your pie onto the middle rack (this ensures even heat distribution) and let it bake for about 15 minutes until you see the edges starting to take on color and perhaps even hear a gentle bubbling from within—this is music to my ears!
After 15 minutes have passed—and trust me, don’t rush this step—lower the oven temperature down to 350°F (176°C) for another 35-45 minutes. You’ll know it’s done when you see those juices bubbling up through the steam vents and perhaps even spilling over just slightly—that’s where all that magic happens! Keep an eye on both color and aroma during this time; if things seem too dark after about 30 minutes, feel free to drape some aluminum foil loosely over the top to prevent burning while allowing everything else to continue cooking nicely.
The anticipation builds as you wait; just imagine slicing into that golden-brown crust only to reveal tender apples glistening softly beneath! Don’t forget—the longer you can allow those flavors to mingle in this warm oven environment, the more extraordinary they’ll become. When finished baking, allow your masterpiece to cool for at least 20-30 minutes before serving; this cooling time allows everything inside to set properly so each slice holds its shape beautifully!
The Final Touches: Serving Up Love
Once you’ve allowed your pie some time to cool—though I know waiting can be tough—it’s finally time for presentation! Slice into that glorious creation and serve warm or at room temperature alongside a scoop of dairy-free vanilla ice cream or whipped coconut cream for an added indulgence that’s simply divine! You’ll be met with gasps of delight as friends and family take their first bites (and I guarantee there will be second helpings!).
This isn’t just any dessert; it’s truly extraordinary—a piece filled with nostalgia and love reminiscent of Grandma’s kitchen bustling with laughter and warmth. Each bite carries memories wrapped in layers of flaky pastry and spiced apples—the kind that brings us together around tables laden with joy. So gather loved ones close, share stories and enjoy every bite—you’ve created something beautiful today with Grandma’s Easy Apple Pie Recipe!
Happy baking, my friend! 🍏🥧❤️
Storage and Enjoyment Tips for Your Grandma’s Easy Apple Pie Recipe
Now that your kitchen is filled with the intoxicating aroma of baked apples and warm spices, it’s time to dive into the delightful experience of enjoying your creation! This pie is not just a dessert; it’s a moment of comfort, nostalgia, and shared joy. However, if you’re lucky enough to have leftovers (and trust me, that’s a win!), you’ll want to keep this pie in tip-top shape for as long as possible so you can continue savoring those sweet memories. Let’s explore how to store this masterpiece properly and keep its flavors vibrant!
Storing Leftover Grandma’s Easy Apple Pie Recipe
To keep your delicious apple pie fresh for days to come, it’s best to store it in an airtight container or tightly wrapped in plastic wrap. This simple step is crucial as it prevents the pie from drying out and retains that lovely flaky crust we all adore. Ideally, your pie will stay beautifully fresh at room temperature for about 2 days—just enough time for those late-night cravings or surprise visitors! If you need to hold onto it longer, I recommend putting it in the refrigerator where it can last up to a week. For an extra hint of magic when reheating, consider placing a slice of bread inside the container; this helps keep the crust from becoming too soggy while preserving moisture. When you’re ready to indulge again, simply reheat a slice in the oven at 350°F until it’s warmed through—your taste buds will thank you as those glorious scents waft through your kitchen once more!
Freezing Grandma’s Easy Apple Pie Recipe for Later
If you find yourself with more pie than you can handle (which could very well be the case), freezing is an excellent option! Simply wrap your cooled apple pie tightly in plastic wrap followed by aluminum foil—this double-layer approach ensures that no freezer burn will compromise your creation. When properly wrapped, your pie can be stored in the freezer for up to three months without losing its delightful flavors. The convenience factor here is absolutely paramount; imagine pulling out a homemade apple pie on a chilly evening or during a family gathering—it’s like bringing back all that warmth and love from your kitchen right when you need it most! To enjoy from frozen, just let it thaw overnight in the refrigerator and then reheat as mentioned earlier. Trust me on this: there’s nothing quite like the joy of sharing slices of your homemade apple pie with loved ones after just a little bit of reheating magic.
Grandma’s Easy Apple Pie Recipe
Experience the warmth and nostalgia of Grandma’s Easy Apple Pie Recipe, a timeless dessert that brings comfort to any gathering. Imagine the aroma of sweet, spiced apples mingling with flaky crust as this classic treat bakes in your oven. Each slice is filled with tender apple goodness, perfectly balanced with a hint of cinnamon and nutmeg, creating a delightful symphony of flavors. This easy recipe is not only simple to prepare but also versatile enough for any occasion—from cozy weeknight dinners to festive holiday celebrations. Gather your loved ones around the table and enjoy the heartwarming experience of sharing this homemade apple pie that’s sure to become a family favorite.
- Prep Time: 20 minutes
- Cook Time: 60 minutes
- Total Time: 1 hour 20 minutes
- Yield: Serves approximately 8 slices 1x
- Category: Dessert
- Method: Baking
- Cuisine: American
Ingredients
- 6–7 cups medium apples (cored, peeled, thinly sliced)
- 1/2 cup granulated sugar
- 1/4 cup brown sugar
- 1/4 teaspoon salt
- 3/4 teaspoon cinnamon
- 1/4 teaspoon nutmeg
- 2 tablespoons all-purpose flour
- 2 tablespoons butter
- Pie crust (store-bought or homemade)
Instructions
- Preheat oven to 450°F (232°C).
- In a mixing bowl, combine sliced apples, granulated sugar, brown sugar, salt, cinnamon, nutmeg, and flour. Mix well.
- Microwave the apple mixture for 2-3 minutes to soften.
- Pour the filling into a prepared pie crust and dot with butter.
- Cover with a second pie crust and seal the edges. Cut steam vents in the top.
- Bake for 15 minutes at 450°F, then reduce temperature to 350°F (176°C) and bake for an additional 35-45 minutes until bubbly and golden.
- Cool for at least 20 minutes before serving.
Nutrition
- Serving Size: 1 slice (120g)
- Calories: 230
- Sugar: 20g
- Sodium: 150mg
- Fat: 9g
- Saturated Fat: 5g
- Unsaturated Fat: 4g
- Trans Fat: 0g
- Carbohydrates: 36g
- Fiber: 3g
- Protein: 2g
- Cholesterol: 15mg