Apple Crumble Pie
There’s something profoundly magical about the aroma of baked apples wafting through the house, a scent that wraps around you like a warm hug and instantly transports you to a cozy autumn afternoon. This Apple Crumble Pie isn’t just a dessert; it’s an experience steeped in tradition and nostalgia. Each bite is a symphony of flavors, where tart apples meld beautifully with sweet, buttery crumble and a hint of cinnamon dances on your palate. I promise you, every forkful is like taking a step back in time, filled with memories of family gatherings and laughter echoing through the kitchen. When I think of comfort food, this pie stands out as an absolute favorite—its flaky crust holds within it not just fruit but love and care that reminds us why we gather around the table.
As we embark on this culinary journey together, I want you to feel the joy that comes from creating something so utterly delightful. The craftsmanship involved in making Apple Crumble Pie is akin to weaving a tapestry—each layer contributes to the whole, and when they come together, something truly extraordinary emerges. Whether it’s for a festive gathering or simply a cozy night at home, this pie serves as the perfect centerpiece. It’s an invitation to slow down, savor each moment, and perhaps share it with someone you cherish.
Apple Crumble Pie: A Sweet Embrace of Tradition
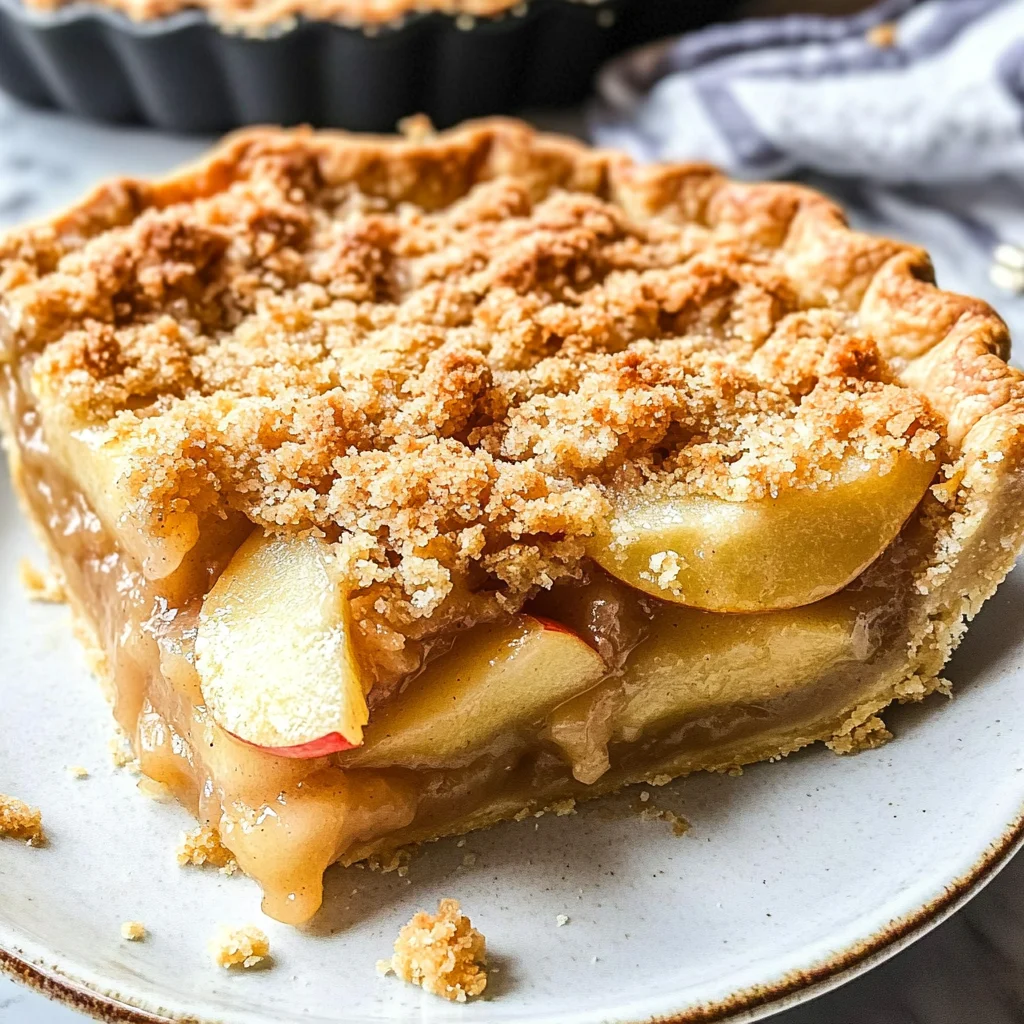
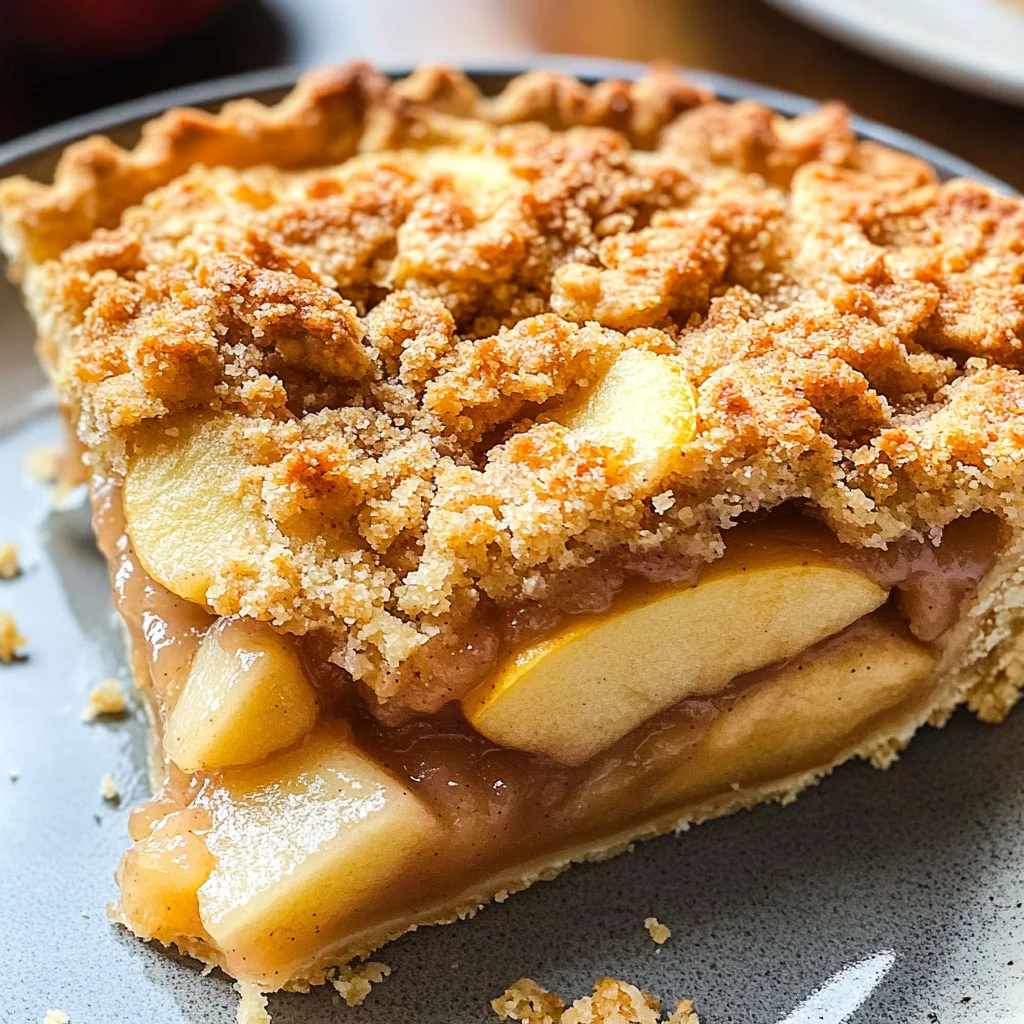
This Apple Crumble Pie recipe is not just another dessert; it’s a testament to the beauty of simplicity done right. With its luscious apple filling nestled beneath a golden-brown crumble topping, it’s hard not to fall head over heels for this charming twist on classic apple pie. Imagine scooping out a generous slice and watching as the warm juices ooze out, mingling with creamy vanilla ice cream—a match made in culinary heaven! It’s such a satisfying way to celebrate fall flavors while embracing the warmth of home-cooked goodness.
Ingredients:
Before we dive into the baking bliss that is our Apple Crumble Pie, let’s talk about the ingredients that will make this dish shine. Each component plays an essential role in crafting this delightful dessert, so let’s explore what makes them special.
- 1 ¼ cups all-purpose flour. This humble ingredient serves as the backbone of our pie crust, providing structure and stability while allowing for that delicate flakiness we all crave. When choosing flour, opt for high-quality all-purpose flour because it strikes the perfect balance between strength and tenderness. Sifting it before use helps aerate it—this tiny step can make a world of difference in achieving that light texture. If you’re looking for alternatives due to dietary preferences or gluten sensitivity, consider using almond flour or a gluten-free blend; just keep in mind that adjustments might be necessary for texture.
- ½ tsp fine sea salt. Salt may seem insignificant compared to sugar here, but it’s absolutely paramount in enhancing flavors across both crust and filling. It acts like magic—heightening sweetness while balancing acidity from our apples. Use fine sea salt if possible—it dissolves easily into your mixture without leaving any gritty texture behind.
- 1 Tablespoon granulated sugar. Just enough sugar to give our crust that subtle sweetness which complements the rich apple filling perfectly! Not only does it enhance flavor but it also aids in browning during baking—a golden crust is what we’re aiming for! You can substitute with coconut sugar for a more caramel-like taste if you’d like.
- ½ cup salted butter. When it comes to butter, quality matters! Using salted butter gives our crust an extra layer of flavor along with its rich fat content that contributes to tenderness. Ensure your butter is cold when working it into the flour; this helps create those lovely flaky layers we adore in pies.
- ¼ cup water (ice cold). This crucial element serves to bring our dough together without making it tough or dry. Ice-cold water chills the fats quickly as you mix them into your flour blend—trust me on this one! If you don’t have ice cubes handy, just pop some water into your freezer until it’s chilled.
- 4 pounds apples (peeled, cored and sliced – 9 to 10 cups apples). Ahh! The star of our show—the apples! A combination of tart varieties like Granny Smith mixed with sweeter ones like Honeycrisp creates depth in flavor that’s nothing short of heavenly. Pay attention when selecting your apples; fresh ones ensure juiciness while firm varieties hold their shape when baked.
- ½ cup granulated sugar (for filling). A bit more sugar here helps balance out those tart notes from our apples while accentuating their natural sweetness as they cook down into soft goodness.
- 3 Tablespoons all-purpose flour (for filling). This ingredient acts as a thickening agent which keeps our apple filling from becoming too runny—a puddle beneath our beautiful pie would be such a shame!
- 1 ½ teaspoons ground cinnamon. The warm embrace of cinnamon adds depth and warmth—an aromatic hug for your taste buds! It pairs beautifully with both sweet and tart flavors found in our apple mixture.
- 6 Tablespoons salted butter (softened) (for crumble). This will bring richness to our topping while ensuring each crumb is perfectly buttery without being overly greasy—a little indulgence goes a long way!
- ⅓ cup granulated sugar (for crumble). Sweetness here balances out any bitterness from toasted oats or nuts if you choose to add them later on; plus, who doesn’t love sweet crumbs?
- ¾ cup all-purpose flour (for crumble). Acting as additional structure ensures those delicious crumbs stay put atop your pie instead of melting away into oblivion!
- ½ tsp ground cinnamon (for crumble). Adding cinnamon again ties everything together nicely—it’s like bringing back an old friend who makes every moment sweeter!
- ¼ tsp fine sea salt (for crumble). Just a touch enhances flavors further while preventing things from tasting flat—it truly rounds out this wonderful dessert!
Equipment You’ll Need:
Before we commence creating our masterpiece, let’s gather some essential tools that will make this process smooth sailing! While these aren’t “ingredients,” they’re vital partners in ensuring success in every delightful bite you’ll share later on.
- Mixing bowls – A few different sizes are ideal here; larger bowls allow ample room when mixing dough while smaller ones help keep things organized during layering processes down the line.
- Pastry cutter or fork – For cutting cold butter into flour effortlessly until you achieve those beautiful pea-sized pieces required for flaky crust perfection!
- Rolling pin – A trusty rolling pin ensures even thickness throughout your pie crust—too thin means cracks galore come baking time!
- 9-inch pie dish – A classic choice since its shallow sides allow maximum exposure during baking—not only does this promote even cooking but provides space for bubbling juices without overflowing chaos!
Preparing the Apple Crumble Pie / Making the Pie Crust
Step 1: Crafting Your Flaky Pie Crust
To begin creating your Apple Crumble Pie, start by preparing that glorious flaky crust which will cradle everything beautifully within its embrace! In your largest mixing bowl, combine 1 ¼ cups all-purpose flour with ½ teaspoon fine sea salt and 1 tablespoon granulated sugar; whisking these dry ingredients together evenly allows each component’s essence to integrate harmoniously right from the get-go! Next comes my favorite part: cutting in cold salted butter using either pastry cutter or fork until mixture resembles coarse crumbs adorned with tiny flecks of golden goodness! Take your time here—don’t rush this step—the longer those pieces remain cold before going into oven heat means better flakiness achieved later on!
Once you’ve reached that desired texture resembling breadcrumbs mixed through fluffy clouds above their heads (think small peas), slowly drizzle in ice-cold water tablespoon by tablespoon while gently mixing until dough gathers itself together—you want just enough moisture so everything clings without becoming sticky or wet—this balance is non-negotiable when crafting perfect pies! Form dough into disc shape wrapped securely inside plastic wrap before placing straightaway into fridge for at least 30 minutes—the chilling phase allows gluten relaxation leading towards softer bites later on!
Step 2: Preparing The Apple Filling
While waiting patiently for dough magic happens inside refrigerator doorframe let us turn attention towards preparing delicious apple filling bursting forth fruity aromas sure ignite senses anew once unveiled after baking journey completes itself! Start peeling,coring,and slicing four pounds worth fresh firm apples till achieving approximately nine-to-ten cups worth—that’s right—you can never go wrong having extra slices ready nearby should cravings arise mid-preparation journey ahead!
Now toss freshly cut apple slices together alongside half cup granulated sugar three tablespoons additional all-purpose flour along with one-and-a-half teaspoons ground cinnamon inside large bowl ensuring thorough coating occurs—you’ll notice juices beginning emerge already mingling amongst sweet spices adding incredible depth elevating ordinary fruit mix extraordinary heights altogether! Allow mixture rest briefly allowing flavors meld before pouring directly onto prepped chilled crust awaiting them patiently…
Step 3: Creating That Buttery Crumb Topping
Once we’ve established solid foundation underneath aromatic apple medley let’s move onto crafting crumb topping which promises irresistible contrast against soft gooey interior beneath its crunchy surface glory shining bright atop completed pie creation! Begin by creaming six tablespoons softened salted butter within medium-sized bowl alongside one-third cup granulated sugar till fluffy consistency achieved akin clouds floating across skies above us—or better yet simply envision eating spoonfuls straightaway without even needing bake first…but wait patience rewards us well here!
Gradually mix remaining three quarters cup all-purpose flour along half teaspoon ground cinnamon alongside quarter teaspoon fine sea salt ensuring everything combines seamlessly creating delightfully crumbly texture reminiscent freshly fallen snowflakes melting upon first touch—they won’t last long once placed atop warm bubbly fruits below about ready depart oven soon enough…
Step 4: Assembling The Masterpiece
With both pie crust chilled appropriately now resting comfortably within its dish holding promises untold ahead combined sweetened spiced filling layered generously below buttery crumbles resting peacefully awaiting transformation happen next inside hot oven awaiting arrival guests waiting eagerly outside kitchen doors—they’ll know magic awaits them shortly no doubt whatsoever when smells waft throughout entire house announcing dessert time finally approaching fast enough now too good believe possible soon arrive upon tables adorned lovingly prepared plates set forth where joy will reign supreme around shared moments celebrating life itself altogether…
Baking Your Perfect Apple Crumble Pie
Step 9: Baking Time!
Slide your beautiful assembled pie directly onto the center rack of your preheated oven and set a timer for about 60 minutes. Oh my goodness—the smell wafting from your oven during this time will be nothing short of enchanting! Keep an eye on it after about 45 minutes; depending on how well your oven distributes heat (and trust me—they can vary), you might need to cover the edges with foil if they start browning too quickly while allowing the center to catch up without burning.
As it bakes away blissfully within its own little sauna, you’ll notice bubbling juices seeping up through those golden crumbs—it’s nature’s way of telling you something magical is happening inside! The pie is done when both the apples are tender (you can poke one through with a fork), and that crumb topping has become delightfully golden brown—a visual cue that’s just as satisfying as tasting it! Once baked perfectly, allow your pie to cool for at least an hour before cutting into it; patience here pays off big time because letting those flavors meld will result in a truly extraordinary slice.
Final Touches: Serving Your Apple Crumble Pie
When ready to serve this masterpiece—the crowning achievement after all our hard work—I recommend pairing each slice with a scoop of creamy vanilla ice cream or perhaps some softly whipped coconut cream if you’re feeling adventurous! The contrast between warm pie and cold ice cream is simply divine—it’s almost like summer meets fall on one plate. And don’t forget—you can garnish each slice with an extra sprinkle of cinnamon or some chopped nuts for added crunch if you’re inclined.
Gather around with family or friends as each person savors their piece; watch their faces light up as they dig into layers upon layers of flavors—from tartness bursting through each apple slice enveloped by rich buttery goodness beneath crunchy crumbs above—it’s pure comfort food bliss wrapped up in love! Enjoy every bite knowing you’ve created something special today—a recipe not just shared but cherished across generations—and that’s what cooking is all about!
So there you have it—the most delightful Apple Crumble Pie recipe made from scratch waiting just for you! I promise you’ll return back time after time whenever those autumnal cravings hit because who could resist such warmth? Happy baking!
Storage and Enjoyment Tips for Your Apple Crumble Pie
Now that your kitchen is filled with the warm, inviting aroma of your freshly baked apple crumble pie, it’s time to savor this delightful creation! The joy of enjoying a slice, perhaps topped with a scoop of creamy vanilla ice cream, is nothing short of heavenly. But what happens when there are leftovers? Fear not! This pie can be preserved so you can indulge in its comforting embrace long after the last bite. Let’s dive into how to keep your apple crumble pie fresh and delicious for days to come.
Storing Leftover Apple Crumble Pie
To ensure your apple crumble pie remains as scrumptious as the moment it emerged from the oven, I recommend storing it in an airtight container. If you don’t have one, wrapping it tightly with plastic wrap will do just fine. Keeping it at room temperature is ideal for up to three days; however, if you’re looking to prolong its life a bit longer, refrigerating it can extend its freshness to about a week. A little tip I absolutely adore is placing a slice of bread within the container; this acts as a moisture absorber, keeping your crust beautifully flaky while preventing it from becoming soggy. Trust me on this—it works wonders! When you finally return to your leftover pie, you’ll find that the flavors have mingled beautifully over time, creating a taste that’s even more profound than the first day. And when it’s time to indulge again, simply pop a slice in the microwave for about 20-30 seconds or give it a quick reheat in the oven until warmed through—your taste buds will thank you!
Freezing Apple Crumble Pie for Later
If you’re like me and love having homemade treats ready at a moment’s notice, freezing your apple crumble pie is an absolute game-changer! Before you freeze it, make sure it’s completely cooled down. Wrap it tightly in plastic wrap or aluminum foil and then place it in a freezer-safe container or bag—this will help prevent freezer burn while locking in all those delightful flavors. This method allows your pie to stay fresh for up to three months! When you’re ready to enjoy this frozen treasure, simply let it thaw overnight in the fridge before warming it up again. Imagine pulling out this comforting dessert on a chilly evening; it’s such an effortless way to bring warmth and sweetness into your home without any fuss. The convenience factor here is just fantastic—homemade goodness ready when you are!
Apple Crumble Pie

Apple Crumble Pie is a heartwarming dessert that brings together the delightful flavors of sweet and tart apples beneath a buttery, crumbly topping. This classic recipe is perfect for cozy gatherings or quiet evenings at home, filling your kitchen with inviting aromas reminiscent of autumn afternoons. Each bite offers a comforting blend of textures—from the soft, spiced apple filling to the crunchy crumble, making it an irresistible treat for any occasion. Whether served warm with a scoop of vanilla ice cream or enjoyed on its own, this pie is sure to become a cherished favorite in your recipe collection.
- Prep Time: 30 minutes
- Cook Time: 60 minutes
- Total Time: 1 hour 30 minutes
- Yield: Serves approximately eight slices 1x
- Category: Dessert
- Method: Baking
- Cuisine: American
Ingredients
- 1 ¼ cups all-purpose flour
- ½ tsp fine sea salt
- 1 tbsp granulated sugar
- ½ cup salted butter (cold)
- ¼ cup ice-cold water
- 4 lbs apples (peeled, cored, sliced)
- ½ cup granulated sugar (for filling)
- 3 tbsp all-purpose flour (for filling)
- 1 ½ tsp ground cinnamon
- 6 tbsp salted butter (softened) (for crumble)
- ⅓ cup granulated sugar (for crumble)
- ¾ cup all-purpose flour (for crumble)
- ½ tsp ground cinnamon (for crumble)
- ¼ tsp fine sea salt (for crumble)
Instructions
- In a mixing bowl, combine flour, salt, and sugar for the crust. Cut in cold butter until it resembles coarse crumbs.
- Gradually add ice-cold water until dough holds together. Chill for at least 30 minutes.
- Peel and slice apples; toss with sugar, flour, and cinnamon in a bowl and let rest.
- Roll out chilled dough and place into pie dish. Fill with apple mixture.
- For the topping, mix softened butter, sugar, flour, cinnamon, and salt until crumbly; sprinkle over apples.
- Bake in a preheated oven at 375°F for about 60 minutes or until golden brown.
Nutrition
- Serving Size: 1 slice (125g)
- Calories: 280
- Sugar: 22g
- Sodium: 180mg
- Fat: 13g
- Saturated Fat: 8g
- Unsaturated Fat: 4g
- Trans Fat: <0g
- Carbohydrates: 38g
- Fiber: 3g
- Protein: 2g
- Cholesterol: <5mg