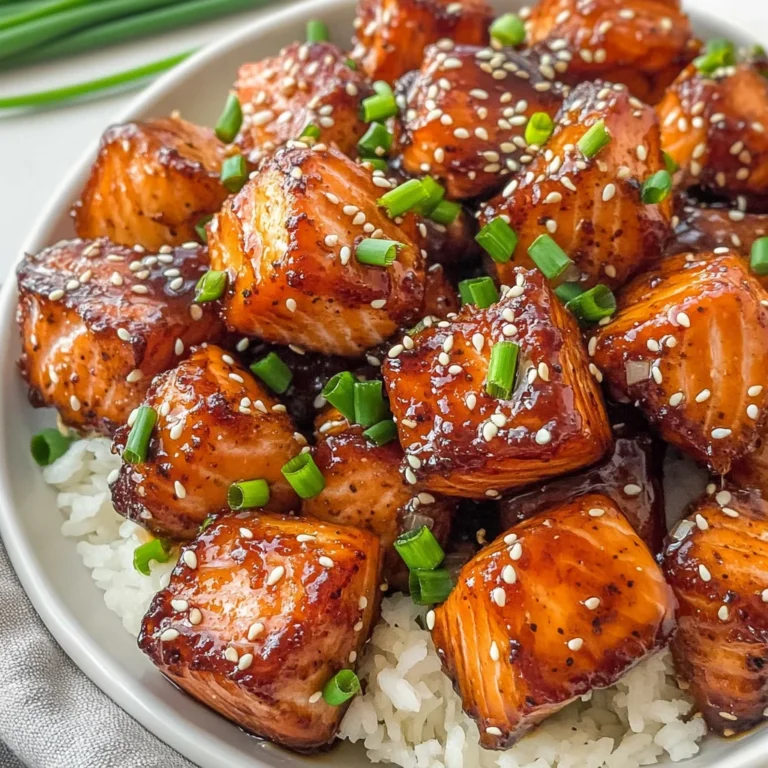
Chili Lime Chicken
There’s something utterly intoxicating about the combination of citrus and spice, isn’t there? It ignites the senses and dances joyfully on your palate. Today, I want to share with you a recipe that encapsulates that beautiful symphony of flavors—my Chili Lime Chicken. This dish isn’t just about satisfying your hunger; it’s an experience that transports you to sun-soaked beaches with warm breezes and vibrant markets filled with fresh produce. The moment you take a bite of this tender, juicy chicken marinated in zesty lime juice, sweet honey, and a medley of spices, you’ll understand why it holds a special place in my heart. I promise you, this is not just dinner; it’s a celebration of life!
The beauty of Chili Lime Chicken lies not just in its tantalizing taste but also in its versatility. Picture this: you’re hosting friends for a cozy gathering or perhaps preparing a lovely family meal after a long day. This dish is perfect for any occasion because it brings together bold flavors that appeal to all ages while being incredibly easy to prepare. The marinade transforms humble chicken thighs into something truly extraordinary, allowing them to soak up all those vibrant flavors before they hit the pan. So grab your apron and let’s embark on this culinary journey together!
Chili Lime Chicken: A Zesty Delight for Any Occasion
Let’s dive right into this delicious recipe that promises to make your taste buds sing! The idea behind my Chili Lime Chicken is simple yet profound—it combines the brightness of lime with the sweetness of honey and the warmth of spices to create an unforgettable meal that everyone will adore.
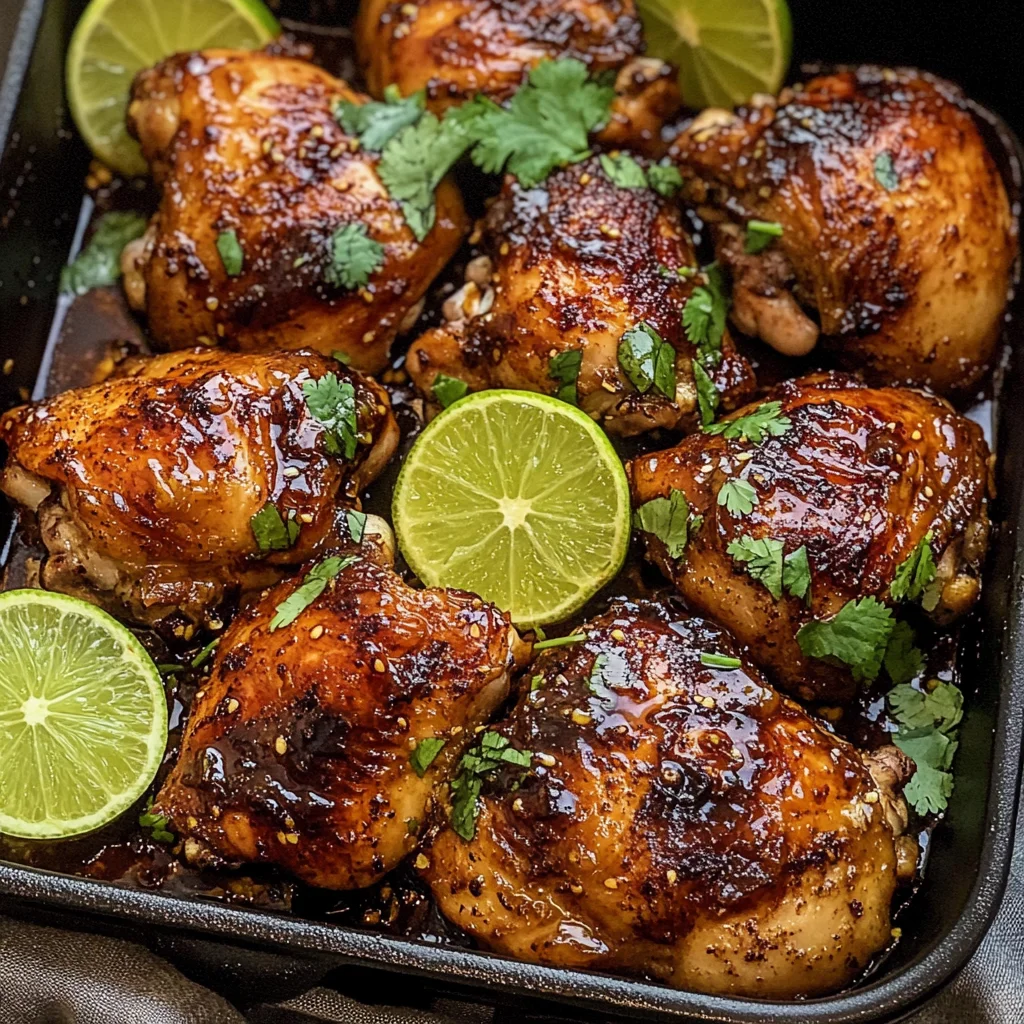
Ingredients:
Before we get cooking, let’s gather our ingredients! Each one plays an essential role in crafting this delightful dish, so pay close attention as we explore what makes them special.
- 2 pounds boneless skinless chicken thighs (about 6-8 thighs). These succulent pieces are key to achieving juicy, tender results in your Chili Lime Chicken. Unlike chicken breasts, which can dry out easily when cooked, thighs have more fat content, ensuring they stay moist and flavorful even after baking. When selecting chicken thighs at the store, look for ones that are plump and have a nice rosy color. If you’re feeling adventurous or prefer lighter meat, feel free to substitute with boneless skinless chicken breasts—just be mindful to adjust cooking times accordingly.
- ½ cup (121 g) lime juice (fresh or store-bought). This liquid gold is what gives our dish that bright zing! Fresh lime juice adds a layer of complexity and vibrancy that bottled varieties often lack; if possible, squeeze your own from ripe limes for maximum flavor impact. Lime juice not only tenderizes the chicken but also balances out the sweetness from the honey beautifully. If limes aren’t available, lemon juice can serve as an excellent substitute while still providing that much-needed acidity.
- ¼ cup (85 g) honey. Honey is nature’s sweetener and works harmoniously with lime juice to create a glaze that’s both sticky and deeply satisfying. It caramelizes beautifully during cooking, forming a gorgeous crust on the outside while keeping the inside juicy. Opt for raw or organic honey for the best flavor profile—its floral notes will elevate your dish even further!
- 2 tablespoons chopped cilantro. This herb brings freshness and vibrancy to our marinade—a little sprinkle transforms ordinary dishes into something special! Beyond its flavor contribution, cilantro adds lovely green flecks that brighten up our presentation as well. If you find cilantro too pungent or have personal preferences against it, feel free to swap it out for parsley or omit it altogether without compromising the essence of this recipe.
- 2 tablespoons garlic (minced). Garlic is one ingredient I can never get enough of; its robust flavor elevates dishes from good to spectacular! When minced and mixed into our marinade, it infuses deep savory notes into every bite of chicken. Make sure your garlic is fresh; older cloves can lose their vibrant punch.
- 1 tablespoon chili powder. This spice mix offers warmth without overwhelming heat, creating layers of flavor that enhance our overall dish. It’s versatile too—feel free to experiment with different types like smoked chili powder for added depth or chipotle powder for some smokiness if you’re feeling daring!
- 1 tablespoon cumin. Cumin has such a unique earthy quality that complements our other spices marvelously! Its warm aroma will fill your kitchen as it cooks—trust me; it’s absolutely divine! Always ensure your cumin is fresh for optimal flavor; if it’s been sitting in your spice cabinet for too long, consider replacing it!
- 1 tablespoon onion powder. Onion powder provides sweetness and depth without needing to chop an onion—perfect when we’re short on time but still want big flavor! It melds seamlessly with other spices in our marinade while enhancing savory notes.
- 1 teaspoon kosher salt. Salt is crucial; it enhances all other flavors in our dish while helping to bring out the natural juiciness of the chicken itself! Kosher salt dissolves easily compared to table salt due to its larger grain size—always choose kosher when seasoning meats!
- ½ teaspoon cayenne pepper. A pinch goes a long way in adding just enough heat without overpowering everything else going on here! Adjust according to your personal preference; if you enjoy things spicy, don’t hesitate to add more!
- 2 tablespoons vegetable oil. This oil serves as our cooking medium when searing the chicken; it has a high smoke point which makes it ideal for frying at high temperatures without burning easily! You could also use olive oil if desired—but be cautious not to let it get too hot as extra virgin varieties can burn quickly.
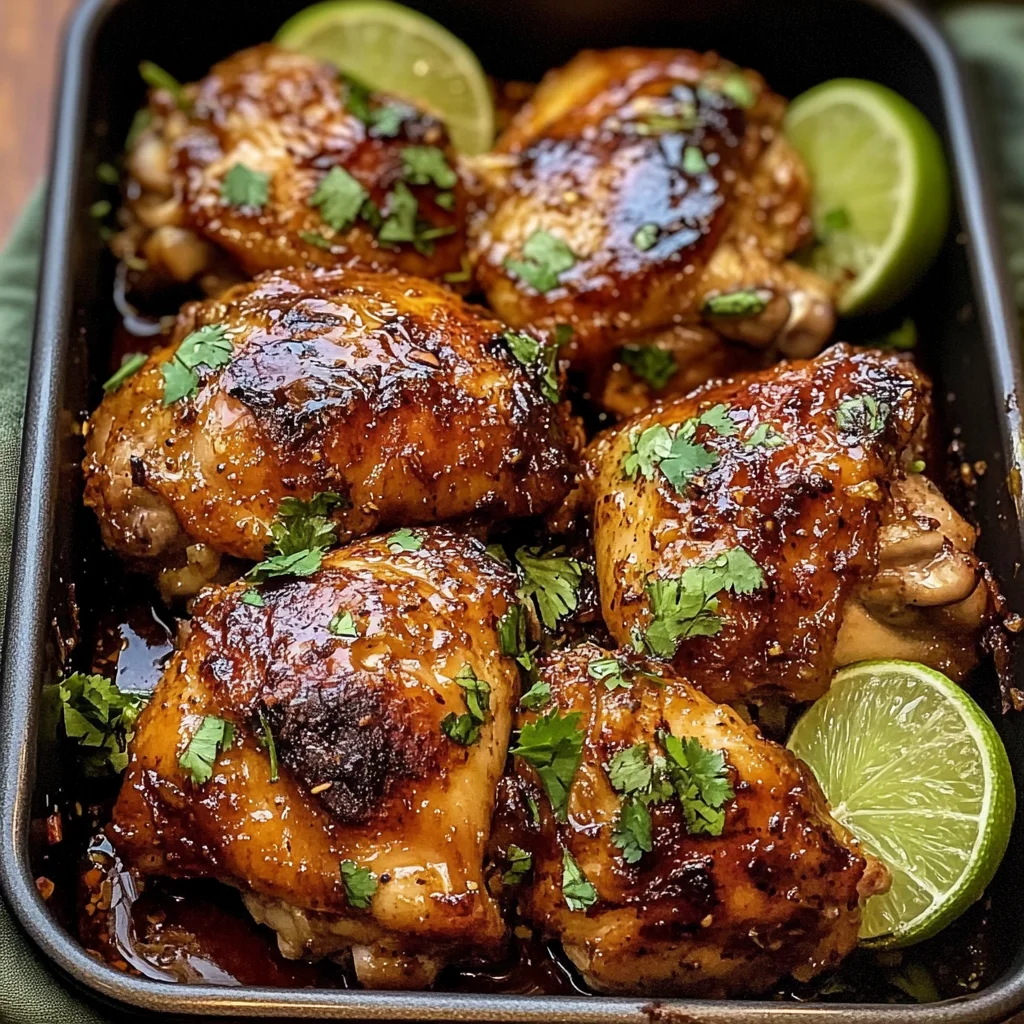
Equipment You’ll Need:
Now that we’re all set with ingredients ready, let’s talk about equipment! Having the right tools makes all the difference when cooking—it streamlines processes and allows us greater creativity in presenting our meals.
- Large bowl: This becomes your mixing sanctuary where flavors meld together beautifully as they embrace each other before meeting their fate on the grill or oven! Look for something spacious enough not only for marinating purposes but also easy stirring.
- Oven-safe skillet: A heavy-duty skillet made from cast iron or stainless steel will take you through searing straight into baking seamlessly—a non-negotiable item if you want crispy edges paired with tender interiors! Ensure it’s well-seasoned if using cast iron—for extra flavor points along each step.
- Medium saucepan: We need this pot handy when reducing our reserved marinade down into thick syrupy perfection later on—opt for one with tall sides so splattering doesn’t ruin your stovetop!
With everything gathered together now—a true team effort between ingredients & equipment—we’re ready to dive headfirst into preparing this incredible Chili Lime Chicken!
Step 1: Marinating Magic
To begin this culinary adventure, take out your large bowl and combine lime juice, honey, chopped cilantro, minced garlic alongside chili powder cumin onion powder kosher salt cayenne pepper—that’s quite a glorious lineup already brewing there! Mix gently until everything melds harmoniously together—the colors alone are worth pausing over! Now comes my favorite part: introducing those luscious chicken thighs into their new tangy home! Toss them around until every piece gets coated evenly: think sleek glistening beauties transforming under layers upon layers of zesty goodness—it’s practically art happening right before your eyes! Cover tightly & refrigerate anywhere from twenty minutes up until four hours—the longer they sit cozying up inside their marinade bath means deeper flavors waiting patiently just below surface level once cooked through later on…
Step 2: Prepping For Perfection
When ready (and trust me—you’ll know because aromas will beckon!), preheat oven temperature setting at four hundred degrees Fahrenheit; getting things nice & hot ensures optimal crispness once we slide those beauties straight onto hot surfaces awaiting transformation ahead… While waiting patiently allow anticipation build up excitement levels soaring high—don’t rush this step either—the goal here isn’t merely cooked meat but rather achieving golden-brown edges rendering utter satisfaction across plates served during dinnertime gatherings shared amongst loved ones… Remember: patience is key!
Step 3: Searing Sensation
Next comes searing magic—it’s where real culinary alchemy unfolds right before us transforming raw proteins into stunningly fragrant morsels bursting forth satisfying textures beneath bites taken enthusiastically… In an oven-safe skillet heated over medium-high flames pour vegetable oil until shimmering like molten sunshine beckoning us closer toward sizzling warmth waiting eagerly within pan’s embrace… Once heated sufficiently introduce marinated thighs cautiously avoiding splatter events akin fireworks displays gone wild—but trust me—they’ll reward those moments spent watching closely by browning beautifully across surface area—cook approximately two-three minutes per side flipping carefully until hints golden brown appear showcasing early signs deliciousness lurking underneath skin awaiting discovery later down line…
Step 4: Oven Time!
Now comes pivotal moment embracing final stages towards completion—carefully transfer skillet directly into preheated oven basking heavenly scents wafting throughout homes promising delights await once finished… Bake away patiently about eight-ten minutes monitoring internal temperature closely reaching perfect benchmark hundred sixty-five degrees Fahrenheit signifying safety & tenderness achieved wonderfully through meticulous efforts put forth earlier becoming worthwhile… Don’t forget about those precious moments savoring anticipation leading culmination creations deserve celebration shared across tables adorned lovingly amongst family members gathered around nourishing bonds formed through food experiences crafted lovingly together…
Stay tuned as we continue diving deeper into crafting these delightful details awaiting next steps ahead—including thickening reserved marinades transforming liquid treasures brushed generously atop birdies calling forth celebrations planned ahead…
Step 5: Simmering the Marinade to Perfection
Now that your chicken is basking in its flavorful marinade, it’s time to turn our attention to the next crucial step: transforming that reserved marinade into a delicious glaze. This part of the recipe is not just about adding flavor; it’s about elevating your dish to something extraordinary. Start by taking a medium saucepan and pouring in that reserved marinade you set aside earlier—it holds all the magic of lime, honey, and spices that have been soaking into your chicken. Place the saucepan over medium heat and bring it to a gentle boil. This might take a few minutes, so don’t rush this step; allow yourself to be enveloped by the intoxicating aromas wafting up from the pot—trust me, it’s an experience you won’t want to miss!
Once you see those first bubbles breaking the surface, it’s time to reduce the heat. Lower it down so that the marinade simmers gently for about 5-10 minutes. Why simmer? This technique is essential because it allows the flavors to concentrate while also thickening the mixture into a beautiful, sticky glaze that will cling lovingly to your chicken when brushed on later. Keep an eye on it—you want a consistency that’s syrupy but not overly thick, akin to liquid gold cascading down your dish. Stir occasionally, ensuring nothing sticks or burns at the bottom of the pan. If you notice any foamy bubbles forming on top, give them a gentle stir; they’re just part of the process! The goal here is to create something truly exceptional that will add depth and sweetness without overwhelming the other flavors.
Step 6: Baking Your Chicken to Juicy Perfection
With your marinade transformed into a luscious glaze and your oven preheated to 400°F (a vital temperature for achieving crispy skin and juicy meat), it’s time for one of my absolute favorite moments: baking the chicken! Carefully remove your skillet with the seared chicken from the stovetop—be cautious, as it will be hot! You should see rich browning on both sides of each thigh; this is a sign of flavor development through Maillard reaction—a fancy term for how proteins react under heat to create beautiful color and taste. Now, transfer this skillet directly into your preheated oven.
Bake for about 8-10 minutes—or until those lovely thighs reach an internal temperature of 165°F. A meat thermometer is worth its weight in gold at this stage; insert it into the thickest part of one thigh without touching bone for an accurate reading. As they bake, you’ll hear delightful sizzling sounds—this means things are cooking beautifully! The chicken will continue absorbing all those vibrant flavors while becoming tender and juicy inside as it finishes cooking through residual heat. Avoid opening the oven door too frequently, as this can release precious heat and affect cooking time—patience is key here!
Step 7: Glazing Your Chicken with Sticky Goodness
Once you’ve reached that magical temperature indicating doneness, carefully pull out your skillet from the oven—again, hot handles await! At this point, your kitchen should be filled with an utterly intoxicating aroma; if you could bottle it up, you’d have a bestseller! Now comes one of my favorite parts—the glazing! Grab that beautifully reduced marinade from earlier; we’re going to brush this sticky goodness generously over each piece of chicken using a basting brush or even a spoon if that’s what you have handy.
This step is crucial because it not only adds another layer of flavor but also creates an enticing glossiness that makes every bite visually appealing and utterly satisfying. I like to let some of that glaze pool around the base of the chicken in the skillet—this way, when you serve them up later, each piece can be drizzled with extra sauce for those who crave even more flavor explosion! Feel free to add extra chopped cilantro at this stage if you’re feeling adventurous; it’ll give your dish additional freshness and color.
Step 8: Resting Time – The Secret Ingredient
Before diving in—yes, I know it’s hard to resist—we must allow our Chili Lime Chicken some resting time on a warm plate or cutting board for about 5-10 minutes. I promise you, resisting temptation at this stage pays off big time! Resting allows those juices within each thigh to redistribute throughout the meat rather than spilling out onto your cutting board when sliced. This process is absolutely paramount for achieving every bite’s moist tenderness.
While resting, take a moment to reflect on what you’ve created; perhaps grab some sides or prepare garnishes like extra lime wedges or fresh cilantro. When you cut into this beauty after resting, you’ll notice how effortlessly tender it is—the knife gliding through like butter! Plus, you’ll find that each piece retains depth and vibrancy thanks to all those flavors having had time to meld beautifully together during rest.
Next Major Phase: Serving Up Your Chili Lime Chicken
Your hard work has paid off immensely; now it’s time for presentation! Serve up these pieces alongside whatever sides you’ve chosen—think fluffy rice infused with cilantro-lime or roasted vegetables drizzled in olive oil with a hint of sea salt. The world is your oyster here! Each bite will be layered with tantalizing tastes—the bright zing from lime balancing perfectly against sweet honey undertones coupled with spicy warmth from chili powder and cayenne pepper.
Don’t forget about garnishing with vibrant cilantro or lime slices—you deserve every bit of visual flair as much as delectable taste in this final presentation stage. And there you have it—your deliciously crafted Chili Lime Chicken ready for family gatherings or weeknight dinners alike! Trust me when I say there won’t be any leftovers after serving these beauties!
Enjoy every moment spent relishing this flavorful journey—I can’t wait for you all to try it and share how much joy it brings you just as it has brought me countless times before!
Storage and Enjoyment Tips for Your Chili Lime Chicken
Now that your kitchen is filled with the mouthwatering aroma of your newly created Chili Lime Chicken, it’s time to bask in the glory of your culinary achievement! This dish not only tantalizes your taste buds but also offers a few practical tips for preserving its succulent goodness. Whether you’re planning on enjoying leftovers or storing it for future meals, I’ve got you covered with some helpful insights.
Storing Leftover Chili Lime Chicken
To keep your leftover Chili Lime Chicken fresh and delicious, be sure to transfer it into an airtight container. This is crucial because it locks in moisture and prevents any unwanted odors from mingling with your lovely chicken. If stored properly in the refrigerator, your leftovers will stay good for about 3 to 4 days. For those who want to savor this dish even longer, consider placing it in the freezer; just make sure to use freezer-safe bags or containers to protect against freezer burn. A little pro tip I love to share is adding a slice of bread inside the container – it absorbs excess moisture and keeps the chicken nice and juicy! After storage, you’ll find that the flavors meld together beautifully, creating an even more profound taste experience when reheated. To reheat, simply pop it in the oven at a low temperature or gently warm it in a skillet, brushing on some of that sticky glaze for added flavor – trust me, it’s worth it!
Freezing Chili Lime Chicken for Later
If you’re looking ahead and want to enjoy this delightful dish at a later date, freezing Chili Lime Chicken is an excellent option! Just ensure that you cool the chicken completely before transferring it into freezer-safe bags or containers. Squeeze out as much air as possible before sealing them up tight – this will keep your chicken protected from freezer burn while preserving its fantastic flavors. When frozen correctly, your Chili Lime Chicken can last up to three months without losing its wonderful essence. The beauty of freezing this dish lies in its convenience; imagine having tender, flavorful chicken ready at a moment’s notice! Just thaw overnight in the fridge and reheat as mentioned earlier for a quick meal that feels just as special as when you first made it. So go ahead and stock up – your future self will thank you!
Chili Lime Chicken

Chili Lime Chicken is a vibrant and mouthwatering dish that will elevate your dining experience with its zesty flavors and tender meat. Marinated in fresh lime juice, sweet honey, and an enticing blend of spices, this easy-to-make recipe captures the essence of sunny beach days and lively gatherings. Perfect for family dinners or casual get-togethers, this dish brings a delightful balance of sweetness and spice that will leave everyone craving more. Serve it alongside fluffy rice or colorful roasted vegetables for a complete meal that is not only satisfying but also visually appealing.
- Prep Time: 20 minutes
- Cook Time: 15 minutes
- Total Time: 35 minutes
- Yield: Approximately 6 servings 1x
- Category: Main
- Method: Baking/Searing
- Cuisine: Mexican-inspired
Ingredients
- 2 pounds boneless skinless chicken thighs
- ½ cup lime juice
- ¼ cup honey
- 2 tablespoons chopped cilantro
- 2 tablespoons minced garlic
- 1 tablespoon chili powder
- 1 tablespoon cumin
- 1 tablespoon onion powder
- 1 teaspoon kosher salt
- ½ teaspoon cayenne pepper
- 2 tablespoons vegetable oil
Instructions
- In a large bowl, mix lime juice, honey, cilantro, garlic, chili powder, cumin, onion powder, salt, and cayenne pepper.
- Add chicken thighs to the marinade, coating them well. Cover and refrigerate for at least 20 minutes or up to 4 hours.
- Preheat the oven to 400°F (200°C). Heat vegetable oil in an oven-safe skillet over medium-high heat.
- Sear marinated chicken thighs for about 2-3 minutes per side until golden brown.
- Transfer the skillet to the preheated oven and bake for 8-10 minutes or until the internal temperature reaches 165°F (74°C).
- Allow resting for 5-10 minutes before serving.
Nutrition
- Serving Size: 1 thigh (approximately 150g)
- Calories: 280
- Sugar: 9g
- Sodium: 490mg
- Fat: 12g
- Saturated Fat: 3g
- Unsaturated Fat: 8g
- Trans Fat: 0g
- Carbohydrates: 14g
- Fiber: 0g
- Protein: 30g
- Cholesterol: 90mg