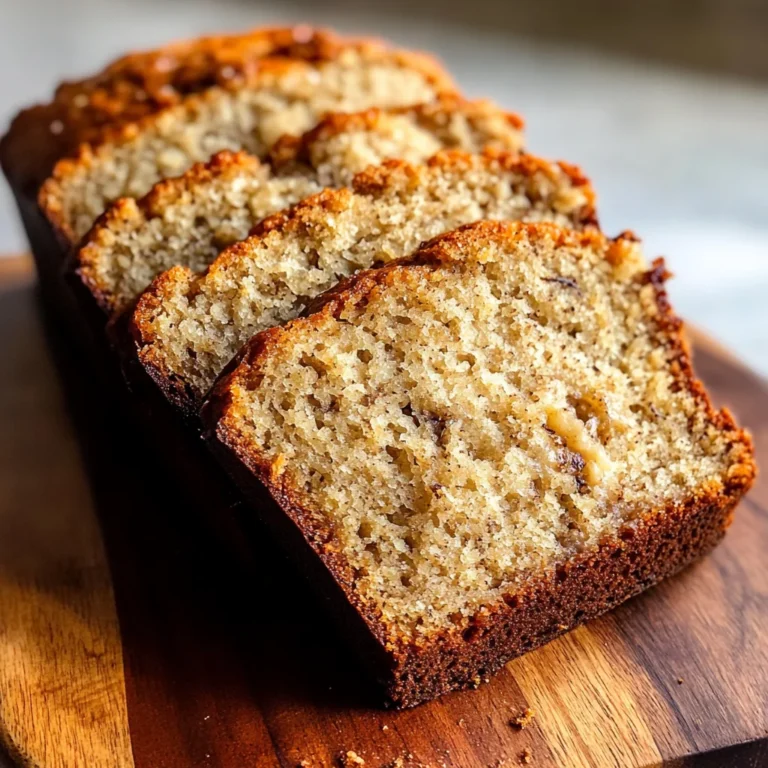
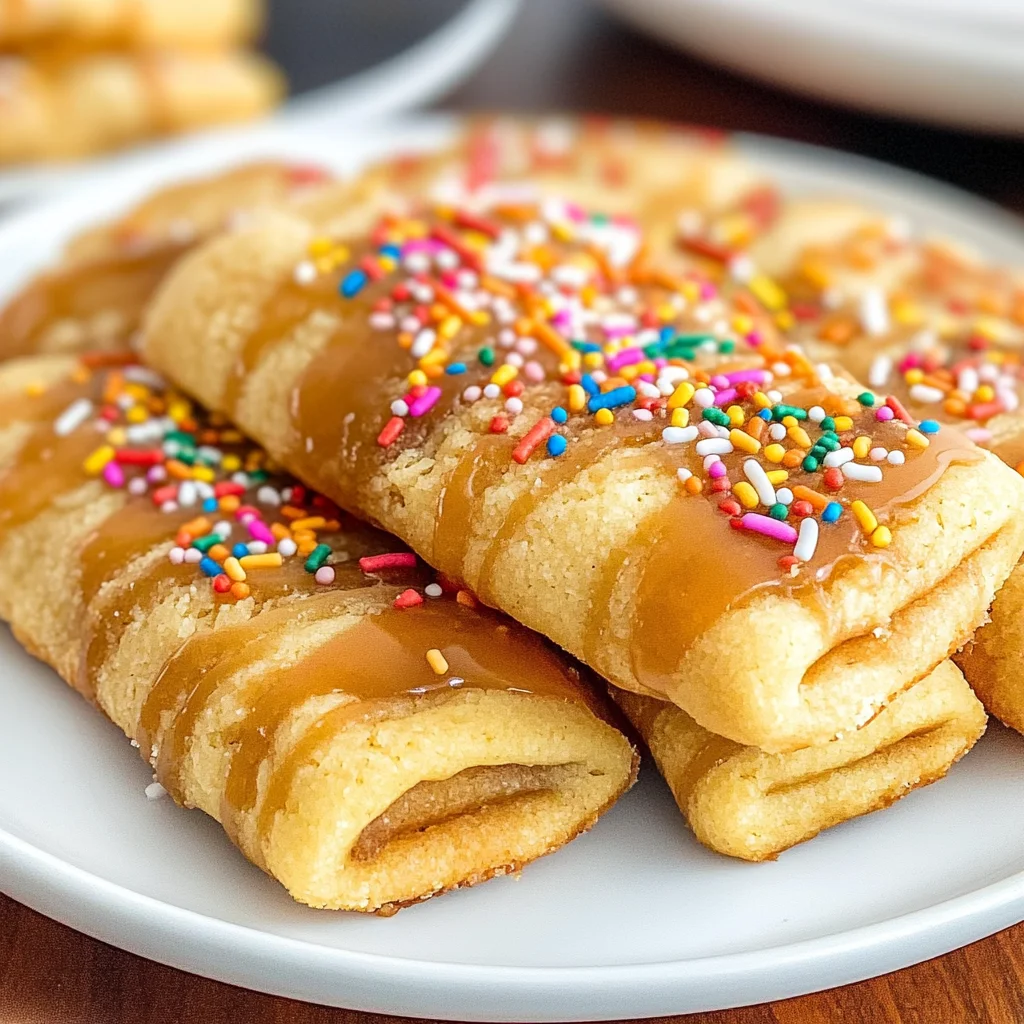
Apple Pie Enchiladas Dessert: A Delicious Twist on a Classic Treat
There’s something profoundly comforting about the aroma of baked apples wafting through the house, isn’t there? It’s like a warm hug on a chilly day, a symphony of flavors that instantly transports you to cherished memories of family gatherings and festive celebrations. Today, I’m thrilled to share with you my beloved Apple Pie Enchiladas Dessert: A Delicious Twist on a Classic Treat—an enchanting fusion of two classic delights that I promise will leave you and your loved ones utterly captivated. Imagine tender tortillas enveloping sweet, spiced apples and drizzled with a luscious sauce that sings of warmth and comfort. This recipe is not merely about food; it’s an experience—a bridge between tradition and innovation that invites joy into every bite.
Why do we adore this dessert so much? Well, let me take you on a little journey. The origins of apple pie are steeped in history, representing home and hearth for countless generations. Yet, what happens when we merge this timeless favorite with the playful spirit of enchiladas? We create something truly extraordinary! This delightful twist is perfect for any occasion—from cozy family dinners to festive holiday celebrations. Each bite resonates with nostalgia while also bringing something fresh to the table. So, gather your loved ones close as we embark on this culinary adventure together!
Apple Pie Enchiladas Dessert: A Delicious Twist on a Classic Treat
Let’s dive into this delightful recipe that will surely become a staple in your dessert repertoire! The combination of cinnamon-spiced apples wrapped in soft tortillas and topped with a dreamy sauce creates an unforgettable experience that feels both comforting and exciting. Trust me when I say that the moment you take your first bite, you’ll understand why this dish has earned such a special place in my heart.
Ingredients:
Before we start cooking, let’s gather our ingredients. Each component plays a vital role in crafting this beautiful dessert and contributes to its unique flavor profile.
- 1/2 cup (1 stick or 113g) butter, room temperature. Starting with room temperature butter is crucial for achieving that perfectly creamy texture when we make our filling later on. Cold butter won’t blend smoothly, resulting in lumps instead of the silky-smooth mixture we’re aiming for. Look for high-quality butter because it can elevate the overall flavor of your dish—European-style butters are often richer due to their higher fat content and will lend an extra layer of indulgence to our enchiladas.
- 1/2 cup oil. Using oil in conjunction with butter helps keep our filling moist without overpowering it with richness. I recommend using a neutral oil like canola or sunflower oil; they won’t interfere with the delicate flavor of the spiced apples while allowing us to achieve just the right consistency. This balance is absolutely paramount to ensure each bite is luxuriously smooth yet not overly greasy.
- 1/2 cup granulated sugar. This ingredient serves as the sweetness foundation for our filling and enhances the natural sugars present in the apples themselves. It’s fascinating how sugar works—it not only sweetens but also helps create that irresistible caramelization during baking, giving our enchiladas a beautiful golden hue and rich flavor profile. When selecting sugar, opt for fine granulated sugar as it dissolves more readily into your mixture.
- 1/2 cup confectioners’ sugar. This powdered form of sugar is essential for creating our drizzle later on—it’s what gives us that delightful finish! Confectioners’ sugar dissolves rapidly and creates a smooth glaze that’s simply divine over our finished enchiladas. Plus, it adds just enough sweetness without being overwhelming; it’s all about balance here!
Equipment You’ll Need:
Now that we have everything ready, let’s talk about the tools you’ll need to make this process seamless and enjoyable! Cooking is always more fun when you have the right equipment at hand.
- Mixing bowls – These are absolute essentials for any baking endeavor! A set of various sizes allows you to easily mix your ingredients without any fuss or mess. Choose bowls made from glass or stainless steel—they’re durable and easy to clean.
- Whisk – This handy tool is perfect for blending ingredients together smoothly—especially important when you’re mixing together butter and sugars for that creamy filling! A good whisk creates air pockets in your mixture, which helps achieve lightness in texture.
- Baking dish – You’ll need something sturdy to hold all those delicious enchiladas as they bake away into perfection! Opt for ceramic or glass dishes as they distribute heat evenly while baking; plus, they look lovely when serving straight from oven to table.
- Spatula – A flexible spatula is invaluable when it comes time to carefully fold ingredients together without deflating any air we’ve worked hard to incorporate! Look for one that’s heat-resistant if you plan on using it around hot surfaces.
Now that we’ve got our kitchen tools aligned, let’s move forward into preparing these magical Apple Pie Enchiladas Dessert: A Delicious Twist on a Classic Treat!
Step 1: Making the Filling
To kick things off, let’s create that deliciously spiced apple filling! Begin by peeling and slicing about four medium-sized apples—Granny Smith works wonderfully due its tartness which pairs perfectly against sweetness from sugars later on—but feel free to use whatever variety you love best! Toss those apple slices into a large mixing bowl along with half of your granulated sugar (we’re saving some for later). Next comes the magic: sprinkle generous amounts of ground cinnamon over your apples—oh my goodness, doesn’t it already smell heavenly? Cinnamon not only adds warmth but also brings out those lovely natural flavors found within each slice!
Step 2: Combining Ingredients
Once everything’s well-coated in cinnamon-sugar goodness (trust me; don’t rush this step—you want every bit infused!), it’s time to add in your softened butter directly into this bowl filled with fragrant apples too! Using either your spatula or even better—a pastry cutter—start combining until everything melds beautifully together; imagine creating liquid gold as those buttery bits melt down through each piece like an embrace from Mom during wintertime!
Step 3: Assembling Your Enchiladas
Now comes the fun part—wrapping up these little treasures! Take one tortilla at a time (I recommend using flour tortillas here—they’re soft yet sturdy enough) then place about two spoonfuls worth of apple filling right down its center before carefully folding over sides like tucking them into bed snugly at night… Oh yes! Repeat until all fillings have been embraced lovingly within their tortilla blankets—and don’t worry if some sneak peek out; that just adds character!
Step 4: Baking Bliss
Preheat your oven while lovingly arranging those filled tortillas seam-side down into an oiled baking dish; remember—we want all sides golden brown so spacing matters here too! Once nestled cozily together (I often sprinkle them lightly with remaining granulated sugar), pop them into preheated oven until they’re bubbly hot (around 20 minutes should do). Keep an eye out for slight browning—the aroma wafting through will be utterly intoxicating!
And there you have it—the beginning steps toward creating Apple Pie Enchiladas Dessert: A Delicious Twist on a Classic Treat! Just wait until you see how delightful they turn out once served warm with glaze drizzled generously atop; I can already picture smiles lighting up faces around your table as everyone savors each bite while reminiscing about beloved times spent together… Isn’t cooking just magical?
Step 5: Creaming the Butter and Sugars to Perfection
Now that you have your butter at room temperature—think soft, like a cozy hug—it’s time to dive into one of the most crucial steps in baking: creaming. In a large mixing bowl, add your half cup of softened butter along with the half cup of granulated sugar and the half cup of confectioners’ sugar. Using an electric mixer on medium speed, beat these ingredients together until they transform into a creamy, fluffy mixture that’s almost pale in color. This step typically takes about 2-4 minutes, but oh, what a transformative process it is! The goal here is to incorporate air into the butter, which will help give your cookies that delightful texture we all crave—light and tender with just the right amount of chew.
Why is this creaming process so important? Well, it’s all about creating a beautiful structure. As you beat the butter and sugars together, you’re not just combining ingredients; you’re creating tiny air pockets that will expand as the cookies bake. This will lead to cookies that are delightfully soft yet maintain their shape—a perfect balance! Keep an eye on your mixture; you want it to be smooth and light without any lumps. If you see any graininess from the sugars, keep mixing. Trust me on this; it’s absolutely paramount for achieving that perfect cookie consistency!
Step 6: Adding Your Liquid Gold
Once your butter and sugar mixture is beautifully aerated and creamy, it’s time to introduce our secret ingredient—oil! Pour in half a cup of oil (I usually prefer canola or vegetable oil for their neutral flavor) into your mixing bowl. With your mixer still running on low speed, let it blend seamlessly into the creamed butter and sugars. The addition of oil plays an essential role here; it not only adds moisture but also contributes to that incredibly tender crumb we all adore in sugar cookies.
After about a minute of mixing, everything should look cohesive and glossy—almost like liquid gold! At this stage, don’t forget to scrape down the sides of your bowl with a spatula to ensure every last bit gets incorporated. It’s important because uneven mixing can lead to inconsistent cookies. Once thoroughly combined, the mixture should resemble thick pancake batter—smooth with no visible oil pooling at the bottom. This is where you’ll start feeling the excitement build; you’re getting closer to those festive sprinkle sugar cookies!
Step 7: The Power of Vanilla
Now comes one of my favorite parts—the flavor infusion! Add in one teaspoon of pure vanilla extract (or imitation if that’s what you’ve got) into your wet ingredients and mix for another few seconds until it’s thoroughly combined. The aroma that fills your kitchen at this moment is absolutely intoxicating—it’s like capturing holiday magic in a bowl! Vanilla doesn’t just add sweetness; it enhances every other flavor present in your cookie dough, making them taste richer and more complex.
As you mix in the vanilla extract, take a moment to appreciate how each ingredient plays its role in crafting something truly special. It’s fascinating how something as simple as vanilla can elevate our cookies from ordinary to extraordinary! Make sure to keep an eye out for any clumps or unmixed bits; we want this dough silky smooth before moving on to adding our dry ingredients.
Step 8: Incorporating Dry Ingredients with Care
Now that we have our wet ingredients singing together beautifully, it’s time for some dry magic! In a separate bowl, whisk together two cups of all-purpose flour with one teaspoon each of baking powder and baking soda along with a pinch of salt—around half a teaspoon should do nicely. This combination not only provides structure but also ensures our cookies rise perfectly while remaining soft inside. The salt may seem minimal, but believe me when I say it acts as a flavor enhancer that brings all other flavors alive.
Gradually add this dry mixture into your wet ingredients while mixing on low speed. Start by adding about half of it first and let it combine before adding the remainder. The reason behind this gradual incorporation is simple yet effective—you want to avoid overmixing which can lead to tough cookies due to gluten development. Mix just until everything is combined; you’ll know you’re done when there are no visible flour streaks left in your dough—this step usually takes no more than 30 seconds! If you see some small lumps or unevenness—that’s completely normal! Remember those charming homemade vibes we’re going for? Embrace them!
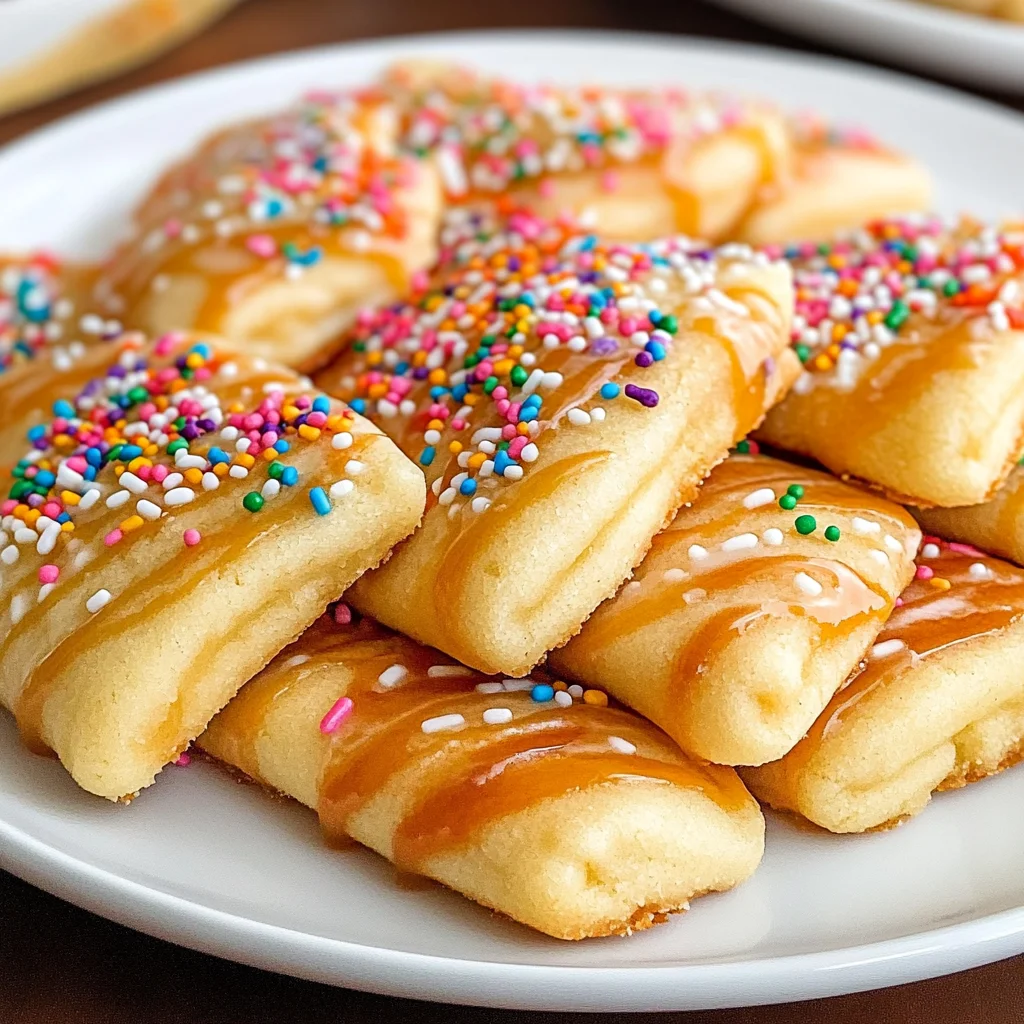
As we wrap up this festive sprinkle sugar cookie adventure together, I hope you’re feeling as excited as I am about these delightful treats! They truly embody comfort food at its finest—and trust me when I say they’ll bring joy not just during holidays but any day you’re craving something sweetly satisfying. Enjoy every bite knowing you’ve crafted something special with love—and don’t forget to share with friends because nothing brings people together quite like freshly baked cookies!
Storage and Enjoyment Tips for Your Apple Pie Enchiladas Dessert: A Delicious Twist on a Classic Treat
Now that you’ve crafted these delightful Apple Pie Enchiladas, the moment has arrived to dig in and savor every bite! But before you indulge too deeply, let’s talk about how to care for those little treasures you’ve created. These enchiladas are not just a one-time affair; they can be enjoyed again and again if stored properly. Picture this: a cozy evening with your loved ones, where the aroma of cinnamon and baked apples fills the air as you warm up leftovers, transforming your kitchen into a comforting haven. Now doesn’t that sound divine?
Storing Leftover Apple Pie Enchiladas Dessert: A Delicious Twist on a Classic Treat
To ensure your Apple Pie Enchiladas remain as scrumptious as the day they were made, transfer any leftovers into an airtight container. It’s crucial to seal them tightly—this is non-negotiable—as it helps maintain their delightful flavors and prevents them from drying out. I recommend storing them in the refrigerator where they can stay fresh for about 3-4 days. If you’re worried about sogginess, placing a piece of parchment paper between layers can help absorb excess moisture. Trust me when I say these enchiladas maintain their charm even after sitting in the fridge; the flavors meld beautifully, creating an even more profound taste experience when reheated! When you’re ready to enjoy them again, simply pop them in the oven at 350°F (175°C) for about 10-15 minutes until they’re warmed through. You’ll be amazed at how they reignite that warm feeling of comfort!
Freezing Apple Pie Enchiladas Dessert for Later
If you’re planning ahead or simply want to stockpile some deliciousness for future cravings, freezing your enchiladas is a fantastic option! To freeze them properly, allow the enchiladas to cool completely before wrapping each one snugly in plastic wrap or aluminum foil. Then place them in a freezer-safe bag or container, ensuring as much air is removed as possible—this helps prevent freezer burn! They’ll keep well frozen for up to three months, which means you have a delicious treat ready whenever you need it. When you’re ready to enjoy them, just take them out of the freezer and let them defrost in the refrigerator overnight before reheating. There’s something so satisfying about knowing you have homemade goodness at your fingertips whenever the mood strikes! This kind of convenience truly adds joy to our busy lives.
Apple Pie Enchiladas Dessert: A Delicious Twist on a Classic Treat

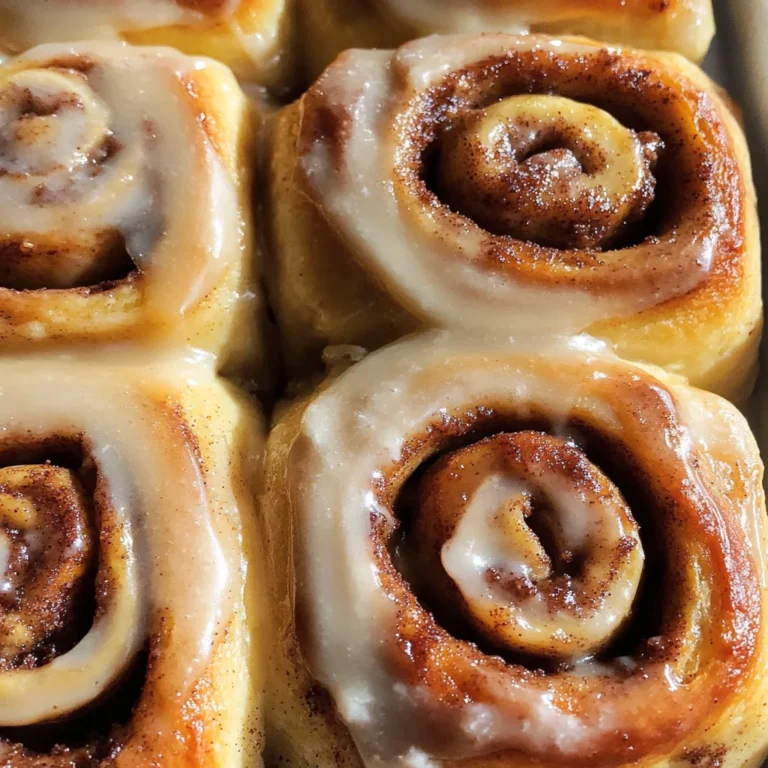
Apple Pie Enchiladas Dessert: A Delicious Twist on a Classic Treat is a delightful fusion that reimagines the beloved apple pie into a fun and comforting dessert. Picture this: warm, cinnamon-spiced apples wrapped in soft tortillas, baked to perfection, and drizzled with a heavenly glaze. This recipe captures the essence of nostalgia while introducing an exciting new twist that your family will adore. Whether for a cozy family gathering or a festive celebration, these enchiladas are sure to evoke smiles and create cherished memories around the table.
- Prep Time: 20 minutes
- Cook Time: 20 minutes
- Total Time: 40 minutes
- Yield: Serves approximately 8 people 1x
- Category: Dessert
- Method: Baking
- Cuisine: American
Ingredients
- 4 medium-sized apples (Granny Smith or your choice)
- 1/2 cup butter (113g), room temperature
- 1/2 cup canola or sunflower oil
- 1/2 cup granulated sugar
- 1/2 cup confectioners’ sugar
- Ground cinnamon
Instructions
- Preheat your oven to 350°F (175°C).
- Peel and slice the apples into a large mixing bowl. Toss with half of the granulated sugar and ground cinnamon until evenly coated.
- In another bowl, cream together the softened butter, remaining granulated sugar, and confectioners' sugar until light and fluffy.
- Add the butter mixture to the spiced apples and mix well until combined.
- Place two spoonfuls of filling on each tortilla, fold tightly, and arrange seam-side down in a greased baking dish.
- Bake for about 20 minutes or until golden brown and bubbly.
- Drizzle with a glaze made from confectioners' sugar mixed with a small amount of water before serving.
Nutrition
- Serving Size: 1 enchilada
- Calories: 280
- Sugar: 24g
- Sodium: 150mg
- Fat: 10g
- Saturated Fat: 6g
- Unsaturated Fat: 4g
- Trans Fat: 0g
- Carbohydrates: 45g
- Fiber: 2g
- Protein: 3g
- Cholesterol: 30mg