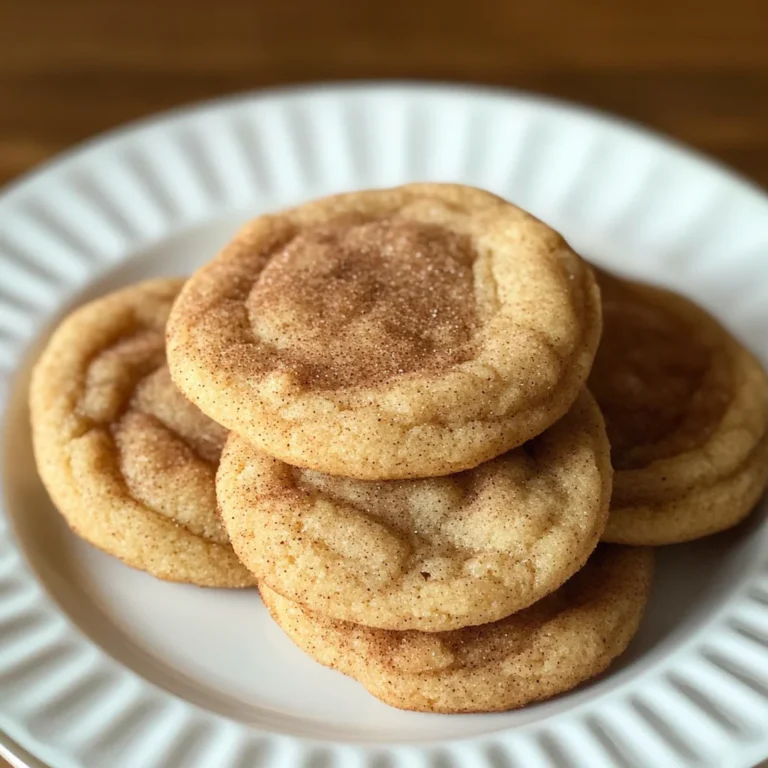
Banana Bread Cinnamon Rolls
The moment you step into your kitchen, there’s a kind of magic that envelops you—a warm embrace of nostalgia and creativity. It’s in the rich aroma of baked goods wafting through the air, a testament to the countless memories created over the years. Today, I want to share with you something that has a special place in my heart: Banana Bread Cinnamon Rolls. Imagine biting into a soft, gooey roll that beautifully marries the comforting flavors of banana bread with the delightful twist of cinnamon rolls. It’s an experience that transcends mere sustenance; it’s a celebration of flavor, texture, and love. The sweet bananas mixed with warm spices create an utterly intoxicating symphony that dances on your palate, and I promise, once you try this recipe, you’ll find yourself returning to it time and again.
These Banana Bread Cinnamon Rolls are not just a treat for your taste buds; they evoke feelings of home and comfort. As someone who has always been captivated by baking’s ability to bring people together, I’ve poured my heart into perfecting this recipe. With each roll, you’ll discover layers of sweetness complemented by a luscious cream cheese glaze that feels like liquid gold drizzling down the sides. Whether it’s a leisurely weekend breakfast or a cozy afternoon snack, these rolls are perfect for any occasion. Trust me on this—once you pull these out of the oven and see their beautiful golden-brown tops glistening with glaze, you’ll feel a profound sense of satisfaction knowing you’ve crafted something truly extraordinary.
Banana Bread Cinnamon Rolls: A Delicious Twist on a Classic
Welcome to the world of indulgence! These Banana Bread Cinnamon Rolls are not just breakfast; they’re a heartfelt hug wrapped in dough. This recipe invites you on a delightful culinary journey where you’ll transform simple ingredients into something magical. The combination of ripe bananas and aromatic cinnamon creates an irresistible allure that will make your kitchen feel like a bakery. So grab your apron—it’s time to create some delicious memories!
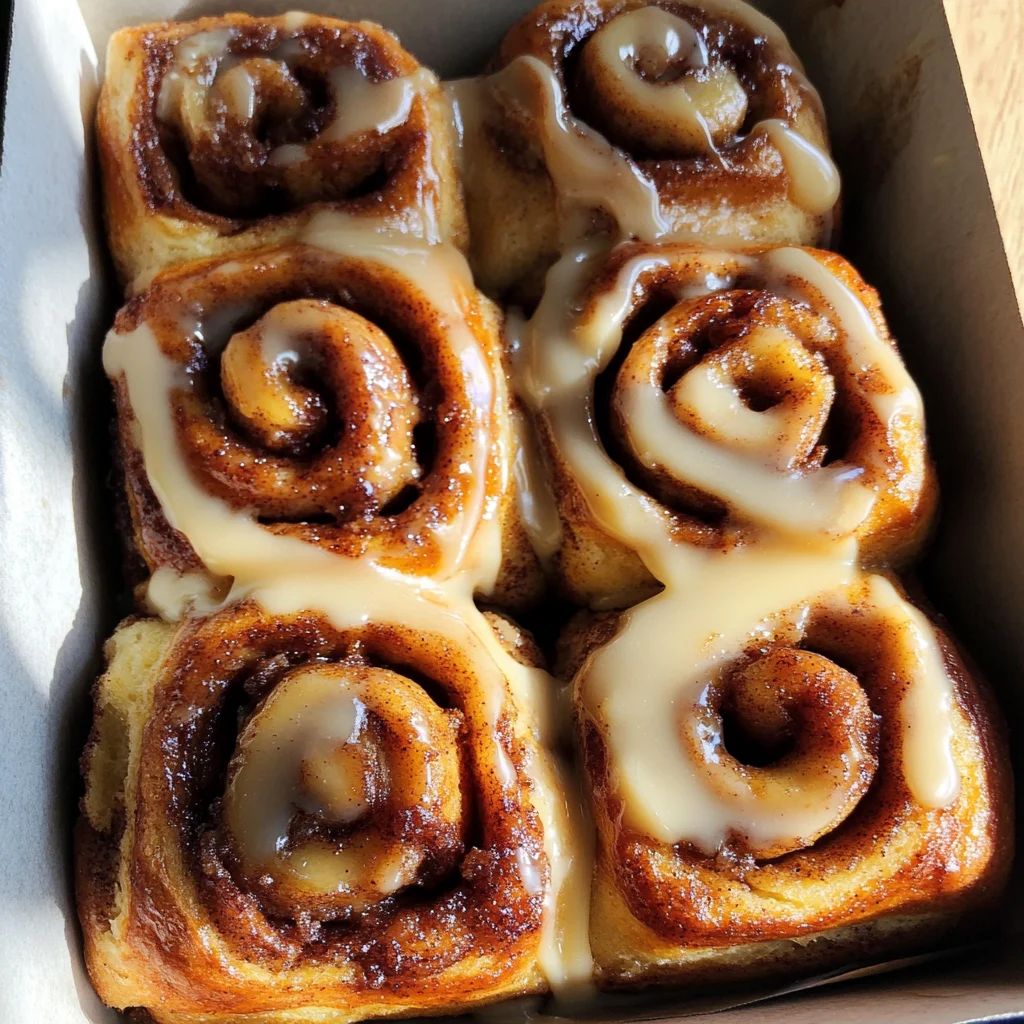
Ingredients:
As we embark on this culinary adventure together, let’s take a moment to appreciate each ingredient as it plays its unique role in crafting our Banana Bread Cinnamon Rolls.
- 2-3 pieces ripe bananas (mashed). The riper the bananas, the sweeter and more flavorful your rolls will be! Look for bananas that have deep brown spots; these beauties are packed with natural sugars and will create moistness throughout the rolls. Their creaminess helps bind everything together while contributing to that beloved banana flavor we all adore. If you’re short on bananas or they’re not quite ripe enough, consider using unsweetened applesauce as an alternative.
- 1/4 cup granulated sugar. This is essential for sweetness but also plays a crucial role in creating texture within your rolls. Granulated sugar helps achieve that tender crumb we desire while caramelizing slightly during baking for added depth. When measuring sugar for baking, be sure to level it off rather than packing it down; this ensures accuracy in sweetness!
- 1/4 cup brown sugar. The molasses content in brown sugar brings moisture and richness to our rolls that granulated sugar alone can’t provide. It also enhances the overall flavor profile with subtle hints of caramel notes, making each bite deeply satisfying. If you’re out of brown sugar, you can substitute it with granulated sugar mixed with a touch of molasses—just one tablespoon will do!
- 1/3 cup melted butter. This is where we start bringing in richness and flavor! Melted butter aids in creating those gooey textures we crave in cinnamon rolls while also enriching their taste with its creamy goodness. Make sure it’s not boiling hot when adding to other ingredients; otherwise, it can cook your egg prematurely!
- 1 piece egg. Eggs act as binders in our dough while contributing moisture and structure—think about them as little agents holding everything together! For those who prefer an egg-free option, consider using a flax egg (one tablespoon ground flaxseed mixed with three tablespoons water) as an excellent substitute.
- 1 teaspoon vanilla extract. This is non-negotiable! Vanilla not only adds sweetness but also elevates all other flavors present in your dough by tying them together harmoniously—like a perfect symphony! Always opt for pure vanilla extract over imitation if possible; it’s worth every drop!
- 1 1/2 cups all-purpose flour. Flour is the foundation upon which our rolls are built! Its protein content helps develop gluten as we knead or mix our dough—this provides structure while still allowing for tenderness once baked correctly! When measuring flour, it’s best to spoon it into your measuring cup and level off instead of scooping straight from the bag; this prevents excess flour from making your dough too dense.
- 1 teaspoon baking powder & 1 teaspoon baking soda. These two leavening agents work hand-in-hand to give our rolls their lovely lift! Baking powder activates immediately upon mixing while baking soda requires acidity (in this case from our mashed bananas) to produce carbon dioxide bubbles—resulting in fluffy goodness you’ll adore sinking your teeth into!
- 1/2 teaspoon salt. Salt might seem simple but think about how crucial it is—it enhances every flavor present while balancing sweetness beautifully! Plus, it strengthens gluten formation during mixing which contributes further elasticity.
- 1 tablespoon ground cinnamon. Ahh… cinnamon—the spice that truly makes everything nice! Its warm aroma fills the air as these rolls bake away and adds complexity without overpowering other flavors present in our dough mixture.
- 1/2 cup cream cheese (softened). Cream cheese is what brings our glaze to life—it provides creamy texture alongside tanginess which contrasts perfectly against sweet components found within our rolls! Ensure it’s softened first so it blends evenly without lumps.
- 1/4 cup powdered sugar & 1 tablespoon milk for glaze purposes only: These two combine effortlessly into something utterly divine once whisked together creating silky smoothness fit for drizzling atop warm cinnamon buns fresh outta oven!
Let’s get ready for some serious rolling action because these Banana Bread Cinnamon Rolls are going to impress everyone at your breakfast table!
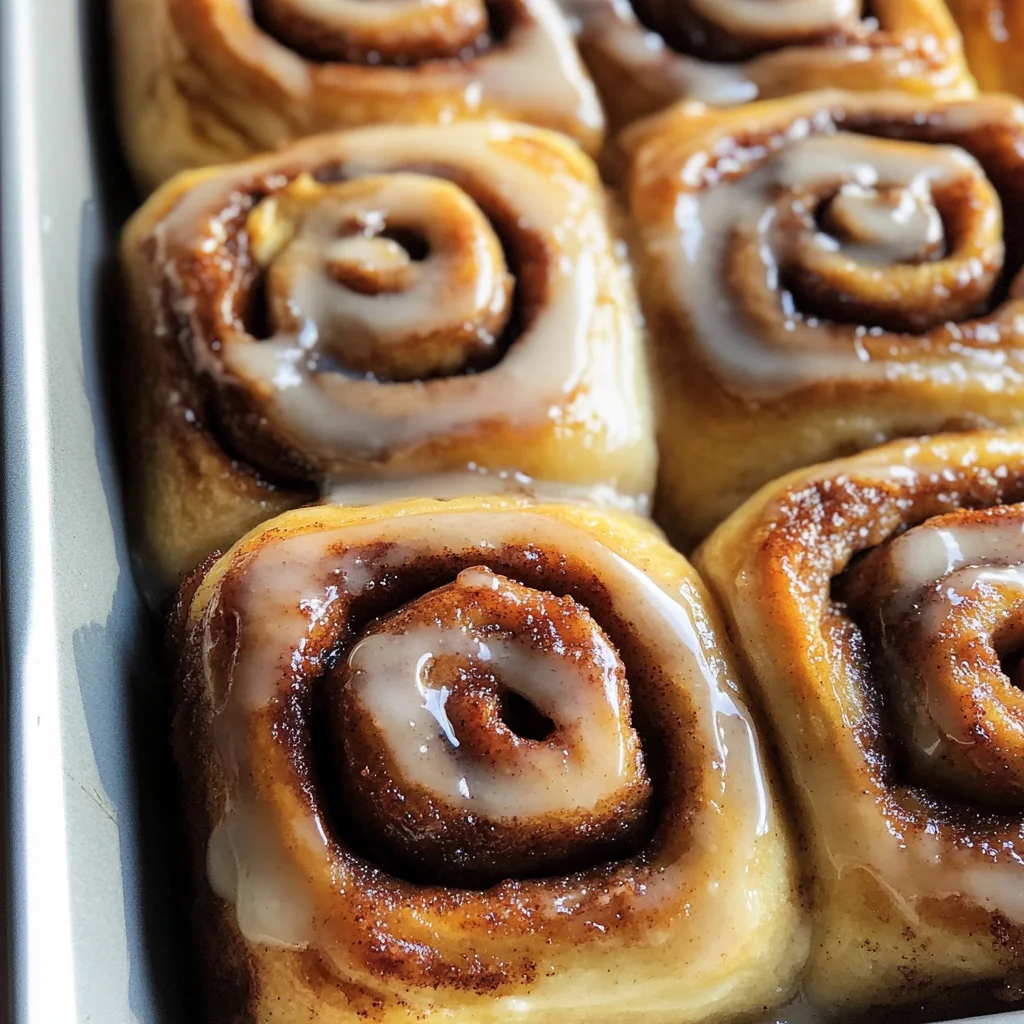
Equipment You’ll Need:
Before diving headfirst into our delicious creations, let’s talk about the essential tools you’ll need along this journey—the partners that help transform raw ingredients into mouthwatering delights.
- Mixing bowls: A good set of mixing bowls is indispensable during any baking endeavor! Opt for various sizes so you’re equipped whether combining dry ingredients or whipping up frosting later—bonus points if they come with lids for easy storage afterward!
- Measuring cups & spoons: Precision matters when baking; investing in high-quality measuring cups ensures accurate ratios leading towards success every time! Consider getting nested sets for convenience plus clear markings showing both metric & standard measurements too!
- Rubber spatula: This tool works wonders when scraping down sides of bowls ensuring no precious batter goes wasted plus folding ingredients gently without deflating air pockets formed earlier—a must-have!
- Baking dish (9×9 or similar): Choose one that conducts heat evenly ensuring even cooking throughout all portions baked inside—glass dishes often yield great results here but metal pans can also deliver wonderful goodies if preheated slightly beforehand!
Now that we’re well-equipped let’s dive deeper into preparing those Banana Bread Cinnamon Rolls which promise warmth & joy from start till finish!
Preparing the Banana Bread Cinnamon Rolls
Step 1: Create Your Dough
Start by preheating your oven to 350°F (175°C)—we want everything nice and warm before introducing those heavenly rolls! In one large mixing bowl, combine mashed ripe bananas along with both granulated sugar and brown sugar until just blended together nicely—it should resemble somewhat like creamy banana spread at this point. Next up? Add melted butter followed by cracking an egg straight into mixture along with vanilla extract—whisk everything together until smooth consistency forms which signals readiness ahead before moving forward onto dry ingredient stage next.
This process is known as creaming where sugars dissolve into fats creating structure within baked goods—this step is essential because it introduces air pockets necessary for lightness post-baking so don’t rush through any part here either please!
Step 2: Combine Dry Ingredients
In another bowl—preferably larger than previous one since we’ll soon be mixing things up here too—sift together all-purpose flour along side baking powder & soda plus salt then sprinkle ground cinnamon generously over top ensuring even distribution throughout mixture following closely behind next steps involving wet components added shortly afterward later on during process itself inevitably bringing forth delightful aromas filling kitchen space almost immediately thereafter too…
Why sift? Sifting breaks up clumps preventing any potential lumps formed leading towards undesirable textures appearing later down line eventually impacting overall quality produced afterward therefore taking time now pays off handsomely later trust me on this one especially since patience yields incredible rewards ultimately speaking here friends!
Step 3: Mix Wet And Dry Ingredients Together
Now comes my favorite part: gently fold those dry ingredients right into wet ones using rubber spatula making sure not overmix because doing so risks developing gluten which leads towards tougher rolls instead softer variants desired instead here folks please don’t let temptation dictate choices made at crucial moments like these because they matter significantly towards final outcome achieved ultimately trust me wholeheartedly throughout entire journey undertaken today ahead folks!
Once combined ensure no visible streaks remain evident across mixtures yet remember lumps aren’t enemies—they’re actually welcomed friends adding character uniquely defining these ultimate creations ahead promisingly so keep calm carry forth bravely friend(s)!
Step 4: Shape Your Rolls
Lightly flour countertop surface before transferring sticky dough gently onto work area where shaping takes place next aimed towards rolling out rectangle approximately half inch thick (or slightly less if preferred). Once rolled out spread generous layer melted butter atop followed closely behind sprinkling mixture comprising remaining ground cinnamon alongside additional sugars sprinkled freely across entire surface area inviting irresistible flavors permeating future bites enjoyed later friends trust me here wholeheartedly too please don’t skimp either way—you deserve best possible version available onward toward perfection attained ultimately afterwards instead too folks give yourselves permission enjoy fully blissful moments spent crafting such delights ahead now allowing magic unfold amidst glorious efforts put forth diligently thus far indeed yes?
Let’s keep rolling…literally!
Step 5: The Art of Shaping Your Rolls
Now that we’ve prepared our rich and flavorful dough, it’s time to transform it into something truly magical. Lightly flour your work surface to create a soft foundation for your dough. Gently turn the dough out onto the floured space, being careful not to deflate all those lovely air bubbles we just created. You want your rolls to be light and fluffy, so handle the dough with love. Using a rolling pin, roll the dough into a rectangle about 12 inches wide and 18 inches long; aim for a thickness of about 1/4 inch. This is where we begin to weave our delightful flavors together.
Once you’ve rolled out your dough, grab that fragrant ground cinnamon and sprinkle it generously over the surface—don’t be shy! The aroma should rise like a warm hug as you add it atop the dough along with both sugars. Use your fingertips to ensure an even distribution across every inch because this sweetness is what will create those glorious swirls when we roll it up. Now comes the fun part: starting from one of the longer edges, carefully roll the dough away from you into a log shape. As you roll, apply gentle pressure to keep everything snug but not too tight; we want those layers to remain distinct and airy. When you reach the end, pinch the seam together to seal in all that cinnamon goodness.
Step 6: Cutting and Placing Your Rolls
With your beautiful log of cinnamon-swirled goodness ready, it’s time to cut it into perfect pieces that will soon become our rolls. Using a sharp knife or dental floss (trust me on this one; it works wonders!), cut your log into eight equal segments—each about 1.5 inches wide. As you cut, pay attention to maintaining that gorgeous spiral; it’s absolutely essential for visual appeal! If any filling spills out during this process—don’t fret! Just tuck it back in gently when placing them in the baking dish.
Speaking of which, let’s talk about how we prepare our dish! Grease an 8-inch square baking pan with a bit of melted butter or non-stick spray to ensure your rolls won’t stick as they bake into golden perfection. Place each roll cut-side-up in the pan, spacing them closely together but not overcrowded; they’ll expand beautifully as they rise and bake. At this stage, I can hardly contain my excitement because you’re already starting to see those enticing swirls! Once they’re all nestled in their pan, cover them with a clean kitchen towel and allow them to rise in a warm place until they’ve doubled in size—this usually takes about 30-45 minutes depending on how cozy your kitchen feels.
Step 7: Baking Your Heavenly Rolls
After patiently waiting for our rolls to rise (and trust me, it’s worth every second), preheat your oven to 350°F (175°C). This step is crucial because we want that perfect balance between heat distribution and baking time—too cold, and they won’t cook through; too hot, and you’ll risk burning those delicate edges before the center has had a chance to set properly. While waiting for your oven to reach temperature, take a moment to admire how wonderfully puffy those rolls have become! They should look like fluffy clouds awaiting their transformation into golden delights.
Once preheated, slide that beautiful pan into the oven carefully—a moment of anticipation fills the air as you close the door and set your timer for approximately 25 minutes. Keep an eye on them during baking; you’ll know they’re done when they turn a lovely golden-brown hue and emit an irresistible aroma that fills your home with warmth and comfort like nothing else can! If you’re unsure whether they’re cooked through, insert a toothpick into one of the center rolls—if it comes out clean or with just a few crumbs clinging to it, you’re good to go!
Step 8: The Grand Finale – Glazing Your Rolls
Ahh, but we’re not done yet! As if these Banana Bread Cinnamon Rolls weren’t already extraordinary with their luscious swirls of cinnamon sugar inside—and now they emerge gloriously from the oven—the finishing touch is what elevates them from delightful breakfast treat to utterly decadent experience. While they’re cooling slightly (just enough so you don’t burn your fingers), let’s whip up that dreamy cream cheese glaze which will drape over our rolls like silky liquid gold.
In a medium bowl, combine softened cream cheese (make sure it’s at room temperature for easy blending), powdered sugar, and milk—this simple mixture is key! Start by mixing with an electric mixer on medium speed until smooth and creamy; trust me on this step—it makes all the difference! You want this glaze fluffy yet pourable; add just enough milk until you’ve reached that perfect consistency where it can cascade down those warm rolls without weighing them down too much. Now comes my favorite part: generously drizzle this heavenly glaze over each roll while they’re still warm from their bath in deliciousness—allowing it to seep into every nook and cranny!
As you take that first bite of these Banana Bread Cinnamon Rolls topped with luscious cream cheese glaze, revel in how all those flavors meld together—the sweetness of banana mingling with aromatic cinnamon creates an experience that’s profoundly satisfying. I promise you these are more than just breakfast or dessert—they’re moments wrapped in joy shared around tables filled with laughter and love. Enjoy every gooey bite—you deserve this treat!
Storage and Enjoyment Tips for Your Banana Bread Cinnamon Rolls
Now that your kitchen is filled with the sweet, intoxicating aroma of freshly baked Banana Bread Cinnamon Rolls, it’s time to dive into the joy of savoring them! But wait—before you indulge, let’s talk about how to store these delightful rolls so that every bite remains as heavenly as the first. The wonderful thing about these rolls is not just their immediate satisfaction but also their ability to retain that incredible flavor even after a day or two. Imagine reaching for a roll later on, and finding it still soft and gooey, just begging to be enjoyed!
Storing Leftover Banana Bread Cinnamon Rolls
To keep your Banana Bread Cinnamon Rolls fresh and scrumptious, I recommend storing them in an airtight container. This will help maintain their tender texture while preventing any unwanted drying out. If you don’t have a container handy, you can also wrap them tightly in plastic wrap or aluminum foil; I promise you’ll want to keep them sealed up tight! Ideally, they can be stored at room temperature for up to three days. However, if you want to extend their life (not that they’ll last long!), placing them in the refrigerator can keep them good for an additional few days. Just remember, when you take them out of storage, let them come to room temperature or pop them in the microwave for about 10-15 seconds to revive that gooey goodness. Trust me, they taste just as divine after a little time in storage!
Freezing Banana Bread Cinnamon Rolls for Later
If you find yourself with leftover rolls (which is honestly rare because they disappear so quickly), freezing is a fantastic option! To freeze your Banana Bread Cinnamon Rolls properly, allow them to cool completely before wrapping each roll individually in plastic wrap or foil. Then place all those delightful bundles into a freezer-safe bag or container—this extra layer keeps ice crystals at bay and preserves the flavor beautifully. These rolls can be kept frozen for up to three months without losing their charm! When you’re ready to enjoy one again, simply remove it from the freezer and let it thaw at room temperature for a couple of hours or pop it right into the microwave for a quick warm-up. How convenient is that? You’ll have breakfast or snack-time sorted with minimal effort—it’s like having your own bakery at home!
Banana Bread Cinnamon Rolls

Indulge in the warm embrace of nostalgia with these delightful Banana Bread Cinnamon Rolls. This recipe combines the sweet, tender goodness of ripe bananas with the warm spices of cinnamon, creating a treat that’s perfect for breakfast or an afternoon snack. Each roll is enveloped in gooey sweetness and topped with a luscious cream cheese glaze that adds a decadent touch to your day. Whether you’re baking for family or friends, these rolls are sure to bring smiles and joy to any gathering.
- Prep Time: 20 minutes
- Cook Time: 25 minutes
- Total Time: 45 minutes
- Yield: Serves 8
- Category: Breakfast
- Method: Baking
- Cuisine: American
Ingredients
- 2–3 ripe bananas (mashed)
- 1/4 cup granulated sugar
- 1/4 cup brown sugar
- 1/3 cup melted butter
- 1 egg (or flax egg for an egg-free option)
- 1 teaspoon vanilla extract
- 1 1/2 cups all-purpose flour
- 1 teaspoon baking powder
- 1 teaspoon baking soda
- 1/2 teaspoon salt
- 1 tablespoon ground cinnamon
- For glaze: 1/2 cup softened cream cheese, 1/4 cup powdered sugar, and 1 tablespoon milk
Instructions
- Preheat your oven to 350°F (175°C). In a large mixing bowl, combine mashed bananas, granulated sugar, brown sugar, melted butter, egg (or flax egg), and vanilla extract until smooth.
- In another bowl, sift together flour, baking powder, baking soda, salt, and cinnamon. Gradually fold dry ingredients into the banana mixture until just combined.
- Roll the dough on a floured surface into a rectangle. Spread melted butter over the dough and sprinkle with cinnamon and sugars.
- Roll the dough tightly into a log shape and cut into eight equal pieces.
- Place rolls in a greased baking dish and let rise for about 30-45 minutes until doubled in size.
- Bake for about 25 minutes until golden brown.
- While cooling slightly, prepare the glaze by mixing softened cream cheese, powdered sugar, and milk until smooth. Drizzle over warm rolls before serving.
Nutrition
- Serving Size: 1 serving
- Calories: 280
- Sugar: 20g
- Sodium: 170mg
- Fat: 10g
- Saturated Fat: 5g
- Unsaturated Fat: 4g
- Trans Fat: 0g
- Carbohydrates: 43g
- Fiber: 2g
- Protein: 4g
- Cholesterol: 30mg