Best Apple Pie Recipe
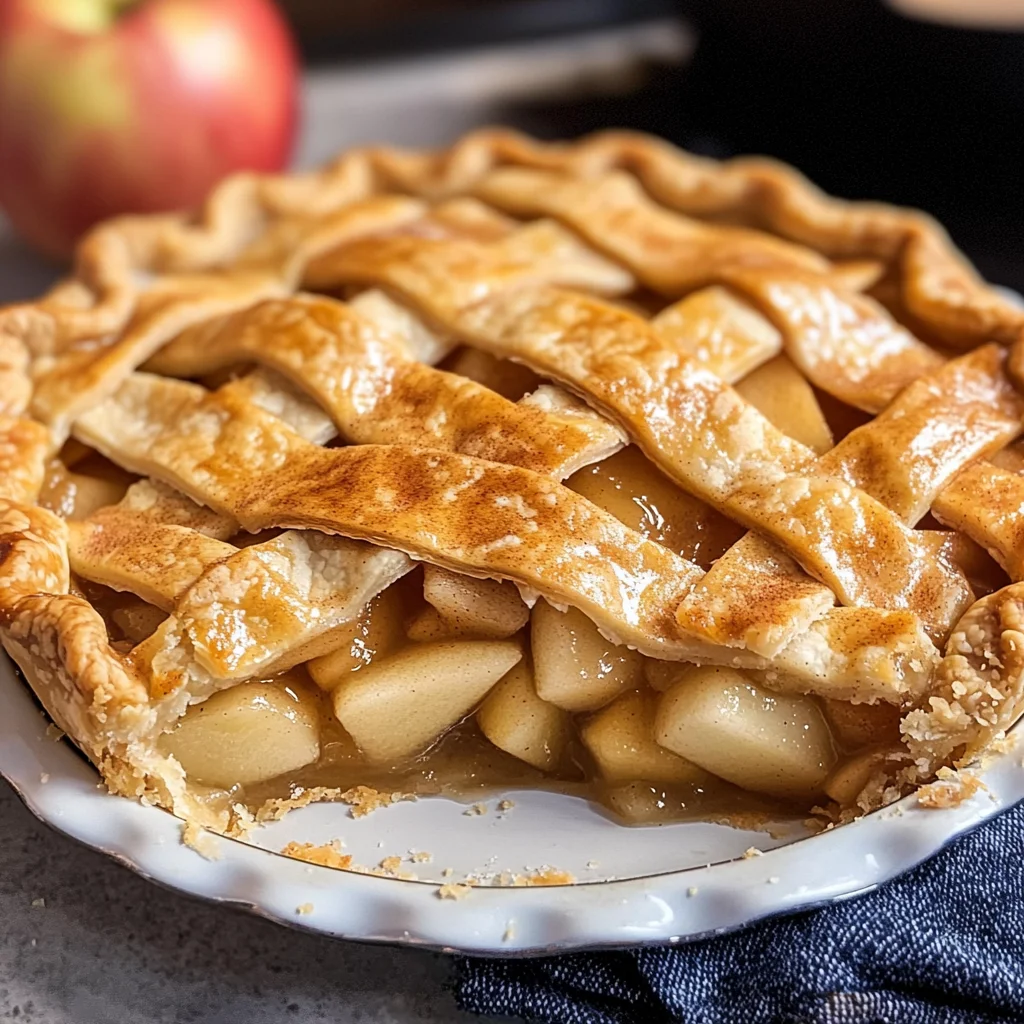
There’s something truly magical about apple pie, isn’t there? The very thought of warm, spiced apples nestled in a flaky, buttery crust sends my heart soaring. It’s not just a dessert; it’s a heartfelt embrace from generations past, a sweet memory wrapped in nostalgia and love. Each slice is like a whisper of comfort, a reminder of family gatherings, laughter echoing through the kitchen, and the tantalizing aroma that fills the air as it bakes. This Best Apple Pie Recipe captures all those feelings—it’s not merely about eating but experiencing something profoundly satisfying. I promise you, when you take that first bite, it’ll transport you to a place where everything feels right in the world.
What makes this recipe even more special is how approachable it is. You don’t need to be a seasoned baker to create this masterpiece; it’s designed for everyone—from beginners eager to learn to seasoned pros looking for that perfect pie. The combination of sweet and tart apples kissed with cinnamon creates an utterly intoxicating flavor profile that dances on your palate. As the pie bakes, you’ll be enveloped in its warm embrace, with hints of vanilla swirling through the kitchen air like an invitation to gather around the table. Whether it’s Thanksgiving dinner or just a cozy Sunday afternoon at home, this pie is always a hit—trust me on that!
Best Apple Pie Recipe: A Slice of Tradition
Welcome to my kitchen! Today, I’m thrilled to share my very favorite apple pie recipe with you—a recipe that’s been lovingly passed down through generations and has become a staple in our family gatherings and holiday celebrations. With its perfectly spiced filling and irresistible flaky crust, this pie is sure to become one of your cherished go-to desserts too! Let’s embark on this delightful culinary journey together.
Ingredients:
As we prepare to dive into crafting this delightful apple pie, let’s take a moment to appreciate each ingredient’s role in creating this symphony of flavors. Every component matters—the right balance will elevate your pie from good to extraordinary!
- 8 cups peeled apples, sliced ¼-inch thick (6-8 apples, 3.5 pounds). Choosing the right apples is pivotal for achieving that ideal filling texture and taste. I recommend using a mix of sweet and tart varieties for depth; think Granny Smith alongside Honeycrisp or Fuji. Their crispness holds up beautifully during baking while releasing juices that create an enchanting sauce around them. Make sure they’re freshly picked if possible—nothing beats the flavor of seasonal apples!
- 1 teaspoon vanilla extract. This little bottle holds liquid gold! Vanilla adds an aromatic sweetness that beautifully complements the spices and enhances the overall flavor profile of our filling. Don’t skimp on quality here; opt for pure vanilla extract instead of imitation for an authentic taste. It’s those subtle details that make your pie truly shine.
- ¼ cup all-purpose flour. Flour acts as a thickening agent for our filling while also providing structure when mixed with the other ingredients—think of it as the glue holding everything delicious together! When selecting flour, aim for high-quality brands with consistent results; they help ensure your filling achieves that perfect consistency without becoming runny.
- ¼ cup to ½ cup granulated sugar (amount depending on how sweet you want your pie). Sugar balances out the tartness of the apples while contributing to caramelization during baking—a vital aspect that brings out those gorgeous golden hues in your crust and filling! Feel free to adjust based on your taste preference; some apples are sweeter than others, so trust your instincts!
- ¼ cup brown sugar. Brown sugar introduces depth with its rich molasses undertones while also aiding in moisture retention within our filling—this keeps every bite juicy and satisfying! If you can find light brown sugar, use it here; it will provide just enough flavor without overpowering those lovely apple notes.
- 1 teaspoon ground cinnamon. Ah, cinnamon—the quintessential spice for any apple dessert! Its warm aroma evokes feelings of coziness and comfort; it’s like wrapping yourself in a soft blanket during chilly evenings. Plus, cinnamon pairs beautifully with apples by enhancing their natural sweetness without overshadowing them.
- ¼ teaspoon ground nutmeg. Just a pinch goes a long way here! Nutmeg adds complexity and warmth beyond what cinnamon offers—it’s like adding secret notes of joy into your pie! Be cautious not to overdo it though; we want nutmeg’s essence to dance lightly alongside our other flavors.
- ¼ teaspoon salt. Salt plays an essential role in highlighting flavors rather than making things salty; it acts as an enhancer! A touch here balances out sweetness while drawing forth all those wonderful notes from our spices and fruits.
- 2 ¼ cups all-purpose flour (for crust). For our crust’s base, we’ll rely on good all-purpose flour again—so versatile yet capable of producing tender textures when combined correctly with butter! Look for unbleached varieties if possible; they tend to yield better results both visually and texturally.
- 1 tablespoon granulated sugar (for crust). This tiny amount serves two purposes: first, it contributes sweetness which helps balance savory elements from butter later on; secondly—and perhaps most importantly—it aids browning during baking so we achieve that golden-brown perfection on top!
- ½ teaspoon salt (for crust). Again reinforcing flavors but also counteracting excess sweetness introduced by sugar—this balance makes all differences come alive!
- 1 cup cold unsalted butter (16 tablespoons), cut into small cubes. Butter is non-negotiable here—it’s what gives us that flaky texture we dream about biting into when enjoying pie! Using unsalted means we have complete control over seasoning while chilling ensures minimal melting occurs pre-baking; keep it cold until ready!
- 7 tablespoons ice-cold water. Water activates gluten within flour but too much can lead us astray into tough territory instead—ice-cold water helps maintain chilliness throughout mixing processes which leads toward flakiness post-baking!
- 1 tablespoon milk (for brushing). A simple wash before going into oven gives us attractive sheen after being baked—it elevates presentation tremendously!
- Coarse turbinado sugar (optional). This adds texture and sparkle atop crust once baked—though optional if preferred plain but believe me when I say seeing glistening bits will never disappoint anyone admiring their creation!
Equipment You’ll Need:
Before we jump into making this delectable pie, let’s talk about some essential tools that will transform your baking experience from daunting into delightful! Having the correct equipment not only streamlines the process but also elevates your final product—it’s like having trusted friends by your side as you create something wonderful.
- Mixing bowls: A set of various sizes will prove invaluable throughout this process—from mixing dry ingredients together seamlessly without creating messes elsewhere—to tossing those beautiful sliced apples gently without bruising them before they meet their destiny within our crust!
- Measuring cups & spoons: Precision matters greatly when dealing with baking recipes since too much or too little can alter outcomes drastically—investing time upfront measuring accurately saves potential disasters later down line ensuring success every time!
- Rolling pin: An absolute must-have for rolling out dough evenly so it bakes uniformly without uneven edges burning faster than others—we want perfect slices served later without any ragged bits ruining aesthetics either!
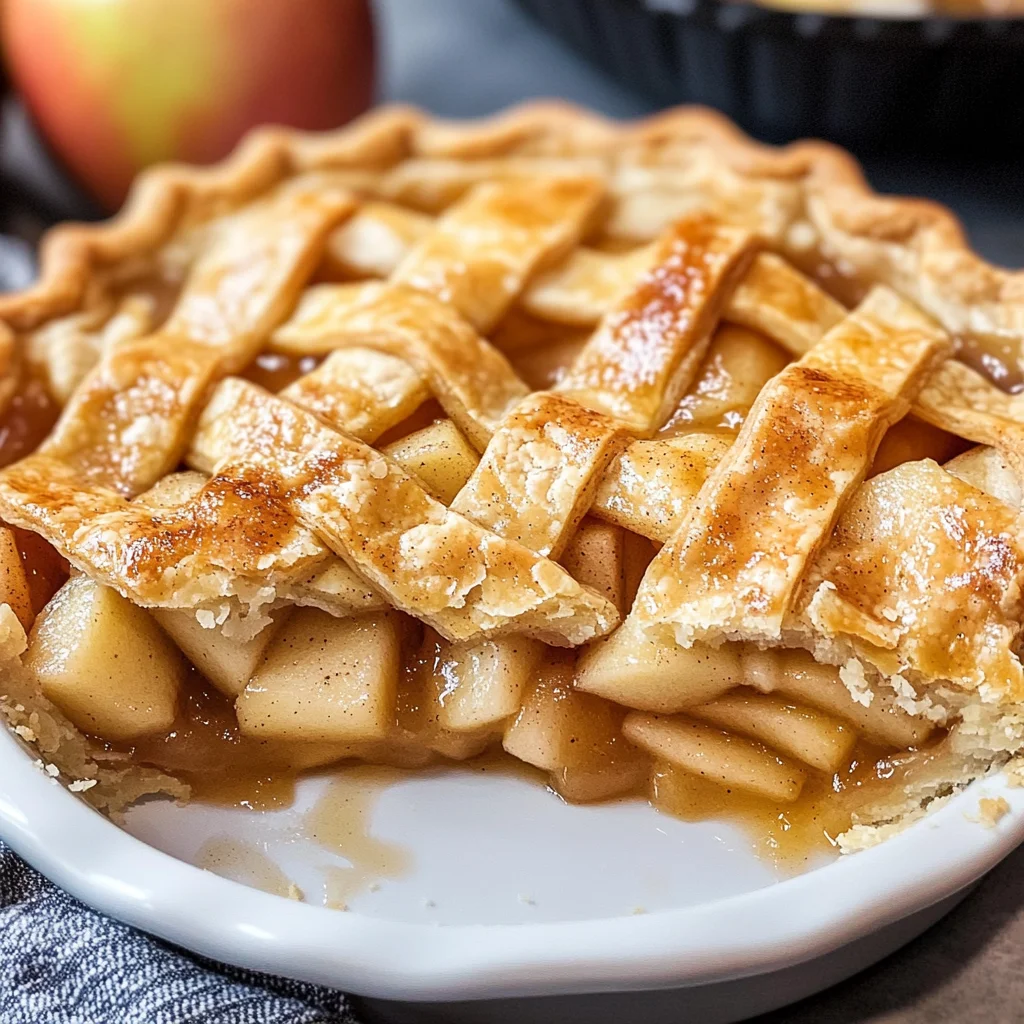
- Pie dish: Opting for glass or ceramic allows heat distribution evenly giving us beautiful browning effects inside whilst showcasing lovely layers visible through sides making presentation equally charming!
Preparing the Best Apple Pie Recipe
Step 1: Perfectly Prepare Your Apples
The heart and soul of any great apple pie lie within its filling—so let’s start there! Begin by peeling six to eight medium-sized apples—you’re looking at around eight cups once sliced—and then slicing them into thick ¼-inch pieces because consistency is key here; slices should cook evenly during baking time resulting in luscious bites surrounded by caramelized goodness later on! As you slice away, toss those beauties into a large mixing bowl along with vanilla extract which lends sweet aroma inviting everyone nearby closer already before anything hits oven yet!
Step 2: Sweeten Up Your Filling
Once you’ve got those gorgeous apple slices ready to go swimming in their flavorful bath—it’s time for seasoning magic next! Sprinkle granulated sugar across them based upon desired sweetness level discussed earlier allowing fruit juices released during heating processes mingle seamlessly creating syrupy goodness coating every piece lovingly as they marry inside oven later… Now add brown sugar along with ground cinnamon & nutmeg stirring gently ensuring spices cover every inch thoroughly bringing forth senses alive too—you’ll feel excitement building already just imagining how fragrant kitchen will smell soon enough…
Step 3: Thicken It Up!
Now comes another crucial step: sprinkle flour over entire mixture thoroughly distributing evenly among apple slices which acts as thickener absorbing excess liquids released while baking keeping everything intact maintaining luscious texture throughout experience—we want gooeyness without drippiness mind you! Gently fold this mixture until each slice appears coated wonderfully ensuring no clumps exist causing uneven cooking situations down line… If at any point things feel overly sticky don’t fret simply sprinkle additional flour until satisfied consistency achieved before moving onto next phase…
Step 4: Craft That Flaky Crust
With our stunning filling prepared perfectly—we now shift focus onto crafting incredible flaky crust needed encase these beauties inside… Start by combining two-and-a-quarter cups all-purpose flour alongside one tablespoon granulated sugar plus half teaspoon salt within bowl blending thoroughly beforehand setting aside temporarily after ensuring incorporated nicely through fingers feeling light fluffy texture achieved thus far… Next up comes star player: cold butter cubed previously chilled awaiting transformation moment where magic happens once blended together forming crumbly dough resembling sandy beach vibes! Take care here though—not rushing means avoiding overworking gluten which could lead tougher results instead flakier happiness desired coming forth shortly thereafter…
Stay tuned for more steps where we’ll dive deeper into assembling everything together beautifully leading toward ultimate satisfaction enjoyed directly from homemade goodness baked fresh right at home! Remember each moment spent learning adds joy alongside flavors growing stronger within tradition shared ultimately connecting hearts forevermore…
Step 5: Tossing the Apples to Perfection
Now, let’s dive into the heart of this Best Apple Pie Recipe—our luscious apple filling! Start by placing your peeled and sliced apples in a large mixing bowl. You want to ensure that these beauties are coated evenly with all the flavors that will make your pie utterly intoxicating. Sprinkle in the granulated sugar, brown sugar, flour, cinnamon, nutmeg, and salt. It’s crucial to mix these ingredients gently yet thoroughly; I like to use my hands for this part because it allows me to feel the apples and gauge how well they’re coated. The flour acts as a thickening agent when baking, absorbing the juices released from the apples, while the sugars will caramelize beautifully during baking, creating that coveted syrupy filling. Why do we add vanilla extract? Trust me on this—vanilla elevates the flavor profile, bringing out the natural sweetness of the apples in a way that is simply magical. Once everything is well combined, allow this mixture to sit for about 10-15 minutes. This resting time lets the apples release their juices and ensures that every bite of your pie will burst with flavor.
Step 6: Making the Flaky All-Butter Pie Crust
While your apple filling is getting cozy with its spices, let’s turn our attention to crafting that flaky pie crust that will cradle all those delightful flavors. In a large mixing bowl, combine 2¼ cups of all-purpose flour with 1 tablespoon of granulated sugar and ½ teaspoon of salt. These dry ingredients form the foundation of your crust and contribute to its texture and flavor. Next, it’s time for the star ingredient—cold unsalted butter! Cut your butter into small cubes and add it to the flour mixture. Using a pastry cutter (or even your fingertips), gently work the butter into the flour until it resembles coarse crumbs with pea-sized pieces of butter still visible. This step is absolutely paramount; those little bits of butter create steam during baking, which leads to a beautifully flaky crust. Remember not to overwork this dough; you want it to remain chilled and retain some integrity before it hits the oven.
Step 7: Hydrating Your Dough
After you’ve achieved that crumbly texture, it’s time to hydrate our dough with ice-cold water. Drizzle in about 7 tablespoons of ice water one tablespoon at a time while gently mixing with a fork or your hands until the dough starts to come together. Here’s where patience plays an important role—don’t rush this step! The amount of water needed can vary based on humidity and flour type; aim for a dough that holds together without being sticky or wet. When you squeeze it in your hand, it should form a cohesive ball without crumbling apart. Once you reach this desired consistency, divide your dough into two equal portions and shape each into a disc. Wrap them tightly in plastic wrap and refrigerate for at least one hour—or better yet, overnight if time allows! Chilling is crucial because it firms up the fats in your dough, making it easier to roll out later without losing its shape.
Step 8: Rolling Out Your Dough Like a Pro
Once your dough has chilled sufficiently (and trust me—you’ll be amazed at how easy it rolls out now), take one disc out from the fridge and place it on a lightly floured surface. Let it sit for about 5-10 minutes until it’s slightly softened but still cold; this balance is key! Using a rolling pin, start rolling from the center outward in even strokes until you have a circle about 12 inches in diameter and roughly 1/8 inch thick—this thickness is what gives us that perfectly flaky finish when baked! As you roll out your dough, keep lifting and turning it occasionally; this prevents sticking and helps maintain its round shape—a little finesse here goes a long way! If you notice any cracks forming along the edges while rolling, simply pinch them back together; after all, this is homemade love we’re crafting here! Once rolled out beautifully, transfer this delicate pie crust into your pie dish by gently folding it over your rolling pin—this way helps avoid any tears or rips!
As we savor these steps leading up towards one of life’s most comforting desserts—the Best Apple Pie Recipe awaits us with open arms ready to embrace gatherings filled laughter & love alike throughout seasons ahead… 🍏🥧
Storage and Enjoyment Tips for Your Best Apple Pie Recipe
Now that you’ve crafted this delightful masterpiece, it’s time to savor every bite! I can almost hear the happy chatter around your table as you cut into that beautifully golden crust, revealing the luscious apple filling bubbling with warmth. The aroma alone is enough to make anyone swoon. But what about those moments when you have leftovers? Trust me, you’ll want to enjoy this pie long after it’s baked!
Storing Leftover Best Apple Pie Recipe
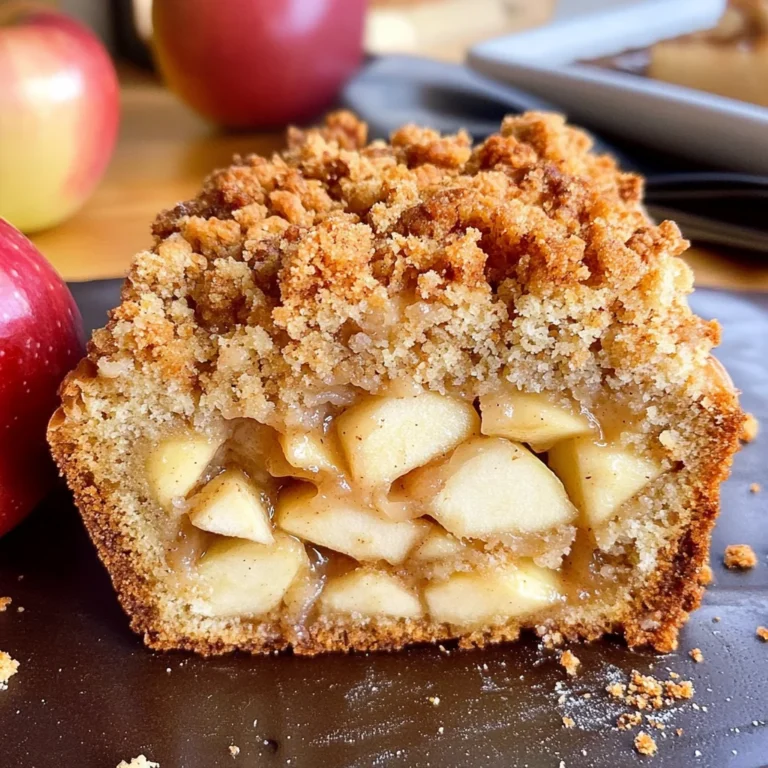
When it comes to storing your leftover best apple pie recipe, the key is to keep it fresh and delicious for as long as possible. The best way to do this is by placing your cooled pie in an airtight container or wrapping it tightly with plastic wrap. If you can, store it in a cool place, like a pantry or cupboard, away from direct sunlight. This will help maintain its flaky crust and prevent any moisture from seeping in. Generally, your pie will keep well for about 3-4 days at room temperature. To ensure that each slice remains just as scrumptious as the first, consider placing a slice of bread in the container with the pie; this little trick helps absorb excess moisture and keeps the crust from getting soggy. And let me tell you—after a day or two, when you take a bite of the leftover pie, you’ll find that the flavors have had a chance to meld together even more profoundly, creating an utterly intoxicating experience! For reheating, simply pop a slice in the microwave for about 30 seconds or rewarm it gently in an oven preheated to 350°F for about 10 minutes—just enough time for that heavenly aroma to fill your kitchen again.
Freezing Your Best Apple Pie Recipe for Later
If you’re lucky enough to have some pie left over—though trust me, it might disappear faster than you think—you can also freeze it for future enjoyment! To freeze your best apple pie recipe properly, make sure the pie has cooled completely before wrapping it tightly in plastic wrap and then aluminum foil to protect against freezer burn. This double-layer technique ensures that every bit of flavor stays intact while it’s nestled away in your freezer. When stored correctly like this, your pie will keep well for up to three months and still taste just as delightful as when it was freshly baked! The beauty of freezing is that on those busy days or unexpected guests’ visits, all you need to do is pull out your frozen treasure and let it thaw overnight in the fridge before baking it at 350°F until warmed through. This makes life so much easier—and oh-so-delicious!
What could be better than knowing that a slice of homemade goodness awaits you anytime you wish?
Best Apple Pie Recipe
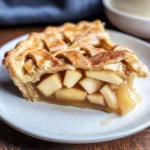
Experience the warmth and nostalgia of homemade apple pie with this Best Apple Pie Recipe, a delightful blend of sweet and tart apples enveloped in a flaky, buttery crust. This classic dessert is perfect for any occasion, from cozy family gatherings to festive holiday celebrations. The fragrant aroma of cinnamon and vanilla wafts through your kitchen as it bakes, creating an inviting atmosphere that will make your heart soar. Simple enough for novice bakers yet satisfying for seasoned pros, this recipe invites you to enjoy the comforting flavors of spiced apples and golden pastry. Serve it warm with a scoop of vanilla ice cream or a dollop of whipped cream for an unforgettable treat everyone will love!
- Prep Time: 30 minutes
- Cook Time: 60 minutes
- Total Time: 1 hour 30 minutes
- Yield: Serves approximately 8 slices 1x
- Category: Dessert
- Method: Baking
- Cuisine: American
Ingredients
- 8 cups peeled apples, sliced (3.5 pounds)
- 1 teaspoon vanilla extract
- ¼ cup all-purpose flour
- ¼ to ½ cup granulated sugar
- ¼ cup brown sugar
- 1 teaspoon ground cinnamon
- ¼ teaspoon ground nutmeg
- ¼ teaspoon salt
- 2 ¼ cups all-purpose flour (for crust)
- 1 tablespoon granulated sugar (for crust)
- ½ teaspoon salt (for crust)
- 1 cup cold unsalted butter, cut into small cubes
- 7 tablespoons ice-cold water
- 1 tablespoon milk (for brushing)
- Coarse turbinado sugar (optional)
Instructions
- Preheat oven to 425°F (220°C).
- In a large bowl, toss sliced apples with sugars, vanilla extract, flour, cinnamon, nutmeg, and salt. Let sit for 10-15 minutes.
- For the crust, mix flour, sugar, and salt in another bowl. Cut in cold butter until crumbly. Add ice-cold water gradually until dough forms.
- Roll out dough and place one layer in a pie dish; fill with apple mixture.
- Roll out second dough layer and cover the filling. Seal edges and cut slits on top.
- Brush with milk and optionally sprinkle turbinado sugar.
- Bake for 15-20 minutes at high heat; reduce temperature to 350°F (175°C) for additional 35-45 minutes until bubbly and golden.
Nutrition
- Serving Size: 1 slice (approximately 140g)
- Calories: 290
- Sugar: 25g
- Sodium: 150mg
- Fat: 14g
- Saturated Fat: 8g
- Unsaturated Fat: 4g
- Trans Fat: 0g
- Carbohydrates: 41g
- Fiber: 3g
- Protein: 2g
- Cholesterol: 30mg