Red White and Blue Mini Fruit Pizzas
There’s something truly magical about desserts that not only satisfy our sweet tooth but also bring a sense of joy and celebration to any gathering. As I ponder the delightful creation of Red White and Blue Mini Fruit Pizzas, I’m reminded of sun-drenched summer days, laughter echoing in the air, and the vibrant colors that signal the arrival of warmer times. This recipe is more than just a treat; it’s an experience that bridges tradition and innovation, perfect for celebrating those moments that matter most with friends and family. The soft sugar cookies serve as a delightful canvas for luscious cream cheese frosting, while the fresh blueberries and strawberries add a burst of color and flavor that makes them utterly irresistible.
What truly captivates me about these mini fruit pizzas is how they transform ordinary ingredients into something extraordinary—each bite is a symphony of flavors, textures, and colors that beckons to be shared. Imagine taking a leisurely stroll through an open-air market in July, where the scent of fresh berries dances in the warm breeze, mingling with laughter and chatter. That’s exactly what this dessert captures: a joyful essence that invites you to gather around the table, indulge in sweet conversations, and create memories that will last a lifetime. So let’s dive into this delightful journey together; I promise you won’t want to miss out on these little gems!
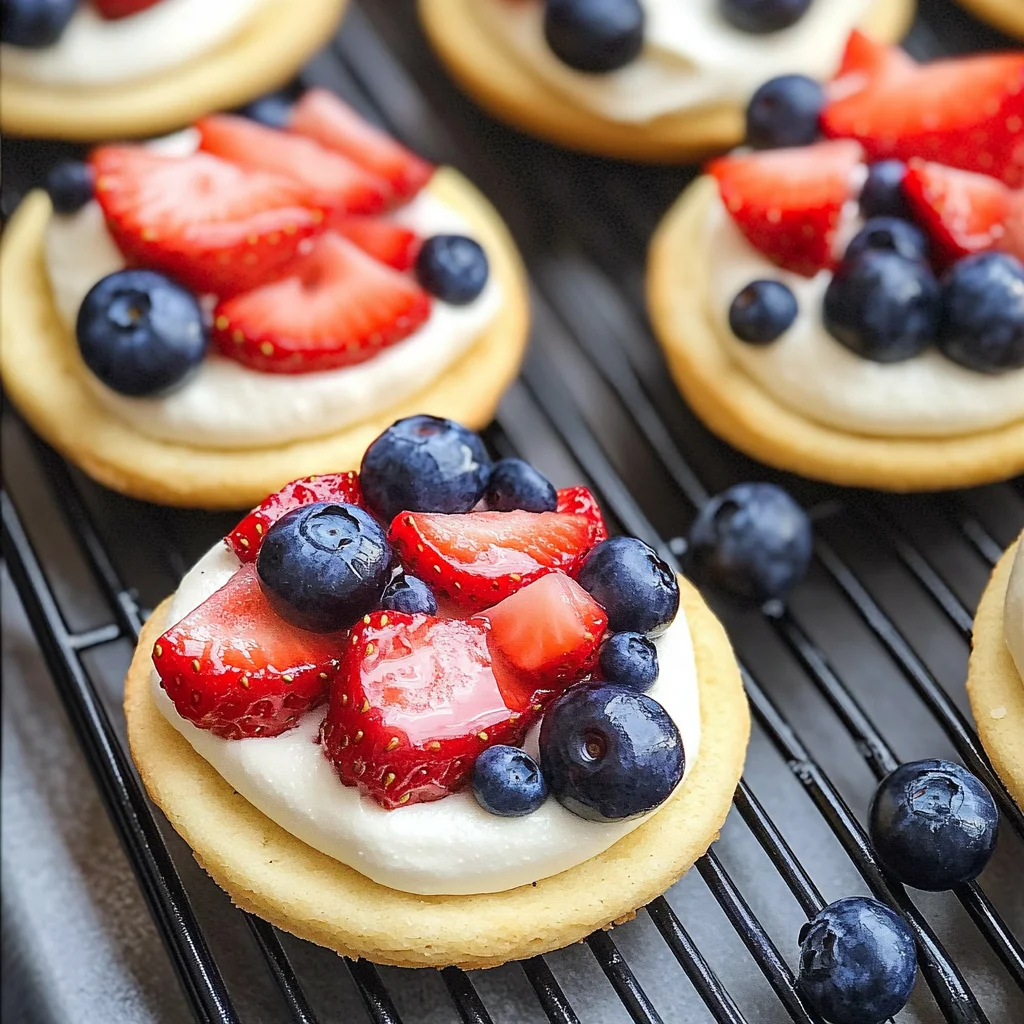
Red White and Blue Mini Fruit Pizzas: A Sweet Celebration for Every Occasion
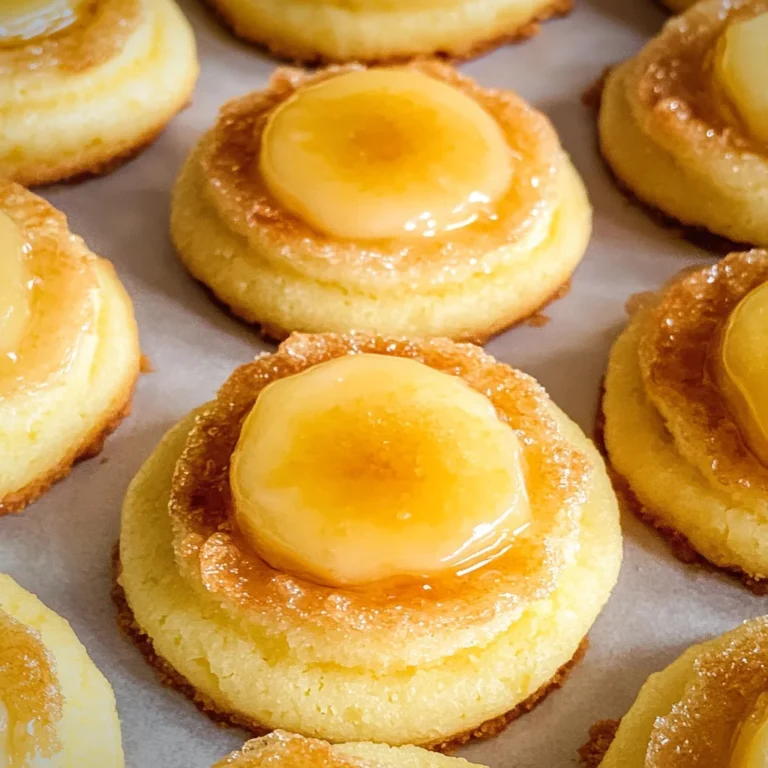
These Red White and Blue Mini Fruit Pizzas are not only visually stunning but also incredibly fun to make! With their soft sugar cookie bases topped with creamy frosting and adorned with fresh berries, they make for an unforgettable dessert. Whether you’re hosting a 4th of July barbecue or simply looking for a fresh summer treat, these mini pizzas are sure to impress your guests—and yourself! Let’s embark on this culinary adventure together!
Ingredients:
As we begin this delicious journey into creating our mini fruit pizzas, let’s gather our ingredients. Each component plays an essential role in crafting these delectable treats, contributing unique flavors and textures that come together in perfect harmony.
- 1/2 cup (1 stick or 113g) unsalted butter, softened. This ingredient is crucial for achieving that rich, buttery flavor we all crave in our cookies. By using softened butter at room temperature, we ensure it creams beautifully with sugar, creating an airy texture that helps our cookies rise perfectly. If you can find high-quality European-style butter, go for it—it will elevate your mini pizzas to new levels of indulgence.
- 3/4 cup granulated sugar. Ah, sugar—the sweet magic that binds our ingredients together! This adds not only sweetness but also contributes to the texture of our cookie base by helping to aerate the mixture during creaming. I always recommend using fine granulated sugar as it dissolves more easily, ensuring a smooth batter without any gritty texture.
- 1 large egg, room temperature. Eggs are vital here as they act as a binding agent while adding moisture and richness to our dough. Using eggs at room temperature helps them incorporate better into the batter; trust me on this one! Cold eggs can shock your mix and lead to uneven results.
- 2 teaspoons vanilla extract. Vanilla is like liquid gold in baking; its complex aroma brings warmth and depth to our cookies. Always opt for pure vanilla extract rather than imitation—it’s worth every penny when it comes to flavor!
- 1-1/2 cups all-purpose flour (spooned and leveled). Flour is what gives structure to our cookies; however, measuring it correctly is absolutely paramount! Spoon your flour into the measuring cup without packing it down—this ensures you don’t end up with too much flour which could yield dry cookies.
- 1/2 teaspoon baking soda & 1/4 teaspoon baking powder. These two leavening agents work hand-in-hand here! Baking soda helps with browning due to its alkalinity while baking powder provides extra lift during baking—a perfect combination for fluffy cookies.
- 1/4 teaspoon salt. Don’t underestimate salt in baked goods; it enhances all other flavors present in your cookie dough! It acts like a flavor amplifier—trust me when I say it’s non-negotiable.
- 6 oz cream cheese, softened & 2 tablespoons unsalted butter, softened (for frosting). The cream cheese brings its signature tanginess while creating a luxuriously creamy frosting that’s not overly sweet—just the way we like it! Pairing it with butter adds richness and stability which helps hold everything together beautifully.
- 1-1/2 cups powdered sugar. This finely milled sugar is key for achieving that silky-smooth consistency we desire in frosting without any grittiness. Sifting it before use can help prevent lumps—an extra step worth taking!
- 1/2 – 1 tablespoon 2% or skim milk. Milk adds moisture to our frosting while allowing us to achieve our desired consistency—smooth enough to spread yet thick enough not to run off your cookie base.
- 1 teaspoon vanilla extract (for frosting). Just like before, this ingredient elevates the flavor profile of our cream cheese frosting—bringing everything together seamlessly.
- 1-1/2 cups fresh blueberries & 1-1/2 cups fresh strawberries diced into 1/4-in cubes. These vibrant fruits not only enhance aesthetics but also bring natural sweetness and freshness that balances out the richness of both cookies and frosting beautifully! When selecting berries, look for those vibrant colors without any bruises—they should smell fragrant too!
Equipment You’ll Need:
Before we roll up our sleeves and dive into mixing up these delightful mini fruit pizzas, let’s take stock of the essential tools you’ll need along the way. Having the right equipment will make your baking experience smoother and much more enjoyable!
- Mixing bowl – A sturdy mixing bowl is essential for combining your ingredients effectively; choose one large enough so everything has room to blend without spilling over.
- Electric mixer or whisk – An electric mixer makes quick work of creaming butter and sugar together until light and fluffy—a task that can be quite labor-intensive by hand if you’re using just a whisk!
- Measuring cups & spoons – Accurate measurements are crucial when baking; having both dry measuring cups for flour/sugar as well as liquid measuring cups will ensure success every time you make these mini pizzas.
- Baking sheet lined with parchment paper or silicone mat – This prevents sticking while promoting even baking—all part of achieving those beautiful golden-brown edges we love!
- Cookie cutter (optional) – While you can just drop spoonfuls onto the sheet tray if you’re feeling relaxed about shapes, having fun-shaped cookie cutters can add an extra element of excitement—especially if you’re making these for kids or festive occasions!
Now that we’ve gathered everything we need let’s dive into preparing these scrumptious Red White and Blue Mini Fruit Pizzas!
Preparing the Red White and Blue Mini Fruit Pizzas
Step 1: Creaming Together Butter & Sugar
Start by preheating your oven to 350°F (175°C), making sure it’s nice and hot when you’re ready to bake those cookies! In your mixing bowl—or using your electric mixer—combine that softened butter with granulated sugar until light-colored and fluffy—this usually takes about 3–5 minutes on medium speed if using an electric mixer. You want this step done right because it introduces air bubbles into the mixture which will help give structure later as they bake; don’t rush this process! You’ll know you’ve reached perfection when it resembles whipped cream—a pale yellow color with tiny air pockets forming throughout.
Step 2: Adding Egg & Vanilla
Next up comes adding in your large egg along with those fragrant two teaspoons of vanilla extract! Beat them on low speed until combined—but keep an eye out during this step since overmixing can lead to dense cookies instead of tender ones! Once added properly though—you should see everything come together beautifully resulting in a creamy mixture full of cozy aromas wafting around your kitchen—it’s absolutely intoxicating!
Step 3: Incorporating Dry Ingredients
Now it’s time to introduce those dry ingredients: In another bowl whisk together flour (remember spooning then leveling!), baking soda, baking powder, and salt until evenly mixed—and don’t forget this critical step ensures there are no clumps hiding anywhere! Gradually add this dry mix into your wet mixture while continuing on low speed until just combined—no need to over-mix here either; stop once no flour streaks remain visible—that’s how simple yet effective blending should be done!
Step 4: Shaping Cookies
Now comes one of my favorite parts: shaping those cookie dough balls! Using either a tablespoon or cookie scoop helps keep sizes uniform—which means even baking too (yay!). Roll each portion into round balls before placing them onto prepared baking sheets spaced apart about two inches apart since they’ll expand slightly during baking time—give them room to breathe! Once shaped properly allow them approximately 10 minutes in preheated oven until edges begin turning golden brown—you’ll know they’re done when lightly pressing down reveals softness still intact inside—that balance between crispy exterior meets chewy interior makes all difference here!
Stay tuned as we prepare luscious cream cheese frosting next…
Step 5: Bringing the Dough Together
Now that you’ve creamed together your butter and sugar until they’re light and fluffy, it’s time to introduce the egg and vanilla extract into this delightful mixture. Crack that large egg, which should be at room temperature—this is crucial because it helps everything blend seamlessly, creating a smooth texture for your cookie dough—then add it along with the two teaspoons of vanilla extract. As you mix these ingredients in, you’ll notice how they transform the mixture into a creamy dream. I always love watching this part unfold; it’s like magic! You want to mix until everything is just combined, ensuring not to overmix. Overmixing can lead to tough cookies, and we certainly don’t want that for our Red White and Blue Mini Fruit Pizzas!
Next up, let’s sift together our dry ingredients—this includes the all-purpose flour, baking soda, baking powder, and salt—in a separate bowl. Sifting is not just a decorative step; it incorporates air into the flour which leads to lighter cookies. Trust me on this: it makes such a difference! Gradually add this dry mixture into your wet ingredients. Start mixing on low speed if you’re using an electric mixer; this will help stop flour from flying everywhere. As you combine them, watch for clumps of flour disappearing—it should come together to form a soft dough that easily pulls away from the sides of the bowl. Once it’s all incorporated and looks beautiful, take a moment to appreciate that dough because you’re well on your way!
Step 6: Chilling Your Cookie Dough
Chilling your cookie dough is one of those steps that might feel tedious but believe me when I say it’s absolutely paramount for achieving the best texture in your cookies. Wrap that luscious dough in plastic wrap or place it in an airtight container, giving it at least 30 minutes in the refrigerator. This might feel like an eternity when you’re excited about baking—imagine how good those mini fruit pizzas are going to taste—but patience here pays off! Chilling helps solidify the fats in the dough, which prevents them from melting too quickly in the oven.
As you wait, think about how this simple step will ensure that each cookie holds its shape beautifully while baking. If you skip this chilling phase, you might end up with flat cookies instead of those perfectly rounded morsels we all adore! The coolness also allows for enhanced flavors as they mingle and deepen during their time together in the fridge. So resist the urge to rush through this step; pour yourself a nice cup of tea or coffee while you wait—it’ll be worth it once those fragrant cookies come out of the oven.
Step 7: Shaping Your Cookies
Now comes one of my favorite parts—the shaping! Preheat your oven to 350°F (175°C) while you’re waiting for your cookie dough to chill. When you’re ready, grab a baking sheet lined with parchment paper; this non-stick surface ensures an easy release after baking and keeps clean-up simple—a win-win! Using a tablespoon or a small ice cream scoop (which I absolutely adore), scoop out generous portions of chilled dough and roll them into smooth balls. Aim for about one inch in diameter; these will spread slightly during baking but still hold their lovely round shape thanks to our earlier chilling step.
Place those cookie balls onto your prepared baking sheet about two inches apart—they’ll need space to spread without crowding each other! As you do this, take a moment to feel that excitement bubbling up inside you—the anticipation of delightful little cookies coming together. Bake these beauties for approximately 10-12 minutes until they’re just beginning to turn golden around the edges but still look slightly soft in the center—that’s exactly what we want! Remember, cookies will continue cooking even after being removed from the oven due to residual heat—so trust your instincts here!
Step 8: Cooling and Preparing Frosting
Once baked to perfection, remove those glorious mini sugar cookies from your oven and let them cool on the baking sheet for about five minutes before transferring them onto wire racks. This cooling phase is vital because it allows them to set properly without losing their shape or becoming overly crumbly when moved around. Just picture those warm cookies resting gently as they release their intoxicating aroma throughout your kitchen—it’s almost heavenly!
While they’re cooling down, let’s whip up that utterly delicious cream cheese frosting that will elevate our fruit pizzas into something truly extraordinary! In a medium bowl, beat together six ounces of softened cream cheese with two tablespoons of unsalted butter until smooth and creamy—this usually takes about two minutes at medium speed using an electric mixer. Then gradually add in one-and-a-half cups of powdered sugar; I like to do this slowly so I don’t end up wearing half of it! Finally, drizzle in half a tablespoon (or more if needed) of milk along with one teaspoon of vanilla extract—it adds such depth! This frosting should be silky smooth yet thick enough to hold its shape when dolloped onto our cookies.
Next Major Phase – Decorating Your Red White and Blue Mini Fruit Pizzas
Step 9: Frosting Your Cookies
Now comes perhaps my favorite moment—the assembly where we transform simple sugar cookies into vibrant masterpieces bursting with flavor! Once your cookies have completely cooled down (and yes, I mean completely; frosting warm cookies can lead to melted gooeyness instead of dreamy toppings), grab your frosting and prepare for some fun! Using either a spatula or piping bag fitted with a star tip (if you’re feeling extra fancy), generously spread or pipe that luscious cream cheese frosting atop each cookie. Don’t be shy here; think of each cookie as a canvas begging for color!
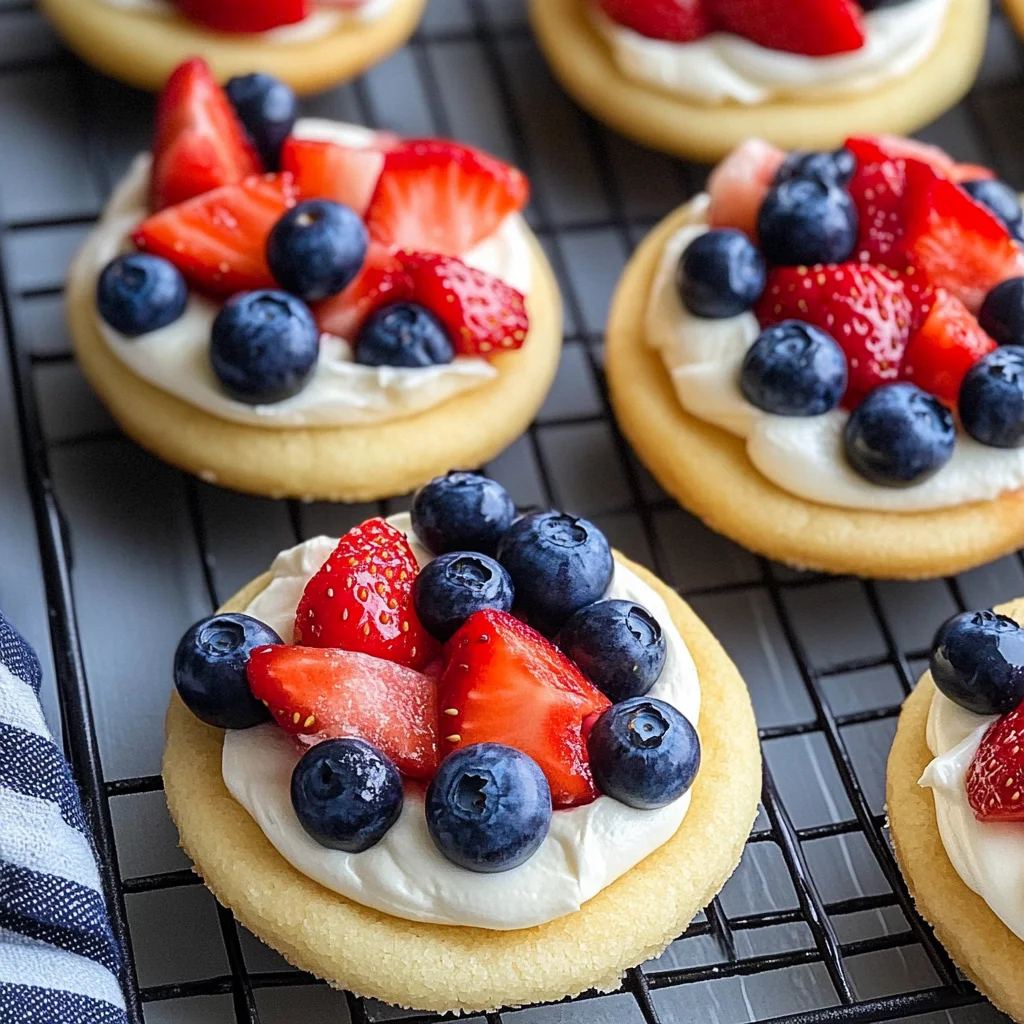
As you frost each one, imagine how each bite will complement those fresh blueberries and strawberries we’ll use later—the sweet creaminess paired with tart berries creates an utterly intoxicating experience that’s perfect for any celebration! Speaking of berries—after you’ve frosted all your mini pizzas, it’s time to decorate them with about one-and-a-half cups each of fresh blueberries and diced strawberries. Distribute these beauties evenly across each frosted cookie; I like arranging them in patterns reminiscent of stars and stripes—it adds an extra festive touch perfect for gatherings!
Step 10: The Grand Finale – Enjoying Your Creation
After all that hard work—and let’s face it, love—you’ve created something profoundly satisfying: Red White and Blue Mini Fruit Pizzas that are not only visually stunning but also bursting with flavor! Now’s the time to take a step back and admire what you’ve crafted before diving in headfirst—the anticipation builds as you realize how special these treats are for sharing with friends or family during summer festivities.
I promise you, every bite will transport you straight into summer bliss—the soft sugar cookie base pairs harmoniously with tangy cream cheese frosting while juicy berries explode with freshness right there in your mouth. These mini fruit pizzas are not just desserts; they’re connections made over laughter shared around tables filled with joy—a true celebration captured between layers of flavor and texture.
So gather everyone around when it’s time to serve these lovelies—you’ll undoubtedly find smiles all around as they sink their teeth into these delightful bites. And remember: whether it’s Independence Day or just another sunny afternoon spent outdoors with loved ones—or even if you find yourself treating yourself after a long week—these Red White and Blue Mini Fruit Pizzas are sure to bring happiness wherever they’re enjoyed! Happy baking, my friend!
Storage and Enjoyment Tips for Your Red White and Blue Mini Fruit Pizzas
Now that your kitchen is filled with the intoxicating aroma of freshly baked mini fruit pizzas, it’s time to revel in the joy of sharing these delightful treats! I can hardly contain my excitement when I think about how they’ll brighten up any gathering. These vibrant desserts are not only visually stunning but also a symphony of flavors that will have everyone coming back for seconds. But what happens if you find yourself with leftovers? Fear not! Let’s dive into some helpful tips to ensure your Red White and Blue Mini Fruit Pizzas stay just as delicious for later enjoyment.
Storing Leftover Red White and Blue Mini Fruit Pizzas
To preserve the lusciousness of your mini fruit pizzas, store them in an airtight container at room temperature. This ensures that the cookies remain soft and delightful, making every bite feel like a warm hug. They should keep beautifully for about 2-3 days—though I doubt they’ll last that long! To maintain their quality, consider placing a slice of bread in the container; this little trick helps prevent the cookies from drying out while absorbing any excess moisture. You’ll be pleasantly surprised at how they taste even after a day or two, with the cream cheese frosting becoming even more indulgent as it melds with the cookie base. When you’re ready to serve them again, simply enjoy them as is or pop them in the fridge to chill for a refreshing treat on a warm day!
Freezing for Later
If by chance you want to prepare ahead (which I wholeheartedly encourage), freezing these mini fruit pizzas is a fantastic option! To freeze them properly, lay the mini pizzas on a baking sheet lined with parchment paper and freeze until solid—this prevents them from sticking together. Once they’re frozen, transfer them to a freezer-safe bag or container, where they can keep for up to three months without losing their charm. When you’re ready to indulge again, simply pull them out and let them thaw in the fridge for a couple of hours before serving. This method not only saves time but also means you always have a delightful dessert on hand for unexpected guests or those late-night cravings. Trust me, knowing you have these beauties waiting in the freezer is pure bliss!
Red White and Blue Mini Fruit Pizzas

Red White and Blue Mini Fruit Pizzas are a delightful way to celebrate summer gatherings! These vibrant treats combine soft sugar cookies with creamy frosting, topped off with fresh blueberries and strawberries for a burst of color and flavor. Perfect for holiday barbecues, family reunions, or simply enjoying a sweet moment at home, these mini fruit pizzas offer both fun and indulgence. Easy to make and visually stunning, they invite everyone to gather around the table, share stories, and create lasting memories. Dive into this joyful recipe that transforms simple ingredients into extraordinary bites of happiness.
- Prep Time: 25 minutes
- Cook Time: 12 minutes
- Total Time: 37 minutes
- Yield: Approximately 12 servings 1x
- Category: Dessert
- Method: Baking
- Cuisine: American
Ingredients
- 1/2 cup unsalted butter, softened
- 3/4 cup granulated sugar
- 1 large egg
- 2 teaspoons vanilla extract
- 1 1/2 cups all-purpose flour
- 1/2 teaspoon baking soda
- 1/4 teaspoon baking powder
- 1/4 teaspoon salt
- 6 oz cream cheese, softened
- 2 tablespoons unsalted butter, softened (for frosting)
- 1 1/2 cups powdered sugar
- 1/2 – 1 tablespoon milk
- 1 teaspoon vanilla extract (for frosting)
- 1 1/2 cups fresh blueberries
- 1 1/2 cups fresh strawberries, diced
Instructions
- Preheat oven to 350°F (175°C). In a mixing bowl, cream together softened butter and granulated sugar until light and fluffy.
- Add the egg and vanilla extract; mix until well combined.
- In a separate bowl, whisk together flour, baking soda, baking powder, and salt. Gradually add this mixture to the wet ingredients until just combined.
- Roll dough into one-inch balls and place on a parchment-lined baking sheet about two inches apart.
- Bake for 10-12 minutes until edges are golden but centers remain soft. Cool on a wire rack.
- For the frosting, beat together cream cheese and butter until smooth. Gradually add powdered sugar and milk until desired consistency is reached. Stir in vanilla extract.
- Frost cooled cookies generously with cream cheese frosting and top with fresh berries.
Nutrition
- Serving Size: 1 mini fruit pizza (50g)
- Calories: 180
- Sugar: 16g
- Sodium: 75mg
- Fat: 8g
- Saturated Fat: 5g
- Unsaturated Fat: 3g
- Trans Fat: 0g
- Carbohydrates: 25g
- Fiber: <1g
- Protein: 2g
- Cholesterol: 30mg