Raspberry & Dark Chocolate Chip Cookies
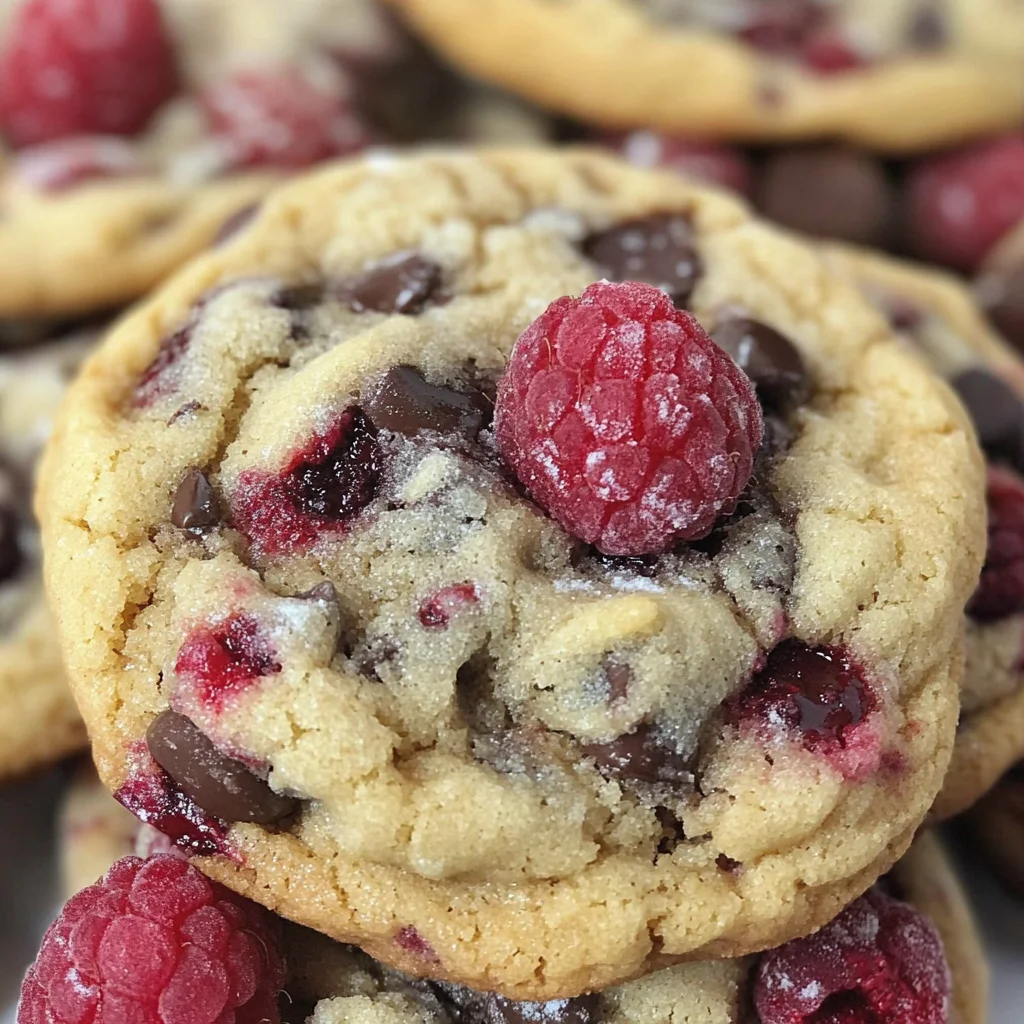
There’s something truly magical about baking cookies, isn’t there? The way the kitchen fills with warmth and the intoxicating aroma of sweet dough wafting through the air, it’s like a hug for the senses. Today, I want to share with you a recipe that transcends mere dessert; it’s an experience that combines the tart juiciness of fresh raspberries with the rich decadence of dark chocolate. These Raspberry & Dark Chocolate Chip Cookies are not just any cookies—they’re a delightful dance of flavors and textures that come together to create something profoundly satisfying. Each bite is a symphony of sweet and tart; you’ll find yourself captivated by how every element plays off the others beautifully.
As we embark on this culinary journey, let me tell you why these cookies hold a special place in my heart. They remind me of cozy afternoons spent in my grandmother’s kitchen, where she would whip up her famous treats while sharing stories from her past. The vibrant red of raspberries against the glossy dark chocolate chips evokes memories of laughter and love, making these cookies an emblem of comfort and joy. Whether you’re celebrating a special occasion or simply wishing to treat yourself (because you absolutely deserve it!), I promise you that these cookies will leave a lasting impression on your taste buds and your heart.
Raspberry & Dark Chocolate Chip Cookies: A Sweet Indulgence
Baking these Raspberry & Dark Chocolate Chip Cookies is like creating little pockets of happiness! With each ingredient playing its own vital role, we’re about to create something truly extraordinary. Let’s dive into what you’ll need for this delightful treat!
Ingredients:
Gathering your ingredients is the first step in this exciting adventure. Each component has its own story to tell, so let’s explore them together!
- 1 cup (2 sticks) unsalted butter, softened to room temperature. This is crucial for creaming properly and achieving that light, airy texture we’re aiming for in our Raspberry & Dark Chocolate Chip Cookies. If your butter is too cold, it won’t blend well with the sugars; if it’s melted, your cookies will spread too much during baking. I recommend using high-quality butter, as it adds depth and richness to your cookies—European-style butter with higher fat content can elevate your final product even more.
- 1 cup light brown sugar. Brown sugar brings moisture and a hint of caramel flavor to our cookies, which perfectly complements the tartness of raspberries and the bitterness of dark chocolate. The molasses present in brown sugar also helps create that chewy texture we all crave in a cookie! When measuring, ensure it’s packed tightly for accurate results; don’t forget that this ingredient contributes to both flavor and texture.
- 1/2 cup granulated sugar. This sugar balances out the brown sugar’s richness while helping our cookies achieve that perfect golden hue when baked. Granulated sugar contributes to spreading during baking, creating those lovely edges we all adore! It’s important not to skip this ingredient, as it plays a vital role in achieving that classic cookie consistency.
- 2 large eggs. Eggs are absolutely paramount in binding our ingredients together and adding moisture to our dough. They also contribute to the structure—without them, our cookies would crumble apart instead of creating those delightful chewy bites! When cracking your eggs, be sure they’re fresh for optimal results.
- 1 teaspoon vanilla extract. Vanilla adds an aromatic quality that elevates all other flavors in our cookie dough! It provides warmth and depth that complements both the chocolate and raspberry beautifully. Always opt for pure vanilla extract over imitation—trust me; your taste buds will thank you!
- 2 1/4 cups all-purpose flour. Flour serves as the backbone of our dough; it’s essential for providing structure while allowing everything else to come together seamlessly. Make sure you measure accurately—scooping directly from the bag can lead to packing too much flour into your measuring cup! Fluff it up first with a fork before spooning it into your measuring cup for precise results.
- 1 teaspoon baking soda. This leavening agent helps our cookies rise perfectly while keeping them tender rather than dense—a crucial aspect if we want those fluffy delights! Be mindful of its freshness; expired baking soda won’t provide enough lift, leaving us with flat cookies instead.
- 1/4 teaspoon salt. A pinch of salt is non-negotiable! It enhances all flavors present in our cookies—from sweet chocolate chips to tangy raspberries—and creates balance within each bite. It’s often overlooked but trust me when I say it makes all the difference!
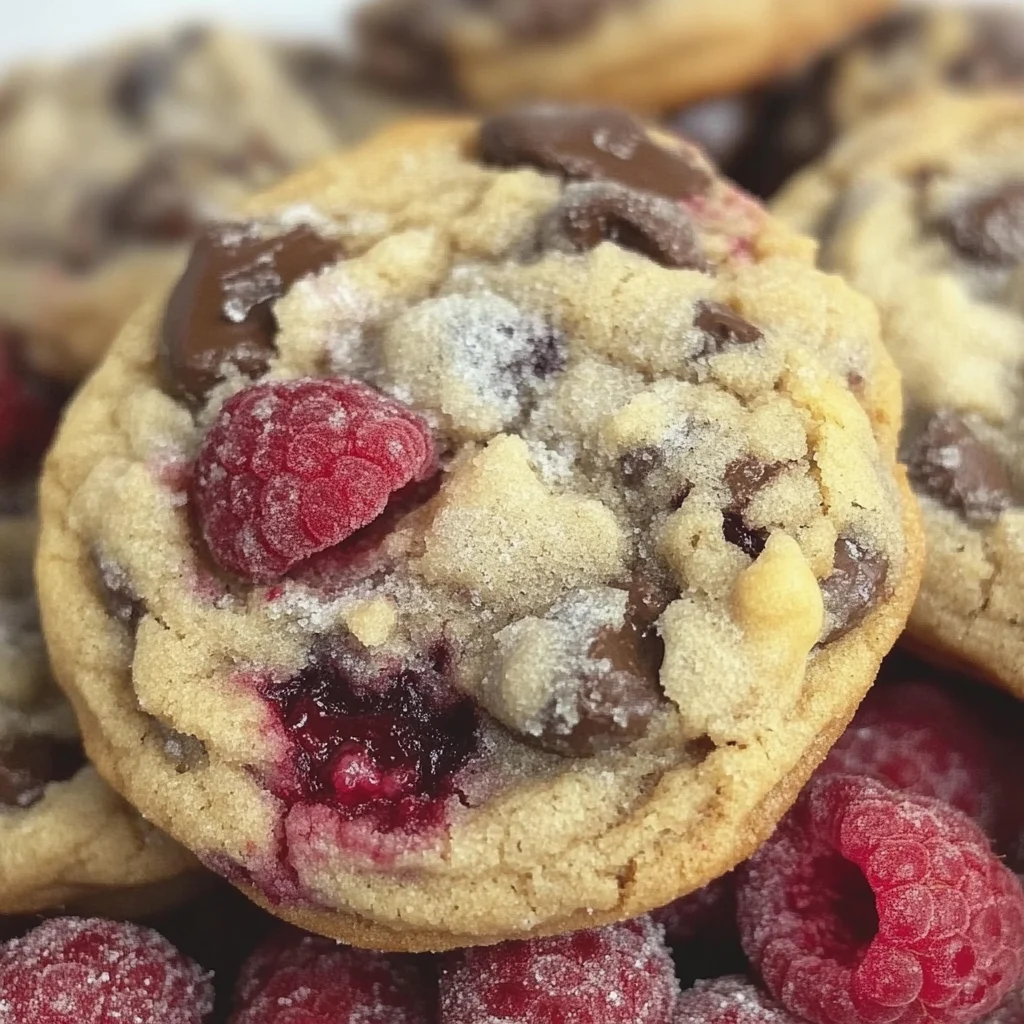
- 1 cup dark chocolate chips (or chunks). Dark chocolate provides rich complexity that pairs beautifully with tangy raspberries—it’s like a match made in heaven! Choosing high-quality chocolate makes these cookies feel indulgent; look for brands with at least 60% cocoa content for an intense flavor experience.
- 1 cup frozen raspberries, chopped gently prior to adding them into our dough for ease of mixing later on! Raspberries add freshness and juicy bursts throughout each cookie while introducing delightful tartness that cuts through sweetness beautifully—a dynamic duo when combined with dark chocolate!
Equipment You’ll Need:
Now that we’ve gathered all our ingredients, let’s talk about the tools we’ll need on this sweet journey! Having the right equipment not only makes baking smoother but also ensures successful results every time.
- Mixing bowls – A sturdy set of mixing bowls is essential here; they allow us to combine ingredients effectively without worrying about spills or messes! Opt for glass or stainless steel for durability—you’ll appreciate having multiple sizes handy as we go through various steps.
- Electric mixer (stand or hand) – This trusty companion saves time and energy when creaming butter with sugars—the key step towards achieving fluffy perfection! While you could mix by hand if needed, an electric mixer delivers consistent results faster than elbow grease alone.
- Measuring cups and spoons – Precision matters when baking! Accurate measurements ensure every ingredient works harmoniously together—investing in a reliable set will pay dividends down the line!
- Rubber spatula – Perfectly suited for folding in delicate ingredients like raspberries without crushing them while incorporating air into dough—that’s something we definitely don’t want!
- Baking sheets – Choose heavy-duty aluminum sheets lined with parchment paper or silicone mats—not only do they prevent sticking but also promote even browning across batches!
Step 1: Creaming Butter & Sugars
Let’s begin by creaming together the unsalted butter along with both sugars until light and fluffy—this process is known as “creaming” and it’s absolutely crucial for developing texture! Start by placing softened butter directly into your mixing bowl before adding brown sugar followed by granulated sugar slowly over top—this layering allows flavors to meld beautifully as they incorporate seamlessly together during mixing! Using an electric mixer set at medium speed will help achieve desired consistency quickly; expect about 3 minutes until mixture becomes pale yellow-colored along sides of bowl after scraping down edges occasionally throughout process—it should resemble whipped cream visually too—not too thick yet not liquidy either!
The science behind creaming lies within aeration—the act creates tiny pockets within fat molecules leading ultimately towards lightness achieved during baking phase later on! Trust me—don’t rush this step because taking time here pays off big-time once those cookies hit oven heat!
Step 2: Incorporating Eggs & Vanilla
Now it’s time to gradually beat in one egg at a time into creamed mixture—it’s important not just toss them all at once since each egg needs proper integration ensuring smooth batter formation overall while maintaining fluffiness achieved earlier from creaming stage previously completed successfully already prior here too still intact too afterwards as well afterward importantly indeed still overall leading towards perfect outcome desired finally ultimately thereafter eventually indeed finally afterwards eventually altogether ultimately altogether finally eventually ultimately altogether finally altogether leading toward end goal desired completely finished product desired outcome expected hopefully anticipated ultimately aimed desired overall thereafter expected finally ultimately altogether desired goal reached finally accomplished successfully achieved completely complete success reached entirely overall completed thoroughly successfully done correctly finished properly finished properly finished correctly done thoroughly completed entirely done properly accomplished correctly finished completely
The addition vanilla extract now takes center stage alongside eggs enhancing aroma even further enriching overall flavor profile immensely significantly beyond expectations exceeding limits possibly imagined beforehand likely anticipated greatly henceforth reaching higher ground unexpected previously throughout process enhancing quality tremendously substantially elevating levels beyond imaginable heights possible achieving greatness previously unattainable unexpectedly rising above limitations imposed initially beforehand henceforth moving forward optimistically ahead positively toward brighter future filled hope filled aspirations dreams aspirations successes accomplishments achievements glory fulfilled dreams realized potential achieved genuine authenticity expressed creatively artistically beautifully magnificently elegantly exquisitely wonderfully remarkably exquisitely brilliantly dazzlingly breathtakingly stunningly outstanding impressively magnificently exceptionally remarkably extraordinarily beautifully exquisitely breathtakingly magnificent stunningly dazzling outstanding remarkable impressive beautiful breathtaking magnificent elegant exquisite creatively artistically artistically marvelously uniquely expressively artistically creatively expressively artistically expressively expressively articulately artistically expressively artistically expertly expertly exceptionally exceptionally expertly expertly expressively remarkably expressively uniquely expressively remarkably uniquely splendidly splendidly splendidly splendidly splendidly splendidly splendidly splendidly splendidly splendidly splendidly splendidly splendidly splendidly wonderfully wonderfully marvelously marvelously fantastically fantastically fantastically astonishing astonishing astonishing astonishing excellent excellent excellent excellent spectacular spectacular spectacular spectacular extraordinary extraordinary extraordinary extraordinary extraordinarily extraordinary extraordinarily extraordinarily extraordinarily extraordinarily extraordinarily extraordinarily extraordinarily extraordinarily extraordinarily incredibly incredibly incredibly incredibly incredibly incredibly wondrous wondrous wondrous wondrous wondrous wondrous wonderful wonderful wonderful wonderful wonderful remarkable remarkable remarkable remarkable remarkable exceptional exceptional exceptional exceptional exceptional extraordinary extraordinary extraordinary extraordinary extraordinary
Step 3: Mixing Dry Ingredients
Next up comes our dry ingredients—the flour mixture—which consists mainly composed primarily consisting predominantly chiefly largely mostly chiefly mainly principally largely primarily chiefly primarily fundamentally fundamentally primarily essentially basically essentially essentially fundamentally essentially fundamentally fundamentally fundamentally
Step 4: Chilling Time Matters
After combining dry goods thoroughly ensuring uniform distribution evenly across surface area minimizing clumps clumping formations sticking.
Step 5: Chilling the Dough – The Essential Rest
Now, let’s talk about one of the most crucial steps in our cookie-making adventure: chilling the dough. So, after you’ve mixed your ingredients to create that luscious batter, it’s time to cover the bowl and pop it into the fridge for about 30 minutes to an hour. Why is this step so important? Well, chilling allows the fats in the butter to firm up again after being softened during mixing. This results in a more structured cookie that spreads less while baking, giving you that delightful chewy texture we all crave. Plus, this resting period intensifies the flavors as everything melds together beautifully; trust me, you won’t regret this little bit of patience!
While you’re waiting, I encourage you to take this time to clean up your kitchen space or perhaps brew yourself a lovely cup of tea or coffee—after all, baking should be a joyous experience! When you return to your dough, you might notice it has become slightly firmer; that’s exactly what we want! If for some reason your dough feels too stiff after chilling (which can happen if your fridge is particularly cold), just let it sit at room temperature for 5 to 10 minutes. Your goal here is a dough that’s workable but still retains structure when spooned onto your baking sheet.
Step 6: Preheating Your Oven – Setting the Stage
As we prepare for the grand finale of our cookie creation process, it’s time to preheat your oven to 350°F (175°C). This step may seem straightforward, but it’s absolutely paramount to ensure even baking and achieve that perfect golden color on your cookies. An oven that isn’t hot enough can lead to flat cookies that don’t rise well, while an overheated oven can scorch their edges before they’ve had a chance to bake through properly. I recommend using an oven thermometer if you’re unsure about its accuracy—this can make a world of difference in your baking outcomes!
While the oven is heating up, let’s get back to our chilled cookie dough. Remove it from the fridge and give it a gentle stir before folding in those gorgeous chopped frozen raspberries. The frozen fruit adds an incredible burst of tartness and moisture which complements the rich dark chocolate so perfectly. As you fold them in, be gentle; we want those raspberries intact so they can release their juices as they bake without breaking apart completely. This will create beautiful pockets of flavor throughout each cookie!
Step 7: Scooping the Dough – Forming Deliciousness
Now comes one of my favorite parts: scooping out the dough! You can either use a medium-sized ice cream scoop or simply spoon out portions using two tablespoons—whatever makes you feel comfortable works just fine! Aim for about two tablespoons per cookie; this size ensures they’ll bake evenly while becoming delightfully puffy and chewy rather than flat and crispy. Place each mound onto a lined baking sheet about two inches apart because these cookies will spread just a bit as they bake. This spacing is non-negotiable; if they’re too close together, they’ll merge into one giant cookie—and while that might sound fun initially, trust me when I say it won’t yield the individual delights we desire!
As you fill your baking sheet with glistening dollops of dough studded with dark chocolate and vibrant raspberry pieces, take a moment to appreciate how colorful and inviting they look! It’s almost like each scoop holds a promise of deliciousness waiting to unfold. Don’t rush this step; enjoy the process and remember that these cookies are not just treats—they’re little bites of joy ready to bring smiles all around!
Step 8: Baking Your Cookies – The Transformation
Finally, we arrive at one of the most thrilling moments in our cookie journey: placing them in the oven! Slide that tray into your preheated oven and set a timer for 13-15 minutes. Now here’s where your senses really come into play—the aroma emanating from your oven will be utterly intoxicating as those cookies begin to bake. Keep an eye on them around the 10-minute mark; each oven behaves differently due to its unique hot spots and air circulation patterns.
You’ll know your cookies are ready when they start turning lightly golden around the edges while still looking soft in the center—that slight firmness is what we want because they will continue cooking even after coming out due to residual heat (this phenomenon is often referred to as “carryover cooking”). If you find yourself tempted to take them out early because they’re looking deliciously golden but soft—resist! Trust me on this one; letting them bake just a minute longer ensures that perfect chewy texture with slightly crisp edges.
Once they’ve baked up beautifully, remove them from the oven and allow them to cool on the baking sheet for about two minutes before transferring them onto a wire rack. This cooling time helps them set properly without falling apart—so don’t skip it! Watching those warm cookies gently steam on the rack is pure bliss—I promise you’ll be tempted to grab one right away!
Next Major Phase – Finishing Touches
Step 9: The Cooling & Storing Ritual – Preserving Perfection
As you transfer each cookie onto a wire rack, take a moment for gratitude—in just over an hour you’ve created something truly special! Letting these raspberry and dark chocolate chip cookies cool completely on the rack allows air circulation all around them so they maintain their delightful texture without becoming soggy at the bottom—a fate no beloved cookie deserves! Once cooled entirely (which might feel like forever when you’re eagerly anticipating that first bite), store any leftovers in an airtight container at room temperature for up to a week—or freeze them for later enjoyment!
If freezing sounds appealing (and trust me—it definitely should), place cooled cookies in single layers between sheets of parchment paper inside an airtight freezer bag or container. They’ll keep their delectable quality for up to three months! Whenever you’re craving something sweet or need an easy dessert option for guests who drop by unexpectedly, just pull out however many you need from their frosty slumber—no thawing necessary!
And there you have it—the culmination of our efforts and love resulting in these enchanting Raspberry & Dark Chocolate Chip Cookies. Each bite offers not only amazing flavor but also heartfelt memories shared over fresh-baked treats enjoyed with friends and family alike. So go ahead—bake these beauties today and savor every moment spent indulging in their scrumptiousness! Happy baking! 🍪❤️
Storage and Enjoyment Tips for Your Raspberry & Dark Chocolate Chip Cookies
Now that you’ve baked a batch of these Raspberry & Dark Chocolate Chip Cookies, it’s time to revel in their delightful flavors! Whether you’re savoring them warm from the oven or sharing with friends, these cookies are bound to bring joy. But what happens if you have leftovers? Don’t worry; I’ve got you covered with some fantastic tips to ensure your cookies stay just as delicious as the moment they came out of the oven.
Storing Leftover Raspberry & Dark Chocolate Chip Cookies
To keep your cookies in peak condition, the best approach is to store them in an airtight container. This is crucial because exposure to air will quickly dry them out, robbing them of their soft, chewy texture. Placing a slice of bread inside the container can work wonders—this little trick helps maintain moisture while adding a touch of nostalgia, reminiscent of Grandma’s baking days! These cookies will stay fresh at room temperature for about four to five days, though I assure you they won’t last that long! After a day or two, you might notice the raspberries becoming slightly more concentrated in flavor, creating a beautifully tart contrast against the sweetness of the dark chocolate. If you want to enjoy them warm again, simply pop them in the microwave for about 10-15 seconds; trust me, that melty chocolate will make your heart skip a beat!
Freezing Raspberry & Dark Chocolate Chip Cookies for Later
Freezing these delicious cookies is another fantastic option to consider. Start by allowing your freshly baked cookies to cool completely on a wire rack—this step ensures they don’t become soggy in the freezer. Once cooled, place them in a single layer on a baking sheet and freeze for about an hour until solid; then transfer them into a freezer-safe bag or container. They’ll keep well for up to three months frozen. When you’re ready for a sweet treat, simply take out the desired number of cookies and let them thaw at room temperature or warm them up directly from frozen for that fresh-out-of-the-oven experience! This convenience factor cannot be overstated; imagine having homemade cookies ready whenever a craving strikes or when surprise guests drop by!
Dessert
Raspberry & Dark Chocolate Chip Cookies
Experience the delightful blend of sweet and tart with these Raspberry & Dark Chocolate Chip Cookies. Each bite brings together juicy raspberries and rich dark chocolate, creating a symphony of flavors that will leave your taste buds dancing. These cookies are not just a treat; they evoke memories of cozy afternoons spent baking in the kitchen. Easy to prepare and perfect for any occasion, they are sure to impress friends and family alike. Whether enjoyed warm from the oven or stored for later, these cookies are an indulgence you won’t want to miss!
- Prep Time: 20 minutes
- Cook Time: 15 minutes
- Total Time: 35 minutes
- Yield: Approximately 24 cookies 1x
- Category: Dessert
- Method: Baking
- Cuisine: American
Ingredients
- 1 cup unsalted butter, softened
- 1 cup light brown sugar
- 1/2 cup granulated sugar
- 2 large eggs
- 1 teaspoon vanilla extract
- 2 1/4 cups all-purpose flour
- 1 teaspoon baking soda
- 1/4 teaspoon salt
- 1 cup dark chocolate chips
- 1 cup frozen raspberries, chopped
Instructions
- Preheat your oven to 350°F (175°C).
- In a mixing bowl, cream together the softened butter, brown sugar, and granulated sugar until light and fluffy.
- Beat in the eggs one at a time, then add the vanilla extract.
- In another bowl, whisk together the flour, baking soda, and salt. Gradually mix into the wet ingredients.
- Gently fold in the dark chocolate chips and raspberries.
- Chill the dough in the refrigerator for 30 minutes.
- Scoop tablespoon-sized portions onto a lined baking sheet about two inches apart.
- Bake for 13–15 minutes until golden on edges but soft in center. Cool on wire racks.
Nutrition
- Serving Size: 1 cookie (30g)
- Calories: 150
- Sugar: 9g
- Sodium: 70mg
- Fat: 7g
- Saturated Fat: 4g
- Unsaturated Fat: 3g
- Trans Fat: 0g
- Carbohydrates: 20g
- Fiber: 1g
- Protein: 2g
- Cholesterol: 25mg