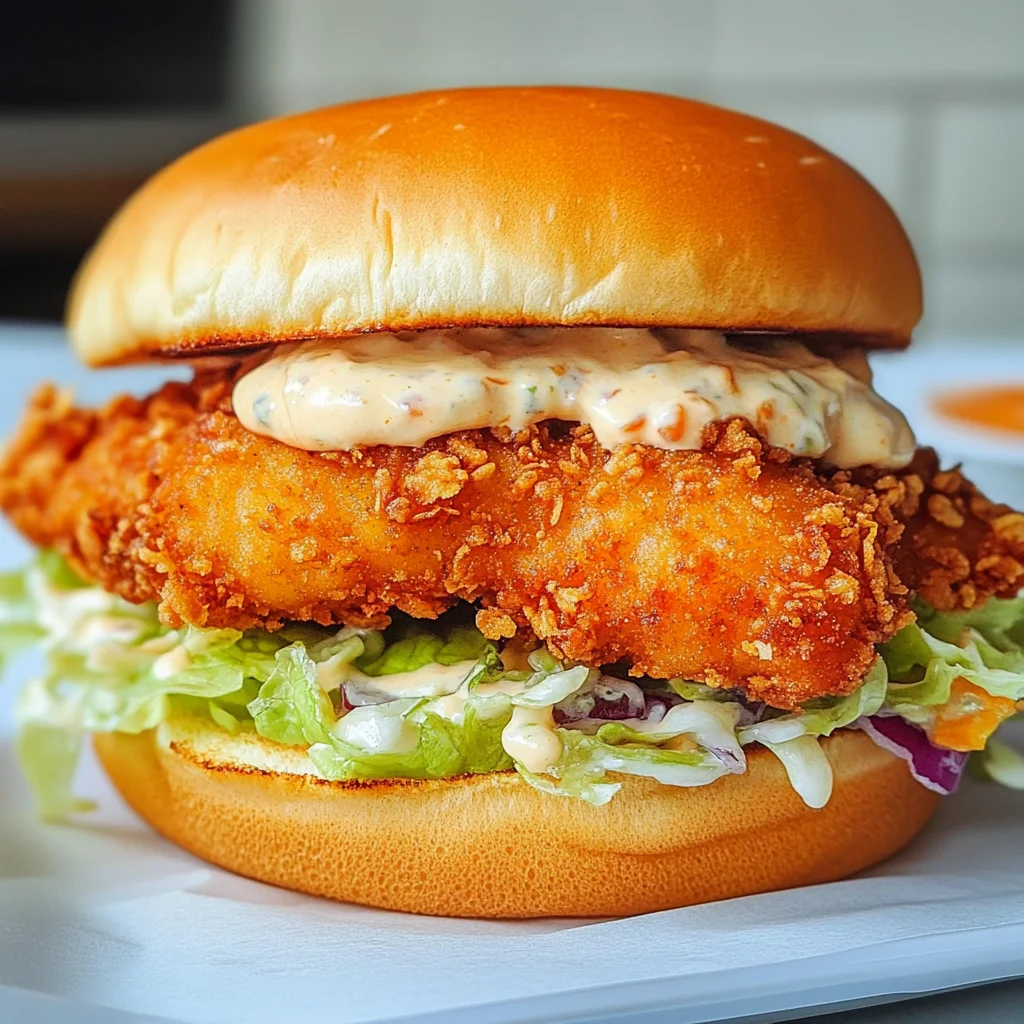
Crispy Fried Cod Fish Sandwich
There’s something utterly magical about gathering around a table filled with food that not only satisfies our hunger but also nourishes our souls. When I think of comfort food, one dish that always brings me joy is the Crispy Fried Cod Fish Sandwich. This isn’t just any sandwich; it’s a delightful symphony of textures and flavors, a warm hug wrapped in crispy goodness. The moment you take a bite, the crunch of the golden-brown cod paired with the soft, pillowy bun creates an experience that transcends mere dining. You can almost taste the ocean breeze and feel the warmth of summer afternoons when you savor each delicious morsel. This recipe has been a cherished staple in my kitchen for years, and I promise you, once you try it, it will become a beloved favorite in yours too.
Every time I whip up this crispy fried cod fish sandwich, I am reminded of the countless evenings spent with family and friends, sharing stories and laughter over a meal that feels like home. It’s perfect for weeknight dinners when time is tight but the craving for something scrumptious is strong. The beauty of this sandwich lies not just in its simplicity but in its versatility—whether you’re enjoying it during a casual get-together or as a quick dinner after a long day, it never fails to impress. And let’s not forget how satisfying it is to create something from scratch that brings everyone together! Trust me on this—there’s nothing quite like serving your loved ones a meal that they can’t resist.
Crispy Fried Cod Fish Sandwich: A Crunchy Delight
Let’s embark on this culinary journey together! Making your own crispy fried cod fish sandwich at home is not only easier than you might think, but it’s also incredibly rewarding. Each bite offers layers of flavor and texture that will leave you wanting more. So roll up your sleeves, gather your ingredients, and let’s dive into this delicious recipe!
Ingredients:
Now that we’re all excited to start cooking, let’s gather our ingredients! Each component plays a vital role in crafting this heavenly sandwich.
- 4 cod fillets. Freshness is key when it comes to seafood, especially fish like cod which is known for its mild flavor and flaky texture. Look for fillets that are bright white or cream-colored with no brown spots and smell slightly briny—like the ocean! If you’re shopping frozen fillets, make sure they’re individually wrapped to preserve their quality. Cod not only adds protein to our meal but also absorbs flavors beautifully during cooking.
- 1 cup all-purpose flour. This ingredient forms the foundation of our crispy coating. It acts as the first layer in our dredging process—essentially helping the egg wash adhere to the fish before we add those crunchy breadcrumbs. Choose a high-quality flour for best results; it should be finely milled for an even coating that crisps up nicely without clumping together.
- 1 teaspoon salt. Salt is often referred to as nature’s flavor enhancer, and that’s because it truly brings out the natural flavors of our ingredients! In this recipe, we’ll season both our cod fillets and flour mixture with salt to ensure every bite bursts with flavor. Remember: don’t skimp on this step—it’s absolutely paramount!
- 1/2 teaspoon black pepper. This spice adds just enough warmth without overpowering the delicate taste of cod. Freshly ground black pepper is ideal here; it provides a robust flavor profile while complementing the other seasonings beautifully.
- 1 cup breadcrumbs. For that irresistible crunch we crave in each bite, breadcrumbs are non-negotiable! You can choose store-bought or make your own by processing stale bread into fine crumbs—both options yield equally delightful results. If you’re feeling adventurous, consider using panko breadcrumbs for an extra crunchy texture!
- 2 eggs, beaten. Eggs act as an adhesive during our dredging process—they help everything stick together so we achieve that perfect golden crust when frying! Beating the eggs until they’re smooth ensures an even coating across all surfaces of your fillets.
- 4 sandwich buns. Here comes another crucial element—the buns! Choose soft yet sturdy buns that won’t fall apart under pressure (we want them to hold all those delicious fillings). Brioche or whole grain options add beautiful flavor and texture contrast against our crispy fish.
- Lettuce leaves. Fresh lettuce provides not only crunch but also brightness to our sandwich—a lovely contrast against the rich fried fish! Look for crisp varieties like iceberg or romaine; they add freshness without overshadowing other flavors.
- Tartar sauce. Ahh, tartar sauce—the creamy finishing touch! It provides tanginess and richness that perfectly balances out the fried fish’s crispiness. Feel free to go store-bought or whip up your own version using mayonnaise mixed with pickles and lemon juice for added zing!
Equipment You’ll Need:
Having the right tools makes all the difference in creating something wonderful—and trust me when I say these essential pieces will be your trusty partners throughout this culinary adventure!
- Frying pan or skillet: A solid frying pan is essential for achieving evenly cooked fish with that perfect crispy exterior we’re aiming for in our crispy fried cod fish sandwich. Opt for heavy-bottomed pans or cast iron if you have them—they retain heat wonderfully which helps fry everything evenly.
- Tongs: These handy tools are perfect for flipping your fillets gently without damaging them while they cook—keeping your precious crust intact is vital! A good set of tongs allows you to maneuver easily through hot oil without getting burned.
- Measuring cups and spoons: Accurate measurements ensure consistency every time you make this dish! Investing in good-quality measuring tools will pay off—not just here but across all your culinary endeavors.
- Mixing bowls: You’ll need these versatile bowls to prepare your dredging station (one bowl for flour, one for eggs) so everything stays organized while working through each step seamlessly!
Now that we’ve got our ingredients lined up and equipment ready to go, let’s dive into preparing this mouthwatering Crispy Fried Cod Fish Sandwich!
Step 1: Seasoning Your Fillets
First things first—we need to bring some life into those beautiful cod fillets! Start by sprinkling salt and pepper generously over both sides of each fillet; remember this seasoning will elevate their natural flavors beautifully during cooking! By allowing them to rest after seasoning (even if just briefly), we give time for those spices to permeate through every flaky layer—trust me on this one; it’s absolutely worth it!
Step 2: The Dredging Process
Now comes my favorite part—the dredging process! In one bowl, place your all-purpose flour mixed with salt and pepper; then in another bowl beat those eggs until silky smooth without any lumps lurking about (we want uniform coverage!). Coat each seasoned fillet lightly in flour first—this step forms an initial barrier that’ll help lock moisture inside while frying—and then dip into beaten eggs ensuring complete coverage before finally rolling them generously within those crunchy breadcrumbs until well coated on both sides; feel free to press down gently so they stick well!
Step 3: Frying Your Fillets
Let’s heat things up now—it’s time for frying magic! Pour oil into your frying pan until it’s about half an inch deep (enough so fish can swim freely). Heat over medium flame until shimmering—this indicates it’s ready—as soon as you drop breadcrumbs into hot oil they should sizzle immediately ensuring a splendidly crisp outcome awaits us ahead! Gently lower each coated fillet into sizzling oil carefully (avoid splashes!) Cooking takes about 3–4 minutes per side but keep an eye out—they should turn golden brown before flipping them over gently with tongs allowing equal cooking on both sides resulting ultimately in gorgeous crunchiness!
Step 4: Toasting Buns & Spreading Tartar Sauce
While those glorious fillets are doing their thing basking away in bubbling oil let’s multitask by preparing our buns—we want them toasted lightly giving added texture alongside freshness provided by lettuce later on too! Slice open sandwich buns lengthwise before placing them cut-side down onto another hot pan just long enough until they develop golden hues yet still remaining soft within (don’t rush this step—I promise it’ll enhance everything effortlessly!). Once toasted perfectly spread tartar sauce generously onto both halves because who doesn’t love creamy goodness?
Feel free to join me again shortly as we assemble these beauties together—but already can you smell how incredible everything smells? Let’s keep going…
Crispy Fried Cod Fish Sandwich: The Journey Continues
Now that we’ve seasoned and coated our beautiful cod fillets, let’s dive into the frying process—the moment where all your hard work transforms into golden perfection. This step is where the magic truly begins, and trust me, you’ll want to pay close attention!
Step 5: Bring on the Heat – Frying to Perfection
To achieve that irresistibly crispy exterior, we need to heat some oil in a frying pan over medium heat. I always recommend using a neutral oil like canola or vegetable oil, as they have high smoke points and won’t overwhelm the delicate taste of the cod. You’ll want about half an inch of oil in your pan—this depth allows for even frying without making the fish greasy. Now here’s the crucial part: before adding your fillets, test if your oil is hot enough by dropping in a crumb of bread. If it sizzles and starts to brown quickly, you’re good to go! But be cautious; if it smokes, remove it from the heat immediately to avoid burning.
Once your oil is at that perfect temperature (think shimmering liquid gold), gently lay your dredged cod fillets into the pan. Don’t crowd them; give each piece some space so they can cook evenly and get that glorious crispiness we’re aiming for. Fry each side for about 3-4 minutes until they turn a beautiful golden brown—like sun-kissed treasures! As they cook, you’ll notice that intoxicating aroma wafting through your kitchen; it’s a sign that dinner is just moments away. Use tongs to carefully flip them when they’re ready—don’t rush this step! Patience here is key; flipping too early may cause the coating to stick.
Step 6: Drain with Love – Perfecting Texture
Once both sides of your cod fillets are beautifully golden and crisped to perfection, it’s time for them to leave the hot tub of oil. Carefully transfer them onto a plate lined with paper towels; this step is essential as it helps absorb any excess oil, ensuring that every bite remains light and not overly greasy. While they rest there for a moment—just long enough for their deliciousness to settle—you can admire your handiwork. Each piece should look like a crunchy masterpiece waiting to be devoured!
But don’t rush this resting period—allowing them to drain properly ensures that they maintain their crisp texture when you assemble your sandwich later on. If you skip this step, you might find yourself with soggy bread instead of that satisfying crunch we’re after. Trust me on this one; those few minutes will make all the difference!
Step 7: Toasting Buns – Elevating Your Sandwich
While those lovely fillets are resting, we mustn’t forget about our sandwich buns—they deserve some love too! Toasting enhances their flavor and adds another layer of texture to our crispy fried cod fish sandwich. Simply take your sandwich buns and slice them in half if they aren’t already. You can either use a toaster or place them cut side down on a skillet over low heat until they’re golden brown and slightly crispy—this usually takes just 2-3 minutes per side.
Why toast? Well, when you add your fried fish and tartar sauce later on, the toasted surfaces will help prevent any sogginess by creating a barrier against moisture while also enhancing each bite with that warm, comforting crunch. It’s utterly satisfying! Keep an eye on them—buns can go from perfectly toasted to burnt in an instant—so stay vigilant during this crucial step.
Step 8: The Assembly Line – Building Your Masterpiece
Now comes my favorite part—the assembly of our crispy fried cod fish sandwich! Start by generously slathering tartar sauce across both halves of each bun; I personally love dolloping a bit more than what seems necessary because who doesn’t want that creamy goodness? Tartar sauce complements the fried fish beautifully with its tangy notes, cutting through richness while enhancing its flavor profile.
Next up, place one of those perfectly fried cod fillets onto the bottom half of each bun—it should fit snugly and look like it’s meant to be there! Then add a fresh layer of crisp lettuce leaves atop the fish; not only does this add color and freshness but also provides textural contrast against the tender fish and crunchy coating. Finally, cap it off with the top half of the bun—and there you have it—a stunning crispy fried cod fish sandwich ready for devouring!
Final Touches: Enjoying Your Creation
Step 9: Savor Every Bite – The Moment You’ve Been Waiting For!
As you hold this magnificent creation in your hands, take a moment to appreciate what you’ve made—a dish brimming with flavors and textures that elevate simple ingredients into something extraordinary. The anticipation builds as you take your first bite; feel free to pair it with some homemade fries or a vibrant salad for added enjoyment.
Remember, food is not just about sustenance—it’s about experience! So gather around with family or friends and share these moments together over these delightful sandwiches. I promise you will feel an overwhelming sense of satisfaction knowing you’ve crafted something so delicious from scratch!
And there it is—the journey ends but new memories begin as you enjoy these crispy fried cod fish sandwiches time after time! Trust me; once you’ve tasted these beauties, you’ll find yourself craving them again and again. Happy cooking!
Storage and Enjoyment Tips for Your Crispy Fried Cod Fish Sandwich
Now that your kitchen is filled with the intoxicating aroma of crispy fried cod fish sandwiches, it’s time to dive into the joy of enjoying them! I can almost hear the crunch as you take that first bite, but let’s chat about what to do if you have any leftovers—though I doubt they’ll last long! Whether you’re preparing for a cozy family dinner or looking to meal prep for a busy week ahead, these sandwiches can be stored and enjoyed later without missing a beat.
Storing Leftover Crispy Fried Cod Fish Sandwich
To keep your leftover crispy fried cod fish sandwich at its best, I recommend wrapping each sandwich individually in parchment paper or placing them in an airtight container. This method helps preserve their delightful crunch while keeping moisture at bay. You can store them in the refrigerator for up to two days, but trust me, they are best enjoyed fresh! If you want to maintain that perfect texture, consider separating the bread from the filling—this non-negotiable step will help ensure your bread remains fluffy rather than soggy. When you’re ready to indulge again, simply reheat them in a skillet over medium heat for about 3-4 minutes per side, allowing them to regain their glorious crispiness. The flavors meld beautifully even after storage, making every bite utterly satisfying.
Freezing Components for Later
If you’re looking to prepare ahead of time or simply want to stock your freezer with delicious meals for those busy days, freezing the components of your crispy fried cod fish sandwich is a fantastic option! Start by preparing the cod fillets as directed in the recipe but stop just before frying. Place the breaded fillets on a baking sheet lined with parchment paper and freeze them until solid—this usually takes about an hour. Once frozen, transfer them into a freezer bag or air-tight container where they’ll keep for up to three months. The convenience factor here is absolutely paramount; whenever you find yourself craving these sandwiches, you can pop a few straight from the freezer into hot oil for a quick fry! Just imagine pulling out a perfectly frozen fillet on a lazy Sunday—it’s like having restaurant-quality meals right at home.
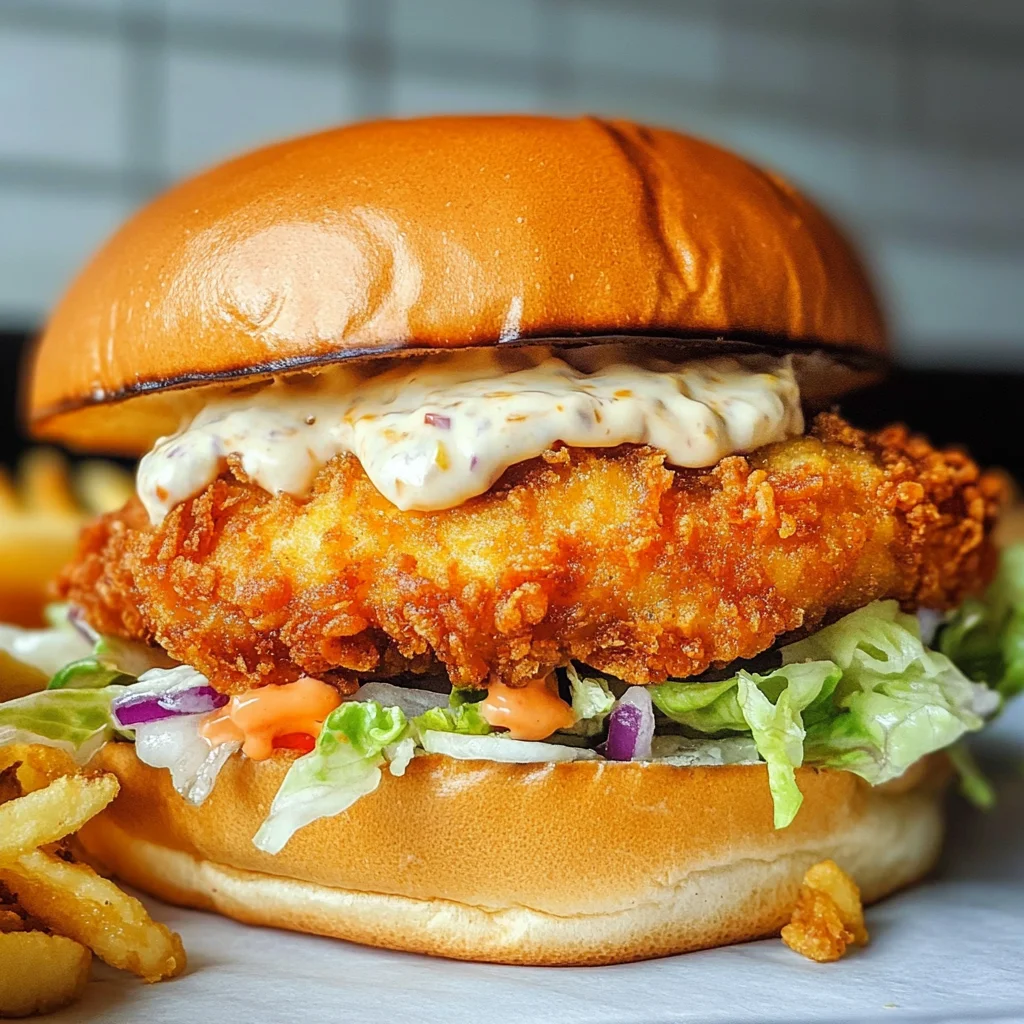
Crispy Fried Cod Fish Sandwich

Dive into the delectable world of Crispy Fried Cod Fish Sandwiches—a delightful dish that brings together the crunch of golden-brown cod and the softness of fluffy buns. Each sandwich offers a fantastic combination of flavors and textures, creating a comforting meal perfect for any occasion. Whether it’s a quick weeknight dinner or a casual gathering with friends, this easy-to-make recipe will have everyone raving about its deliciousness. With fresh ingredients and a simple preparation process, you’ll find yourself reaching for seconds in no time. Enjoy the sensation of biting into this crispy fish sandwich, topped with lettuce and creamy tartar sauce, making your taste buds dance with joy!
- Prep Time: 15 minutes
- Cook Time: 15 minutes
- Total Time: 30 minutes
- Yield: Serves 4
- Category: Main
- Method: Frying
- Cuisine: American
Ingredients
- 4 cod fillets
- 1 cup all-purpose flour
- 1 teaspoon salt
- 1/2 teaspoon black pepper
- 1 cup breadcrumbs
- 2 eggs, beaten
- 4 sandwich buns
- Lettuce leaves
- Tartar sauce
Instructions
- Season both sides of cod fillets with salt and pepper.
- Set up a dredging station: one bowl with flour mixed with salt and pepper, another bowl with beaten eggs, and a third bowl with breadcrumbs.
- Dredge each fillet in flour, dip in egg, then coat thoroughly with breadcrumbs.
- Heat oil in a frying pan (about half an inch deep) over medium heat until shimmering.
- Carefully add fillets to the hot oil; fry for 3-4 minutes on each side until golden brown.
- Transfer cooked fillets to paper towels to drain excess oil.
- Toast sandwich buns on a separate skillet until golden brown.
- Assemble sandwiches by spreading tartar sauce on toasted buns, adding a fried cod fillet, and topping with lettuce.
Nutrition
- Serving Size: 1 sandwich (180g)
- Calories: 480
- Sugar: 3g
- Sodium: 890mg
- Fat: 21g
- Saturated Fat: 3g
- Unsaturated Fat: 17g
- Trans Fat: 0g
- Carbohydrates: 54g
- Fiber: 2g
- Protein: 25g
- Cholesterol: 95mg