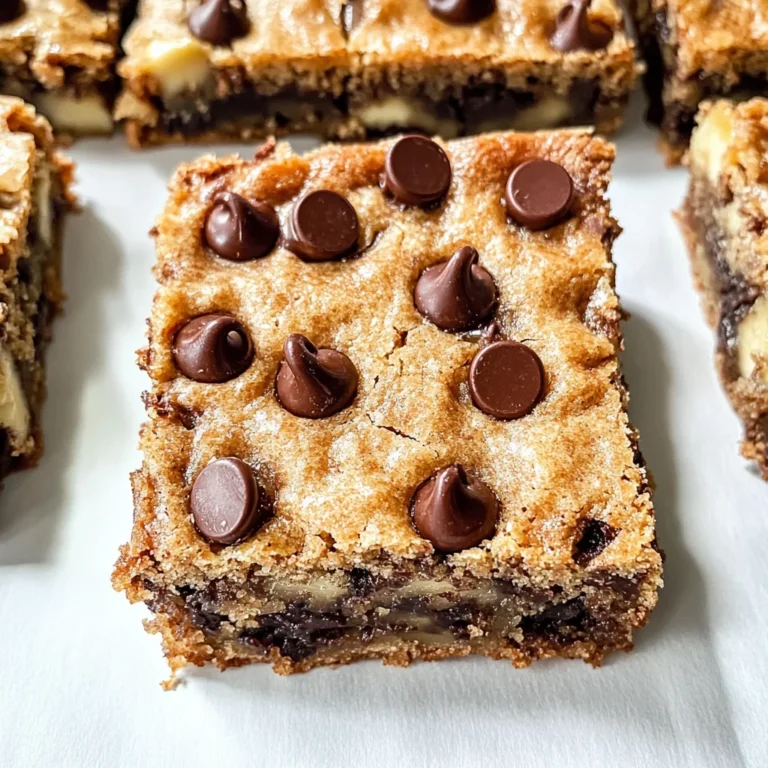
Chocolate Chip Coffee Scones
There’s something utterly magical about the aroma of freshly baked scones wafting through your kitchen, isn’t there? Chocolate Chip Coffee Scones are not just a delightful treat; they embody cozy mornings and warm gatherings, bridging the gap between simple ingredients and sheer bliss. Picture this: your favorite coffee mug cradled in your hands, the rich scent of espresso intertwining with sweet chocolate as you take a bite of these tender, buttery scones. Each morsel is a celebration of flavor, a perfect companion to your morning ritual or afternoon indulgence. Trust me when I say, once you experience this symphony of flavors, you’ll find yourself reaching for this recipe again and again.
What makes these Chocolate Chip Coffee Scones so special is the beautiful harmony between the robust coffee essence and the sweetness of the chocolate chips. With every bite, you’re met with a tender crumb that melts in your mouth, complemented by those delightful bursts of semi-sweet chocolate. They are not merely breakfast pastries; they are an experience that elevates your day from mundane to extraordinary. Whether you’re hosting a brunch or simply treating yourself on a quiet afternoon, these scones promise to be the star of the show, inviting smiles and happy chatter around the table.
Chocolate Chip Coffee Scones: A Heavenly Morning Treat
Let’s dive into this delightful recipe together! Making Chocolate Chip Coffee Scones is an uncomplicated yet rewarding journey that welcomes both seasoned bakers and newcomers alike into the comforting world of baking. The process is straightforward but filled with little moments that can turn an ordinary day into something special. So grab your apron, pour yourself a cup of coffee (you’ll need it!), and let’s create some magic!
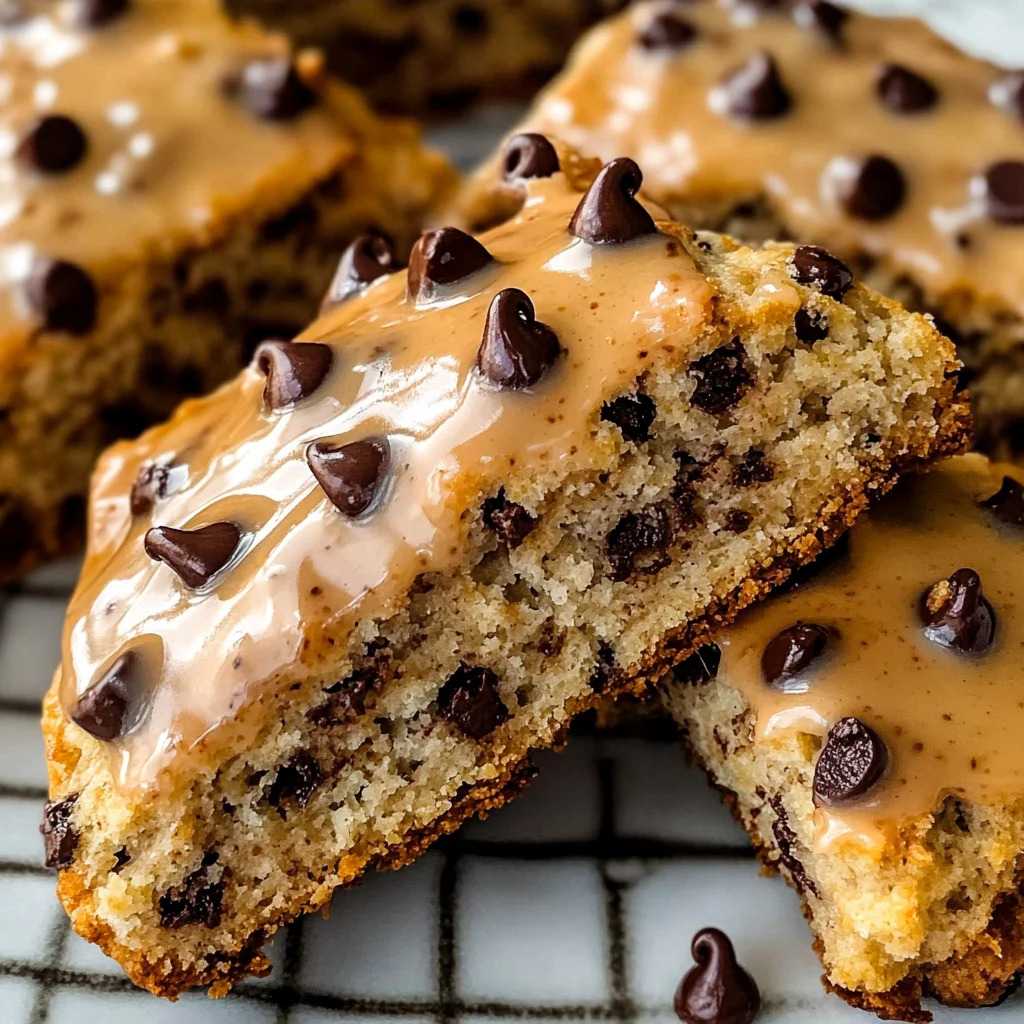
Ingredients:
As we embark on this culinary adventure, let’s take a moment to appreciate each ingredient’s role in crafting these heavenly scones. Every component adds its unique flair, ensuring each bite is bursting with flavor.
- 2½ cups all-purpose flour: This versatile pantry staple serves as the foundation for our scones. It provides structure while allowing for that tender crumb we crave. When measuring flour, it’s important to spoon it into your measuring cup rather than scooping directly from the bag; this avoids packing it down and ensures accuracy. If you’re feeling adventurous or want to experiment with different flavors, whole wheat flour can add a nutty depth while still yielding great results.
- ⅓ cup light brown sugar (packed): Brown sugar not only sweetens but also adds moisture and a hint of caramel flavor due to its molasses content. This contributes to that beautifully soft texture we desire in our scones. And don’t worry if you don’t have light brown sugar on hand; you can substitute it with granulated sugar mixed with a teaspoon of molasses for similar effects.
- 2 tbsp instant espresso powder: Here’s where things get exciting! Instant espresso powder infuses our scones with rich coffee undertones without adding excess liquid. It’s like an espresso shot in baked form—intense yet balanced. If you can’t find espresso powder specifically, finely ground coffee can work in a pinch; just adjust to taste since it’s less concentrated.
- ½ tsp salt: Salt might seem minor but think of it as the secret enhancer that brings out all those wonderful flavors in our scones. It balances sweetness and amplifies those deep notes from the espresso powder and chocolate chips.
- 2 tsp baking powder: This leavening agent is essential for achieving that lovely rise in our scones. It reacts with moisture and heat to create carbon dioxide bubbles which help lift our dough into tender heights! Make sure it’s fresh—old baking powder can leave your scones flat instead of fluffy.
- ½ tsp baking soda: Working hand-in-hand with baking powder, baking soda helps provide even more lift while also neutralizing acidity from ingredients like brown sugar or buttermilk if used later on in variations. Remember to store it tightly sealed away from humidity for best results.
- ½ cup unsalted butter (cold and cut into small pieces): Cold butter is absolutely paramount for creating that flaky texture we adore in baked goods like scones! When mixed with dry ingredients, small pieces of butter create pockets within the dough that steam during baking—leading to that desirable flakiness. Always opt for high-quality butter here; European-style butters tend to have higher fat content which translates into richer flavors!
- ¾ cup mini semi-sweet chocolate chips: These little gems are pure joy! Their size allows them to melt slightly during baking while still maintaining their shape enough for delightful bites throughout each scone. Feel free to swap them out for dark chocolate or even white chocolate if you’re craving something different!
- 1 cup heavy whipping cream (cold): The richness of heavy cream adds moisture without making our dough too wet—a delicate balance essential for achieving perfect texture! Chill it beforehand so it blends seamlessly into your dough without melting any butter prematurely.
- 1 tsp pure vanilla extract: Adding vanilla enhances our flavor profile by bringing warmth and sweetness without overpowering other ingredients—just a teaspoon goes a long way! Always choose pure extracts over artificial ones; you’ll notice how much brighter and more complex flavors become.
- 1 large egg (room temperature): Eggs add moisture while binding everything together smoothly—it’s crucial not only for structure but also enriching flavor! Bringing eggs to room temperature helps them incorporate better into cold mixtures like our cream later on.
- 1 tbsp heavy whipping cream (for egg wash): This step gives our chilled scones that beautiful golden sheen when baked! An egg wash creates an inviting appearance while contributing an additional layer of richness.
- 1 cup powdered sugar (sifted): Used later for glazing, powdered sugar transforms into silky sweetness when mixed with liquid ingredients—perfectly complementing our bittersweet notes from coffee!
- 1 tsp instant espresso powder (for glaze): Just like before, adding espresso powder elevates our glaze’s complexity—making every drizzle count towards enhancing flavors further!
- 1 tbsp brewed coffee (or espresso): Incorporating brewed coffee offers another layer of depth; don’t skip this step—it brings everything full circle!
- 1 – 2 tbsp milk or cream (or water): Depending on consistency desired for glaze—you want something pourable yet thick enough so it doesn’t all run off right away!
Equipment You’ll Need:
Now that we’ve gathered all our wonderful ingredients let’s talk about some essential tools that will make your baking experience smoother and more enjoyable! While they may not be ingredients, having the right equipment enhances every step along the way as we create these delightful scones together.
- Large mixing bowl – This spacious vessel is where all magic begins! A large bowl allows enough room for mixing dry ingredients without any spills—trust me; no one wants flour clouds around the kitchen!
- Pastry cutter or two forks – Using either tool helps break down cold butter efficiently into dry components until they resemble coarse crumbs—this technique ensures maximum flakiness once baked!
- Sharp knife or bench scraper – For portioning out dough easily into triangles before chilling—the sharper the blade here means cleaner cuts resulting in prettier shapes overall!
- Parchment paper – Essential lining material prevents sticking while providing easy cleanup after enjoying those delicious treats! Plus, who doesn’t love effortless removal post-baking?
- Baking sheet – A solid surface designed specifically for oven use; make sure yours has raised edges—they keep any melted chocolate goodness contained whilst preventing spillage onto oven floors—which would definitely ruin everyone’s day!
Step 1: Combining Dry Ingredients
To kick off our journey toward making these scrumptious Chocolate Chip Coffee Scones, first things first—we need to gather all those dry ingredients together in one glorious mixing bowl! In goes the all-purpose flour alongside packed light brown sugar; sprinkle in that vital salt which enhances sweetness beautifully then follow up with both baking powder AND baking soda because we want height AND fluffiness here folks! Finally—don’t forget about those magical instant espresso granules working hard behind-the-scenes adding depth beyond measure… Stir gently but thoroughly until everything looks well-mixed—a lovely sandy texture should greet us at this point—and remember not rush through this step! Each ingredient plays its part perfectly towards achieving epic results later on—it’s non-negotiable if we truly desire mouthwatering outcomes ahead!
Step 2: Cutting In Butter
Now comes one of my favorite parts—the butter cutting stage! Take those cold cubes straight from your fridge and introduce them lovingly into our dry mixture. Using either a pastry cutter or two forks makes quick work breaking down each piece until only coarse crumbs remain visible throughout… Think sandy beaches rather than chunky boulders here folks—the finer we blend them together means better flakiness achieved once baked! Keep working until no obvious chunks remain visible; making sure nothing melts prematurely during this process will ensure success down-the-line as well… Trust me on this one—it matters immensely!
Step 3: Mixing In Chocolate Chips
With those gorgeous crumbs created from butter now firmly nestled amongst flour friends—we’re ready next step involves folding mini semi-sweet chocolate chips directly into meshing mixture slightly… Oh my goodness gracious—I can literally hear them singing their sweet melodies already just imagining how good they’ll taste once incorporated fully within each bite taken later! Stir gently yet deliberately here folks so as NOT disrupt delicate balance achieved thus far—we want every glorious chip evenly distributed throughout batch ensuring each triangle meets expectations come bake-off time ahead…
Step 4: Creating Wet Ingredients Mixture
Next up comes what I consider ‘liquid gold’; whisking together pure vanilla extract alongside cold heavy whipping cream within separate container ensures smooth blending occurs nicely just before introducing new elements back towards existing dry ensemble waiting patiently… Pour half-way initially followed by remainder slowly thereafter whilst gently folding mixture altogether until cohesive dough forms before us—do NOT overwork though as toughened textures won’t do anyone favors here whatsoever… We’re aiming instead towards lightly formed structure which rolls easily onto floured surfaces preparing next stage beautifully ahead…
Stay tuned as I guide you through shaping these beauties next—and trust me when I say every moment spent creating becomes worth celebrating afterward once they emerge gloriously golden-brown too… Can’t wait till you see how incredible they turn out!!
Step 5: Shaping Your Scones with Love and Care
Once you’ve gently poured your dough onto a lightly floured surface, it’s time to bring this creation to life. I can hardly contain my excitement at this stage! Carefully turning the dough a couple of times, you will feel its texture transform from a sticky mass into something smoother and more cohesive. This is a vital moment; over-mixing can lead to tough scones, and nobody wants that! Instead, treat your dough like a delicate masterpiece; it’s all about the loving touch. Form the dough into an 8-inch circle, about 1-inch thick.
Why shape it this way? This method ensures that each scone bakes evenly while maintaining that lovely, tender crumb we all adore. Think of the delicious layers that will develop as they bake—it’s nothing short of magic! As you shape the dough, take a moment to appreciate how it feels in your hands—the coolness from the butter and the slight stickiness from the cream should remind you of how comforting homemade baking can be. Once shaped, take a sharp knife or bench scraper and carefully cut the dough into 8 equal triangles. Visualize slicing through each one like you’re cutting through clouds; they should feel light and airy even before baking.
Step 6: The Crucial Chill
Now comes one of the most significant steps in ensuring your Chocolate Chip Coffee Scones are absolutely perfect: chilling. Place those beautifully cut triangles on a parchment-lined baking sheet and pop them in the refrigerator for 30 minutes to an hour. I know it’s tempting to skip this step, but trust me on this one—it’s non-negotiable! Chilling allows the butter to firm up again after being worked into the dough, which is crucial for achieving that tender flakiness we all crave in a scone.
While they chill, you might wonder why this step matters so much. Well, when butter is cold and solid when it hits the oven’s heat, it creates steam as it melts. This steam helps create those delightful layers and gives your scones their characteristic rise. So don’t rush this step; allow yourself some patience here—maybe enjoy a cup of coffee or tea while waiting! It’s all part of the process and makes those first bites taste even sweeter.
Step 7: Baking Your Perfect Chocolate Chip Coffee Scones
With your oven preheated to 400°F (about 200°C) and your scones chilled to perfection, it’s time for their grand entrance into the oven! Before you do that, brush each scone with an egg wash made from mixing one large egg with a tablespoon of heavy whipping cream—this is where they get their beautiful golden-brown color during baking. The egg wash is essential because it creates that glossy finish we often admire in bakery scones.
As you place your scones on the middle rack of the oven, keep an eye on them as they begin to transform before your eyes, typically taking about 20-25 minutes to bake perfectly. You’ll know they’re done when they turn golden brown on top; I promise you’ll be able to smell them long before you see them! The aroma wafting through your kitchen will be utterly intoxicating—a warm embrace of coffee and chocolate mingling in the air. As they bake, avoid opening that oven door too early; every time you peek inside, you let out precious heat that’s critical for rising.
Step 8: Cooling with Anticipation
Once those delightful scones are baked to perfection and have taken on that gorgeous golden hue, it’s essential to let them cool slightly on a wire rack for about 10 minutes before drizzling on your coffee glaze. This is another crucial step! Cooling allows them to set up properly; if you glaze them while they’re still too warm, you risk losing that lovely texture you’ve worked so hard for—trust me; patience pays off here.
As these beauties cool down just enough for handling without burning your fingers—because let’s face it, we’ve all sneaked bites before—they will release an aroma that dances around your home like an old friend stopping by for tea. You’ll want to soak in every moment as you anticipate their final transformation with that rich coffee glaze!
Next Major Phase – Final Touches
Step 9: The Irresistible Coffee Glaze
Now comes my favorite part—the finishing touch! In a small bowl, combine your sifted powdered sugar with instant espresso granules and brewed coffee (or espresso) along with just enough cream or milk until you achieve that silky consistency that’s just begging to be drizzled over those warm scones. If you’re anything like me (and I can’t imagine you’re not!), you’ll want this glaze to be thick enough to hold its shape but thin enough to cascade over each scone like liquid gold.
Whisking together these ingredients creates a smooth glaze that’s not only visually stunning but also adds an extra layer of flavor—that hint of espresso cutting through the sweetness adds depth. Once everything is incorporated well and reaches that ideal pourable consistency—don’t hesitate if you need an extra splash of milk or cream; adjust until it’s perfect—you’re ready!
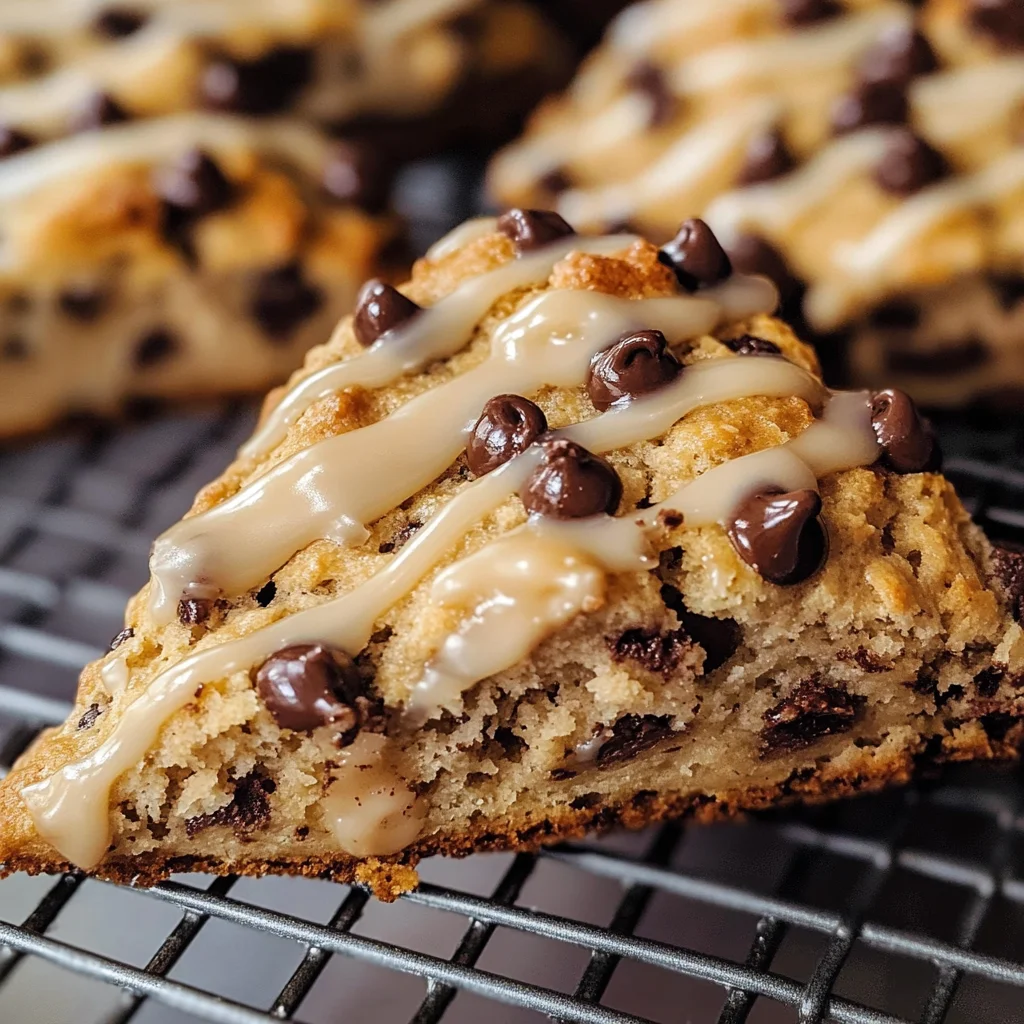
Drizzle generously over your cooled scones using a spoon or even a small piping bag if you’re feeling fancy (it does add that bakery-style flair!). Take a moment here—appreciate how these little pastries come together in such harmony—a true symphony of flavors awaits with every bite!
And there you have it—your very own Chocolate Chip Coffee Scones are complete! Serve them alongside fresh coffee or tea during breakfast or brunch gatherings—and watch as everyone’s eyes light up upon tasting these delights! I promise you; the joy they bring is truly extraordinary. Enjoy every crumb and don’t forget: good food always tastes better when shared with loved ones!
Storage and Enjoyment Tips for Your Chocolate Chip Coffee Scones
Now that you’ve walked this delightful journey through the recipe, your Chocolate Chip Coffee Scones are ready to enjoy! Imagine a warm scone, fresh from the oven, invitingly golden with melted chocolate swirls glistening in the light. But wait, let’s talk about how to savor every crumb and keep them at their best for longer. If there are any leftovers—though I doubt it!—you’ll want to store them properly to maintain that tender, buttery texture and rich flavor.
Storing Leftover Chocolate Chip Coffee Scones
To keep your scones fresh, simply place them in an airtight container; this is absolutely paramount to preventing moisture loss and staling. If you’re feeling extra cautious, layer parchment paper between each scone to help retain their delightful fluffiness. Stored this way at room temperature, they’ll stay delicious for up to three days. However, if you find yourself with a bit more time on your hands (or perhaps a busy week ahead), you can toss them in the fridge for up to a week. Trust me on this: if you ever have leftover scones after they’ve cooled down from baking, it’s worth keeping them! They develop a slightly denser texture but still hold onto that symphony of flavors. When you’re ready to indulge again, pop them in the microwave for 10-15 seconds or warm them in a toaster oven—this will revive their incredible softness and make the chocolate chips ooze just a little bit more!
Freezing Chocolate Chip Coffee Scones for Later
If you’re like me and adore making treats ahead of time, freezing these scones is an absolute game-changer! You can freeze them either before baking or after they’ve cooled completely—both methods work wonderfully. To freeze before baking, place the shaped triangles on a parchment-lined baking sheet and freeze until solid before transferring them into an airtight container or freezer bag. This way, they keep well for up to three months! The convenience factor here is simply unbeatable; imagine waking up one morning craving something sweet and knowing you can bake fresh scones straight from the freezer! Just add an extra few minutes to the baking time when you’re ready to enjoy them. How easy is that? By having these scones on hand, you’re always prepared for unexpected guests or those cozy mornings when only homemade goodness will do.
Chocolate Chip Coffee Scones

There’s something truly enchanting about the aroma of freshly baked Chocolate Chip Coffee Scones filling your kitchen. These delightful pastries are the perfect blend of robust coffee and sweet chocolate, making them an ideal companion for your morning coffee or a cozy afternoon treat. With a tender crumb and a flaky texture, each bite is a celebration of flavor that elevates any gathering or quiet moment at home. Simple to prepare yet utterly rewarding, these scones promise to bring warmth and happiness to your table.
- Prep Time: 20 minutes
- Cook Time: 25 minutes
- Total Time: 45 minutes
- Yield: Approximately 8 scones 1x
- Category: Breakfast
- Method: Baking
- Cuisine: American
Ingredients
- 2½ cups all-purpose flour
- ⅓ cup light brown sugar (packed)
- 2 tbsp instant espresso powder
- ½ tsp salt
- 2 tsp baking powder
- ½ tsp baking soda
- ½ cup unsalted butter (cold, cut into small pieces)
- ¾ cup mini semi-sweet chocolate chips
- 1 cup heavy whipping cream (cold)
- 1 tsp pure vanilla extract
- 1 large egg (room temperature)
Instructions
- Preheat your oven to 400°F (200°C) and line a baking sheet with parchment paper.
- In a large mixing bowl, whisk together flour, brown sugar, espresso powder, salt, baking powder, and baking soda until well combined.
- Cut in the cold butter using a pastry cutter or two forks until the mixture resembles coarse crumbs.
- Gently fold in the chocolate chips.
- In a separate bowl, whisk together heavy cream and vanilla extract. Pour half into the dry mixture and gently combine until just moistened; then add the rest.
- Turn dough onto a lightly floured surface; shape into an 8-inch circle about 1 inch thick. Cut into triangles.
- Place triangles on the prepared baking sheet; chill in the refrigerator for 30 minutes.
- Brush with an egg wash made from one egg beaten with heavy cream before baking for about 20-25 minutes until golden brown.
Nutrition
- Serving Size: 1 scone
- Calories: 285
- Sugar: 14g
- Sodium: 150mg
- Fat: 15g
- Saturated Fat: 9g
- Unsaturated Fat: 4g
- Trans Fat: 0g
- Carbohydrates: 34g
- Fiber: 1g
- Protein: 4g
- Cholesterol: 45mg