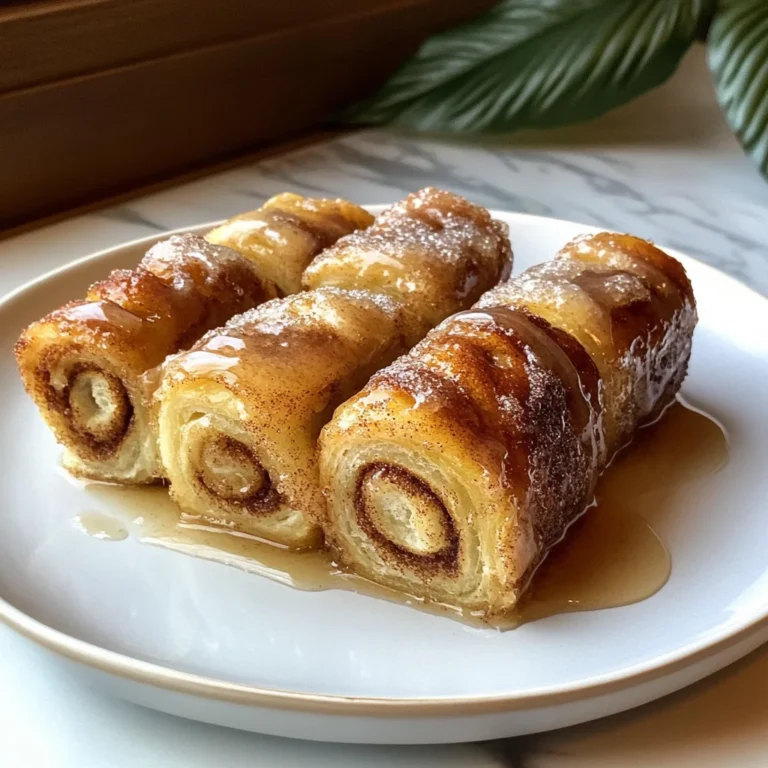
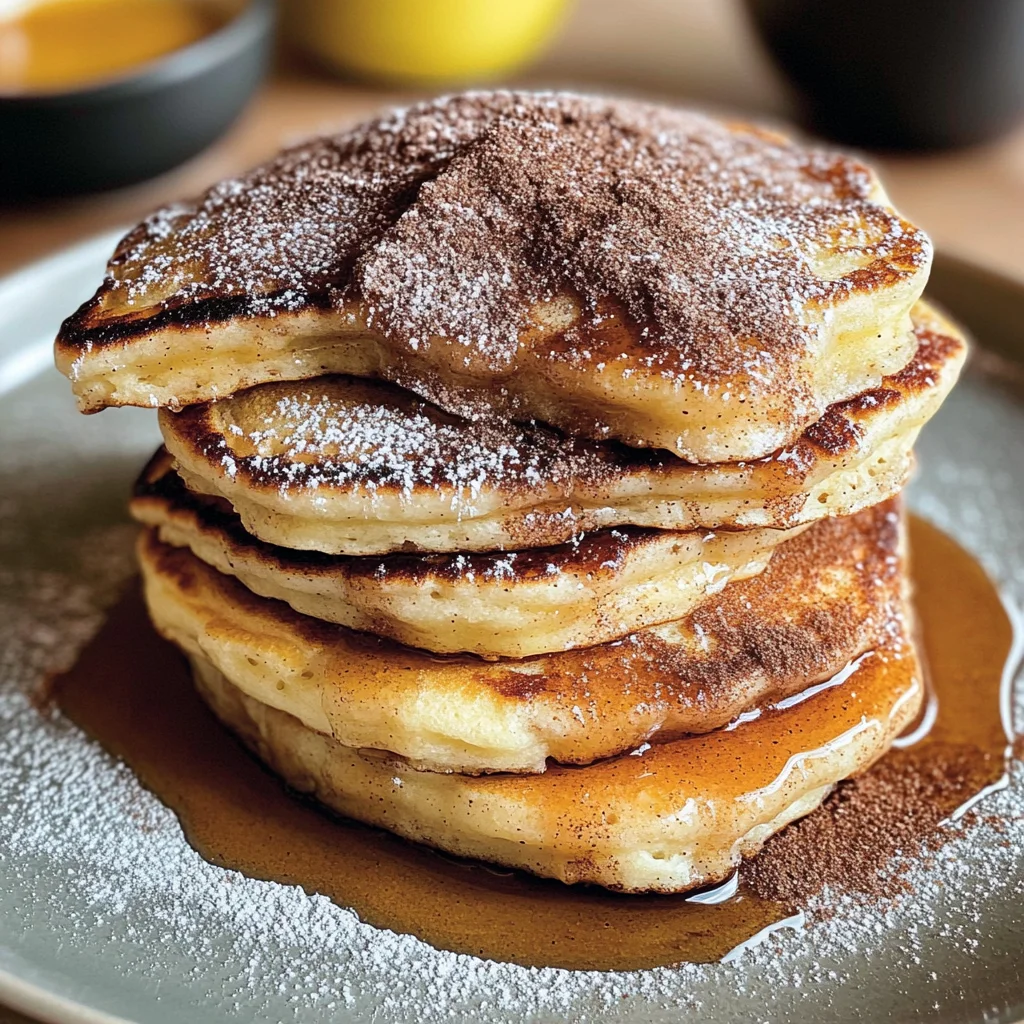
Spanish Churro-Inspired Pancakes: A Breakfast Delight!
There’s something utterly magical about mornings in the kitchen, don’t you think? The sun peeks through the curtains, casting a golden glow over everything, and the air is filled with anticipation as the day begins. Today, I’m inviting you to indulge in an experience that transcends the ordinary—a breakfast delight that weaves together tradition and innovation in a way that will leave your taste buds dancing with joy! Imagine fluffy pancakes with crispy edges, infused with the sweet and spicy essence of churros. Yes, my friend, I’m talking about Spanish Churro-Inspired Pancakes! This recipe isn’t just about satisfying hunger; it’s about creating moments to savor and share. Each bite is like a warm embrace, reminding us of cozy family breakfasts and laughter-filled mornings.
As I whisk together the ingredients for these delightful pancakes, I can’t help but recall my first encounter with churros on a spirited trip to Spain. The streets were alive with laughter and chatter, each corner offering tantalizing aromas of warm cinnamon sugar wafting through the air. It was love at first bite! But what if I told you that you could capture that enchanting experience in pancake form? These Spanish Churro-Inspired Pancakes are not just a nod to beloved traditions—they’re a heartfelt celebration of flavors that will brighten your mornings and perhaps even create new memories around your own breakfast table. So grab your apron and let’s embark on this delicious journey together!
Spanish Churro-Inspired Pancakes: A Breakfast Delight! – Sweetly Irresistible Morning Treats
Today, we’re diving into making these extraordinary pancakes that promise to elevate your breakfast game to new heights. They’re light yet rich, sweet yet subtly spiced—all while being incredibly easy to whip up! Trust me when I say this recipe will become a cherished part of your morning routine. Are you ready? Let’s get started!
Ingredients:
Embarking on this culinary journey requires some essential ingredients that come together beautifully to create our Spanish Churro-Inspired Pancakes. Each component plays a vital role in achieving that perfect balance of flavor and texture.
- 1 cup all-purpose flour. The foundation of our pancakes starts here! All-purpose flour provides structure while keeping things light and fluffy—absolutely paramount for achieving those irresistibly soft centers. When selecting flour, look for options labeled unbleached as they often have better baking properties due to their higher protein content. Avoid rushing this step; sifting your flour can help aerate it even further for extra fluffiness.
- 2 tablespoons sugar. Ah, sugar—the sweet magic that transforms good into extraordinary! Not only does it provide sweetness, but it also helps create those lovely golden edges when cooked. You can use granulated sugar or even brown sugar for a hint of caramel flavor—both work wonderfully here! Remember, balancing sweetness is key; too much can overwhelm the other flavors while too little may leave you wanting more.
- 1 tablespoon baking powder. This little miracle worker is crucial for giving our pancakes their delightful lift and airy texture. Baking powder releases carbon dioxide bubbles when mixed with liquids—causing our pancake batter to rise beautifully during cooking. Always double-check the expiration date on your baking powder; old leavening agents won’t rise as effectively.
- 1/2 teaspoon salt. Salt might seem like an afterthought, but it’s absolutely essential for enhancing all those lovely flavors we’ve gathered! Just a pinch brings balance and depth while counteracting sweetness—allowing every bite to sing harmoniously.
- 1 cup milk. Milk adds moisture and richness to our batter while keeping things tender—think of it as liquid gold flowing into our mixture! Whole milk works best here due to its fat content which contributes creaminess; however, feel free to substitute with non-dairy alternatives like almond or oat milk if needed. Just ensure they’re unsweetened so they don’t interfere with our flavor profile.
- 1 large egg. Eggs bring not only moisture but also act as a binding agent—holding everything together beautifully! They contribute richness while helping create those fluffy textures we crave in pancakes. For an egg-free alternative, consider using 1/4 cup applesauce or 1 mashed banana which will also add natural sweetness!
- 2 tablespoons melted butter. Butter is where indulgence meets flavor! It adds richness while ensuring our pancakes are perfectly moist without becoming greasy. Using unsalted butter allows us control over salt levels; just remember to let it cool slightly before adding it into the mixture so we don’t scramble our eggs!
- 1 teaspoon vanilla extract. This is where things get aromatic! Vanilla extract brings warmth and complexity—a hint of nostalgia swirling through each pancake bite! Always choose pure vanilla extract over imitation if possible; it makes such a difference in flavor depth.
- 1/2 cup cinnamon sugar (for topping). Ahhh…the pièce de résistance! A delightful combination of cinnamon and sugar sprinkled generously atop warm pancakes creates an irresistible crunch reminiscent of freshly made churros—this topping truly elevates them from simple pancakes into something special!
Equipment You’ll Need:
Having the right tools makes the cooking experience not just smoother but also more enjoyable—you’ll see what I mean when we dive into these delicious pancakes! While they may not be ingredients, these tools are essential partners in creating something wonderful together.
- Large mixing bowls – You’ll want at least two spacious bowls (one for dry ingredients and one for wet). A larger bowl lets you whisk vigorously without worrying about spills—a must-have for achieving well-combined batters!
- Whisk – A sturdy whisk helps blend everything smoothly without lumps—as air gets incorporated here during mixing which contributes fluffiness later on during cooking!
- Non-stick skillet or griddle – This is where the magic happens! A non-stick surface ensures easy flipping without tearing apart those delicate pancakes; make sure it’s preheated properly before pouring batter so you achieve those heavenly golden-brown edges we all adore!
- Ladle or measuring cup – Using either allows you to pour consistent amounts of batter onto your skillet which guarantees uniform cooking times across all batches—consistency leads directly toward perfection!
I hope you’re feeling excited about making these Spanish Churro-Inspired Pancakes because we’re just getting started! Now let’s prepare our delightful pancake batter so we can indulge in this breakfast treat together.
Step 1: Whisking Together Dry Ingredients
To begin crafting these delicious Spanish Churro-Inspired Pancakes, take one of your large mixing bowls and add in the measured all-purpose flour alongside sugar, baking powder, and salt—we’re creating a harmonious base here! Use your whisk to blend these dry ingredients thoroughly until they’re well combined—this process helps ensure even distribution of leavening agents throughout our batter which leads directly towards fluffy outcomes once cooked!
As you whisk away, take note of how beautiful this mixture looks—it’s like preparing for an exciting adventure where each ingredient plays its role perfectly harmonizing into something greater than themselves alone—the anticipation builds as aromas begin wafting through the air already teasing us about what’s coming next!
Step 2: Combining Wet Ingredients
In another bowl, pour in your milk followed by cracking open that large egg before adding melted butter and vanilla extract—we’re now venturing into creamy territory here as these liquids meld together effortlessly creating what can only be described as liquid gold! Make sure everything is mixed well here—trust me on this step because incorporating all components evenly ensures every pancake receives equal love from those wonderful flavors later on during cooking!
The beauty behind combining wet ingredients separately lies within how they interact with dry ones once introduced; mixing them individually allows each component time to shine before joining forces creating an exquisite union full of potential waiting patiently until they meet sizzling hot skillets ahead!
Step 3: Merging Wet & Dry Mixtures
Now comes one of my favorite parts: pouring those luscious wet ingredients into our bowl filled with dry ones—it feels almost like watching two old friends finally reunite after years apart! Gently fold everything together using your whisk until just combined—you want some lumps remaining rather than overmixing at this stage because gluten development could lead towards tougher textures instead of fluffy pillows awaiting us at breakfast tables everywhere!
Take note—the batter should appear rustic yet cohesive—and don’t rush this vital moment; patience matters as we allow flavors time to marry properly before heading off towards sizzling adventures ahead on hot skillets waiting eagerly nearby!
Step 4: Heating Your Skillet
With our pancake batter prepared beautifully, let’s move onto heating up that non-stick skillet over medium heat—it should be warm enough so droplets of water dance across its surface before evaporating into thin air almost instantly—that’s how you know it’s ready for action! Lightly grease it using butter or oil (whatever suits your fancy)—this step prevents sticking while allowing gorgeous browning effects later on during cooking!
Keep an eye out while adjusting heat levels accordingly throughout this process—you don’t want scorching hot surfaces leading towards burnt edges nor lukewarm ones preventing proper puffiness from forming instead; finding equilibrium becomes key here ensuring every batch cooks flawlessly until perfection emerges from beneath bubbling surfaces below…
Continue following along as we delve deeper into creating more steps all leading us closer toward experiencing ultimate pancake bliss firsthand soon enough!
Step 5: Pouring the Batter – Creating Little Clouds of Joy
Now that you have your batter lovingly mixed, it’s time to bring it to life on the skillet! Start by heating a non-stick skillet over medium heat. Oh, the anticipation! You want that perfect balance of heat—too high, and you’ll burn the outsides while leaving the insides undercooked; too low, and they’ll take forever. A gentle sizzle is what you’re aiming for when that batter hits the pan. To prepare your skillet, lightly grease it with a touch of butter or cooking spray; this is crucial because it not only prevents sticking but also adds a beautiful golden color to your pancakes.
Using a 1/4 cup measure, pour the batter onto the skillet. I can’t emphasize enough how transformative this moment is—watch as those fluffy mounds start to take shape. You’ll notice bubbles forming on the surface of each pancake after about 2-3 minutes; this is your cue to flip them! It’s like magic watching those little bubbles emerge—they signal that steam is building inside, making these pancakes rise beautifully. Trust me on this: don’t rush this step. The longer you let them cook undisturbed, the fluffier they will be when flipped. Aim for a lovely golden brown on one side before you gently turn them over with a spatula.
Step 6: Flipping with Flair – Mastering the Technique
Ah, flipping! This pivotal moment can be both exhilarating and intimidating, but fear not—I’ve got your back! Once you’ve waited patiently and seen those delightful bubbles pop up on top, it’s time to flip those pancakes over. Use a spatula that feels comfortable in your hand; it makes all the difference in executing a clean flip. Slide it gently under the pancake, lift it slightly, and with a flick of your wrist (like you’re performing culinary magic!), turn it over.
As you flip, you’ll notice that beautiful golden-brown color peeking through—the sign of caramelization at work! This process not only enhances flavor but also creates a delightful texture contrast between crispy edges and fluffy interiors; it’s absolutely paramount for achieving that churro-like experience we’re after. Cook for another 1-2 minutes on this side until it’s similarly golden brown and firm to the touch. If you’re unsure whether they’re done, give them a gentle press with your spatula; they should spring back softly but firmly—this ensures they are perfectly cooked through.
Step 7: The Sweet Sprinkle – A Cinnamon Sugar Shower
Now comes one of my favorite moments in this whole process—the sweet sprinkle of cinnamon sugar! As soon as each pancake comes off the skillet, while they are still warm and slightly sticky from cooking, generously dust them with cinnamon sugar. This magical mixture transforms each bite into an utterly intoxicating experience—it’s like giving each pancake its own hug of sweetness and warmth!
Why do we do this immediately? The warm pancakes act like little sponges soaking up that cinnamon sugar goodness; if you wait too long, they won’t adhere as well. I promise you—it makes all the difference! As you sprinkle, feel free to use as much or as little as you like; after all, everyone has their unique taste preferences. Just imagine biting into one with that sweet crunch enveloping each fluffy layer—it’s truly extraordinary!
Step 8: Repeating for Perfection – Cooking in Batches
As you continue cooking your remaining batter, I encourage you to embrace this process as an opportunity to create something special for yourself or those you love. Each pancake is deserving of care and attention—so don’t rush through! After removing each batch from the skillet and sprinkling with cinnamon sugar, place them on a warm plate or keep them in an oven set to low heat (around 200°F) while you finish cooking the rest. This technique helps maintain their warmth without drying them out—a small but vital tip that allows everyone to enjoy their breakfast together at its best.
While waiting for each batch to finish cooking might feel like an eternity (especially if you’re hungry), savor this moment—it’s part of what makes breakfast so special. Take some time between batches to enjoy that delightful aroma wafting through your kitchen—it’s nothing short of heavenly! And remember: patience here is key; allowing these pancakes time to shine will reward you with layers of flavor and tenderness that make every bite worth waiting for.
Final Touches: Serving Your Spanish Churro-Inspired Pancakes
Step 9: Plating Up – Making Breakfast Beautiful
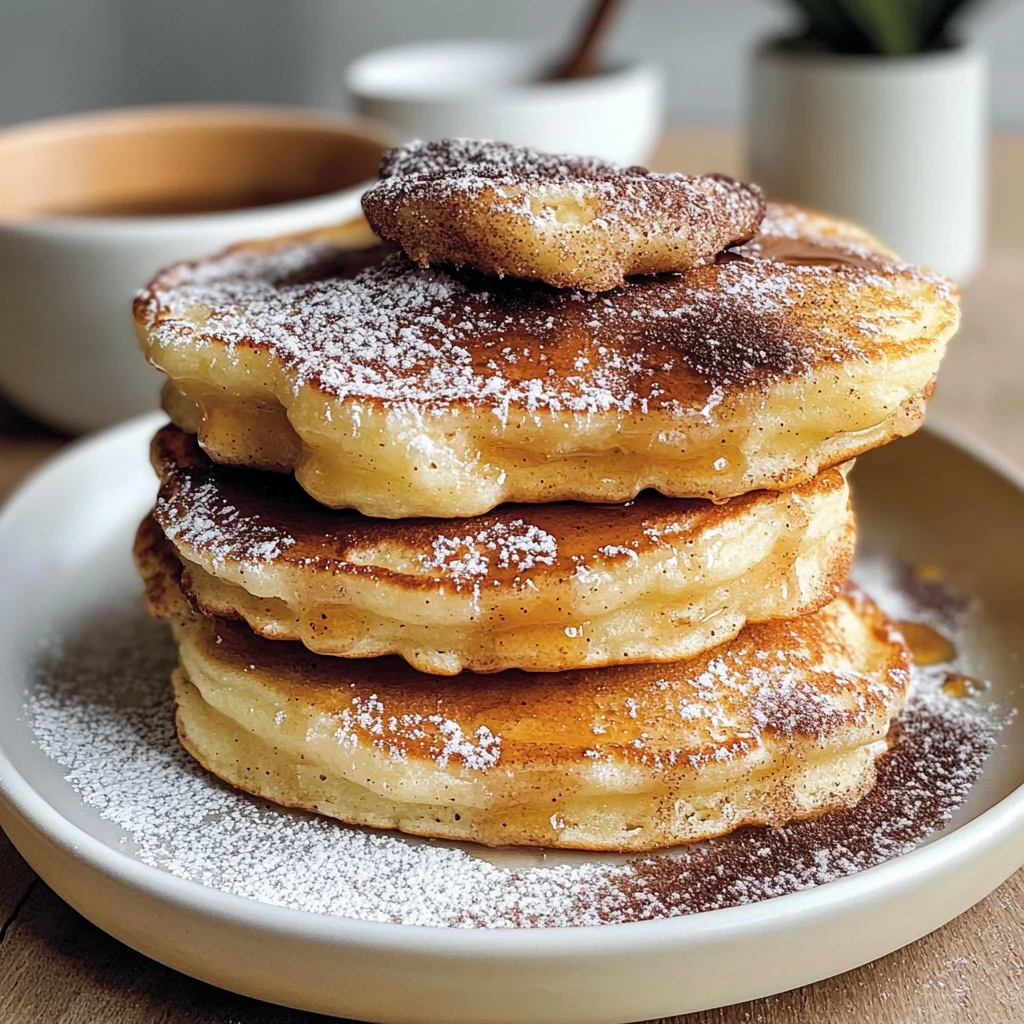
Once all your Spanish Churro-Inspired Pancakes are cooked and sprinkled with cinnamon sugar magic, it’s time for the grand presentation—the moment where all your efforts come together into something visually stunning and mouthwateringly fragrant! Stack those beautiful pancakes high on a serving plate; there’s just something about a tall stack that elevates breakfast from ordinary to extraordinary. Feel free to get creative here—perhaps drizzle some warm maple syrup or honey over them for added sweetness? Or serve alongside fresh fruit like strawberries or bananas for an extra burst of freshness!
The joy in serving these pancakes lies not just in their taste but in sharing them with loved ones who gather around your table—the laughter shared over syrupy smiles is part of what makes breakfast unforgettable. Encourage everyone to dig in while they’re still warm; I promise you’ll see smiles blossom as they take their first bites—the crisp edges complemented by soft interiors dusted with cinnamon sugar create an unforgettable experience.
So there you have it—your very own Spanish Churro-Inspired Pancakes: A Breakfast Delight! Every bite captures joy and comfort wrapped in love. I hope these become a cherished addition to your family breakfast repertoire just as they are in mine! Enjoy every mouthful—you’ve earned it!
Storage and Enjoyment Tips for Your Spanish Churro-Inspired Pancakes: A Breakfast Delight!
Now that you’ve created these heavenly Spanish Churro-Inspired Pancakes, it’s time to revel in the joy of sharing them with loved ones or savoring them all on your own! I promise you, the delightful aroma wafting through your kitchen as they cook is merely a prelude to the symphony of flavors that await. But what happens if you find yourself with a few leftovers? Fear not! These pancakes can be preserved so that their deliciousness lasts well beyond the breakfast table.
Storing Leftover Spanish Churro-Inspired Pancakes: A Breakfast Delight!
To keep your pancakes fresh and flavorful, store them in an airtight container at room temperature if you plan to enjoy them within a day or two. If you’re like me and want to extend their life a little longer, pop them into the refrigerator where they’ll stay delightful for about three to four days. Trust me on this—keeping them sealed is absolutely paramount to avoid any unwanted dryness. If you really want to maintain that soft, fluffy texture, consider placing a slice of bread in the container with your pancakes; it helps retain moisture beautifully! When you’re ready to dive back into that warm, cinnamon-sugar bliss, simply reheat them gently in the microwave or on a skillet over low heat until warmed through. The first taste will remind you just how special they are—even after storage!
Freezing for Later
If you find yourself with leftover pancakes (or if you’re just proactive about meal prep—which I wholeheartedly support!), freezing is a fantastic option that keeps these treats tasting divine. Allow your pancakes to cool completely before stacking them between sheets of parchment paper in a freezer-safe bag or container—this little trick prevents them from sticking together, making it easy to grab just what you need later on. You can safely freeze these beauties for up to two months without sacrificing flavor! When you’re ready for a quick breakfast, simply pull out a pancake (or two) and reheat directly from frozen either in the microwave or on a skillet over low heat until warmed through. It’s such a relief knowing that deliciousness is just moments away whenever those cravings strike!
Spanish Churro-Inspired Pancakes
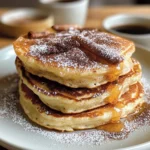
Experience the joy of mornings with Spanish Churro-Inspired Pancakes: A Breakfast Delight! These fluffy pancakes are infused with the warm, sweet flavors reminiscent of traditional churros, creating a breakfast experience that’s both comforting and indulgent. Each bite is a delightful fusion of crispy edges and soft centers, generously sprinkled with cinnamon sugar for that perfect touch. Ideal for family gatherings or leisurely weekend brunches, this recipe is easy to whip up and sure to become a cherished favorite at your breakfast table.
- Prep Time: 10 minutes
- Cook Time: 15 minutes
- Total Time: 25 minutes
- Yield: About 6 servings 1x
- Category: Breakfast
- Method: Frying
- Cuisine: Spanish
Ingredients
- 1 cup all-purpose flour
- 2 tablespoons sugar
- 1 tablespoon baking powder
- 1/2 teaspoon salt
- 1 cup milk (dairy or non-dairy)
- 1 large egg (or 1/4 cup applesauce as an alternative)
- 2 tablespoons melted butter
- 1 teaspoon vanilla extract
- 1/2 cup cinnamon sugar (for topping)
Instructions
- In a large mixing bowl, whisk together flour, sugar, baking powder, and salt until well combined.
- In another bowl, mix milk, egg (or applesauce), melted butter, and vanilla extract until smooth.
- Pour wet ingredients into the dry mixture and gently fold until just combined; some lumps are okay.
- Preheat a non-stick skillet over medium heat and lightly grease it.
- Pour about 1/4 cup of batter onto the skillet for each pancake. Cook until bubbles form on top (about 2-3 minutes), then flip and cook for another 1-2 minutes until golden brown.
- Immediately sprinkle with cinnamon sugar after removing from the skillet.
- Repeat with remaining batter, keeping pancakes warm in a low oven if necessary.
Nutrition
- Serving Size: 1 pancake (90g)
- Calories: 210
- Sugar: 10g
- Sodium: 200mg
- Fat: 8g
- Saturated Fat: 4g
- Unsaturated Fat: 3g
- Trans Fat: 0g
- Carbohydrates: 30g
- Fiber: 1g
- Protein: 5g
- Cholesterol: 35mg