Apricot Jam
There’s something truly magical about the process of turning fresh, sun-ripened apricots into luscious apricot jam. It’s not just about preserving fruit; it’s about capturing a fleeting moment in time – the sweet aroma wafting through your kitchen and that first taste of summer on a chilly winter morning. When you spread that vibrant, golden jam on your toast, it feels like you’re draping yourself in sunshine. The tang of lemon juice brightens the sweetness of the apricots, creating a symphony of flavors that dances on your palate. Trust me when I say this homemade apricot jam is nothing short of liquid gold!
Making apricot jam is also a journey steeped in nostalgia for me. I remember my grandmother standing over the stove, stirring her bubbling pots with a wooden spoon, her laughter filling the air as she shared stories from her childhood. This recipe is simple yet profoundly satisfying – it requires just three main ingredients and no pectin! Yes, my friends, you can achieve that perfect gel-like consistency simply through patience and love. So let’s roll up our sleeves and embark on this delightful culinary adventure together; I promise you won’t regret it.
Apricot Jam: A Taste of Summer Year-Round
This classic recipe for apricot jam celebrates the beauty of ripe apricots while offering a straightforward approach to home canning. As we dive into the ingredient list, remember that each component plays a pivotal role in crafting something truly extraordinary.
Ingredients:
As we embark on this delightful journey to create apricot jam, let’s take a moment to appreciate our star ingredients. Each one is essential in bringing this recipe to life.
- 2.5 kg (5.5 lb) fresh apricots – These juicy stone fruits are truly the heart of our jam. When selecting apricots, look for ones that yield slightly to pressure and have a rich orange color – these are signs of ripeness and sweetness. Avoid any that are overly soft or have blemishes, as they may not bring the best flavor to your jam. Remember, freshness is paramount here; using ripe fruit at its peak ensures that your jam will be bursting with flavor! After washing them thoroughly, remove the pits and chop them into quarters; this will help release their natural juices during cooking.
- 1/4 cup (60 ml) water – While at first glance it may seem trivial, water serves as a gentle medium for cooking our apricots without scorching them on high heat. It helps to create steam which allows those beautiful fruits to soften gracefully before we add sugar. This step is crucial because it ensures we maintain the integrity of our precious fruit while coaxing out all those delicious juices.
- 1/4 cup (60 ml) freshly squeezed lemon juice – This ingredient is absolutely non-negotiable! The acidity from lemon juice not only balances out the sweetness but also acts as a natural preservative, helping to enhance flavor and stability in your homemade preserves. Make sure to use fresh lemon juice; bottled versions often lack vibrancy and can alter the final taste of your jam. As you squeeze those lemons, notice how their zest fills your kitchen with an invigorating aroma; it’s like nature’s way of saying “yes!”
- 1.8 kg (4 lb) granulated sugar – Ah yes, sugar – the sweet enchantment! Sugar is what transforms our simple mixture into an exquisite jam by dissolving into syrup and creating that beautiful consistency we all love. It’s important to use granulated sugar here because it blends effortlessly with the fruit and helps preserve its freshness for months ahead! Don’t be intimidated by the amount; this is what makes our jam luscious and velvety smooth!
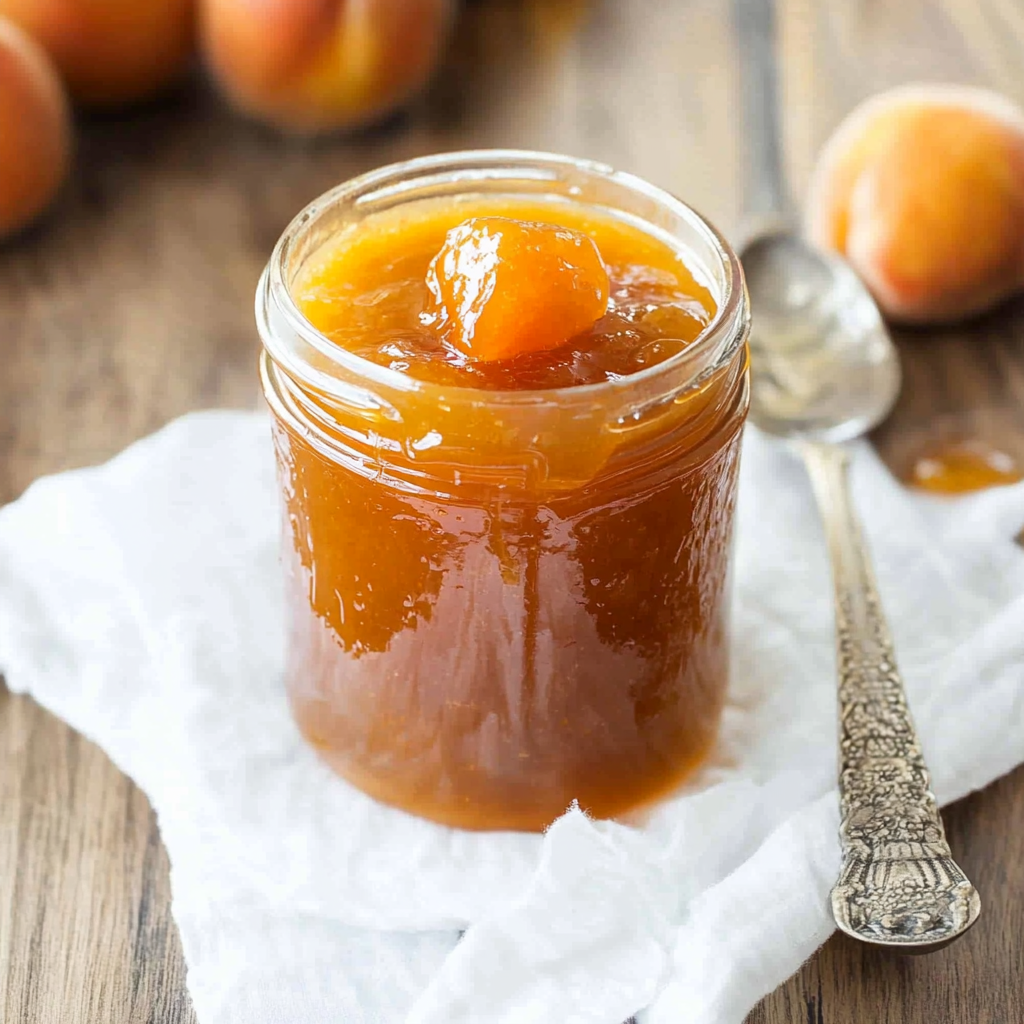
Equipment You’ll Need:
Before we get started making our delectable apricot jam, let’s gather some essential tools that will make this experience smoother and more enjoyable! Having the right equipment not only simplifies your cooking process but also enhances your overall enjoyment.
- Large pot – A heavy-bottomed pot is crucial as it provides even heat distribution while cooking our fruit mixture. This prevents sticking or burning while allowing for proper evaporation of moisture as we cook down our apricots into jam.
- Wooden spoon – Perfect for stirring! A sturdy wooden spoon allows you to mix gently without scratching your pot’s surface while also providing good leverage when mashing up those lovely apricots as they soften.
- Jar lifter or tongs – Safety first! As you transfer hot jars filled with jam from boiling water or hot surfaces, these tools ensure you don’t accidentally burn yourself while handling hot glass.
- Sterilized jars with lids – You’ll want clean jars ready for filling with your freshly made apricot jam; sterilizing them beforehand prevents any bacteria from interfering with preservation.
Now that we’ve gathered our ingredients and equipment, let’s dive headfirst into preparing this beautiful Apricot Jam!
Step 1: Prepare Your Apricots
Begin by washing your fresh apricots under cold running water to remove any dirt or residue from their skins. After rinsing them thoroughly, slice each one in half along its natural seam and gently twist to separate them from their pits; discard those pits as they won’t contribute anything but trouble! Once you’ve got all your halved beauties ready, chop them into quarters—this helps speed up the cooking process by ensuring they break down easily once they hit the heat.
Step 2: Combine Ingredients
In that large pot we talked about earlier, combine your chopped apricots with the water and freshly squeezed lemon juice. Stir everything together gently until well combined—this step creates a lovely foundation where flavors can meld beautifully before adding sugar later on. It’s during this time that you’ll start noticing those sweet fragrances wafting through your kitchen—a gentle reminder of what’s to come!
Step 3: Cook Down Your Mixture
Place your pot over medium heat and allow it to come alive with soft bubbling sounds as it simmers away—make sure not to rush this step! Stir occasionally so nothing sticks or burns at the bottom; we’re seeking tender fruit that’s released its juices rather than caramelized chunks at this point. Keep an eye on things; after about 10-15 minutes you’ll notice how beautifully fragrant everything becomes—a true testament to nature’s bounty!
Step 4: Sweeten Up!
Once you’ve cooked down those tender pieces until they’re softened significantly (imagine them practically melting away!), it’s time for sugar magic! Gradually add in all 1.8 kg (4 lb) of granulated sugar while stirring continuously until fully dissolved—this process should take around 5 minutes at medium heat where you’ll see everything transform into thick syrupy goodness before your very eyes! Keep stirring gently until no grains remain (trust me—it’s worth every second).
Stay tuned for more steps where we’ll guide you through achieving that perfect consistency for jar-ready bliss!
Step 5: Simmering the Apricots to Release Their Essence
Now that your apricots are beautifully diced, it’s time to transform them into a luscious base for our Apricot Jam. In a large, heavy-bottomed pot (this is crucial for even heat distribution), combine the chopped apricots with a quarter cup of water and the freshly squeezed lemon juice. The water will help create steam, which is vital for softening those glorious apricots, allowing their juices to mingle beautifully. As you gently stir the mixture, you’ll notice that the vibrant orange color of the fruit begins to deepen—this is a sign that they’re releasing their natural sweetness and flavor into the mix.
Bring this concoction to a gentle simmer over medium heat. I want you to pay close attention here; don’t rush this step! Cooking at too high a temperature can lead to scorching on the bottom or uneven cooking of the fruit. You want to achieve that delicate bubbling—imagine tiny pearls forming on the surface, releasing an utterly intoxicating aroma of sweet apricot. Let it simmer for about 10-15 minutes until the apricots have softened significantly; they should be tender enough to easily mash with the back of a spoon. This process not only enhances their flavor but also creates a more homogenous jam texture when we add our sugar later on.
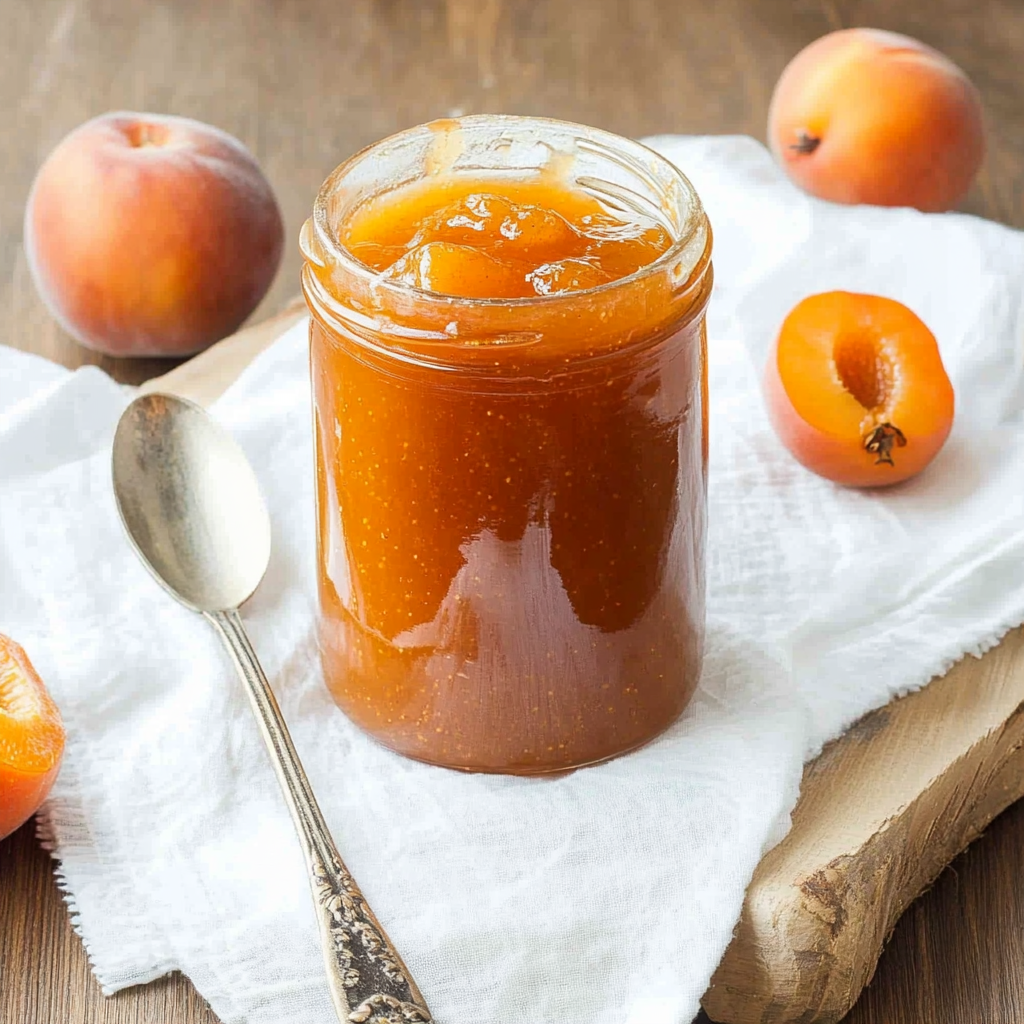
Step 6: The Sweet Transformation Begins
Once your apricots have reached that perfect tender stage, it’s time for one of my favorite moments in this journey: adding the sugar! Carefully measure out 1.8 kilograms (that’s about 4 pounds) of granulated sugar and sprinkle it evenly over your simmering fruit mixture. This is where things get magical—the sugar will dissolve and draw out even more moisture from those lovely apricots, creating a syrupy goodness that will be the backbone of your jam. Stir gently but thoroughly until every granule has dissolved completely into this sweet elixir.
After incorporating the sugar, increase your heat slightly and bring everything back to a vigorous boil. You’ll want it to bubble away quite energetically; this boiling action is essential as it helps concentrate flavors and ensures proper gel formation without using pectin. Keep stirring occasionally, especially as it begins to thicken—this helps prevent any sticky situations (literally!) on the bottom of your pot. The bubbling mixture should start to look glossy and slightly thickened after about 20-25 minutes; trust me on this—it’s absolutely paramount that you remain vigilant during this phase, as you don’t want it to overcook or caramelize too much!
Step 7: Testing for Perfection
As your jam reaches its boiling crescendo, it’s time for one of my go-to tests—a simple yet effective way to ensure you’re achieving that perfect spreadable consistency without any guesswork involved! To prepare for this crucial step, grab a small plate and place it in your freezer before you begin boiling your mixture; you’ll need it chilled for testing later on.
After about 20 minutes of vigorous boiling, take a spoonful of your bubbling jam and drop it onto that cold plate straight from the pot. Allow it to sit for about 30 seconds before giving it a gentle push with your finger. If it holds its shape and wrinkles slightly rather than running off like a liquid river—yay! You’ve reached that ideal consistency for jarred joy! If it’s still too runny, don’t worry—just keep boiling and testing every few minutes until you achieve that beautifully thickened state. This patience is vital; remember, no one wants runny jam when they could have something truly extraordinary!
Step 8: Jarring Your Liquid Gold
Now comes another exciting moment—the jarring process! Before diving in, ensure all your jars are prepped and sterilized; this is non-negotiable if you want your Apricot Jam to last throughout those cozy months ahead. You can easily sterilize them by placing them in a hot oven (around 220°F/105°C) or boiling them in hot water for ten minutes—just make sure they’re completely dry before filling.
Once everything is ready, ladle your shimmering apricot jam into each jar while it’s still hot—this really helps seal everything together while also ensuring an airtight environment as they cool down. Fill each jar almost to the top but leave about half an inch of headspace; this little gap allows for some natural expansion as things cool down without any overflow issues later on. After filling all jars, quickly wipe down any drips around the rims with a clean cloth (trust me, those little details matter!), then seal tightly with sanitized lids.
In this moment of anticipation as you seal each jar filled with sunshine-hued goodness, take a moment to admire what you’ve created together—the aroma wafting through your kitchen now is simply divine! Once sealed, allow them to cool completely at room temperature before storing them in a cool dark place where they’ll be patiently waiting for you when you’re ready to indulge.
Conclusion:
As we wrap up our journey through this delightful recipe for homemade Apricot Jam, I can’t help but feel a sense of excitement at what we’ve created together! From selecting those perfectly ripe apricots bursting with flavor to watching them transform into an utterly intoxicating spread, each step has been filled with joy and anticipation. The way the sugar dances with the tartness of lemon juice creates such harmony—a true symphony of flavors that elevates this jam beyond mere condiment status. It’s profoundly satisfying knowing this simple recipe will bring smiles and deliciousness into so many moments ahead.
This isn’t just any recipe; it’s an experience—a must-try! Imagine gathering around for brunch with friends or family, spreading this velvety apricot goodness on freshly baked scones or warm toast; it’s moments like these that become treasured memories. This versatility makes it shine during holidays or summer picnics alike; every time you pull out a jar from your pantry or fridge, you’re greeted by sunny aromas that transport you right back to those carefree days spent under blue skies.
Now let’s talk serving suggestions! Picture yourself savoring one spoonful atop creamy yogurt for an afternoon pick-me-up or stirring some into oatmeal for breakfast—it adds such depth! For a truly decadent experience, try pairing it with rich cheeses on a charcuterie board; just imagine how wonderfully balanced those flavors become! And don’t forget about using it in baking—swirl some into cake batters or fill pastries with it; each bite will have people asking how you achieved such extraordinary flavor!
Feeling adventurous? This recipe is wonderfully adaptable! You could incorporate spices like cardamom or ginger for warmth or even mix in other fruits like peaches or mangoes if you’re looking to experiment! Each twist brings something new and exciting while still keeping the essence of what makes this jam so special intact. So go ahead—try out different variations and make this recipe your own! Share your experiences and connect with friends over your culinary creations because nothing brings people together quite like homemade food made with love.
Apricot Jam
Enjoy heavenly homemade Apricot Jam made from fresh apricots! Discover how to preserve summer’s sweetness—your taste buds will thank you!
- Prep Time: 30 minutes
- Cook Time: 30 minutes
- Total Time: 1 hour
- Yield: Approximately 25 servings 1x
- Category: Dessert
- Method: Canning
- Cuisine: American
Ingredients
- 2.5 kg (5.5 lb) fresh apricots
- 1/4 cup (60 ml) water
- 1/4 cup (60 ml) freshly squeezed lemon juice
- 1.8 kg (4 lb) granulated sugar
Instructions
- Prepare the Apricots: Wash, halve, and pit the apricots before chopping them into quarters.
- Combine Ingredients: In a large pot, mix chopped apricots, water, and lemon juice.
- Cook Down: Simmer over medium heat for 10-15 minutes until softened.
- Sweeten Up: Gradually add sugar while stirring until dissolved; boil vigorously for 20-25 minutes until thickened.
- Test Consistency: Use a chilled plate to test if the jam is set; it should hold shape when cooled.
- Jar It Up: Pour hot jam into sterilized jars and seal tightly.
Nutrition
- Serving Size: 1 tablespoon (20g)
- Calories: 50
- Sugar: 12g
- Sodium: 0mg
- Fat: 0g
- Saturated Fat: 0g
- Unsaturated Fat: 0g
- Trans Fat: 0g
- Carbohydrates: 13g
- Fiber: 0g
- Protein: 0g
- Cholesterol: 0mg