How to Grill Chicken Breasts (so they turn out juicy every time!)
There’s something almost magical about the sizzle of chicken on a hot grill, isn’t there? The way that first drop of moisture meets the heat, creating an intoxicating sound that fills the air with promises of savory delight. Cooking is more than just following a recipe; it’s an experience that envelops you, drawing you into a world where flavors dance and aromas mingle. Today, I want to share with you my beloved method for grilling chicken breasts so they turn out juicy every time! This isn’t just about filling your belly; it’s about creating memories around a table, sharing laughter and stories as you savor each bite of perfectly grilled chicken.
When I think back to family gatherings, I can almost taste the grilled chicken mingled with laughter and love—a bridge between tradition and innovation. You see, this recipe for grilled chicken breasts isn’t just about satisfying hunger; it’s about embracing warmth and connection. Whether you’re hosting a summer barbecue or preparing a simple weeknight meal, mastering the art of grilling chicken breasts is essential. Trust me when I say that once you learn this technique, you’ll find endless opportunities to create dishes like salads bursting with freshness or wraps that are utterly irresistible. So grab your apron, and let’s embark on this culinary journey together!
How to Grill Chicken Breasts (so they turn out juicy every time!): The Secret to Juicy Perfection
Grilling chicken breasts might seem straightforward, but there’s an art to ensuring they remain succulent and flavorful. In this recipe, we’ll harness the power of seasoning and precise cooking techniques to make sure every bite is nothing short of extraordinary. Whether you’re a seasoned griller or just starting out, I’m here to guide you through each step with warmth and encouragement. Let’s dive in!
Ingredients:
As we gather our ingredients for this delightful dish, remember that quality matters—each component plays a vital role in achieving flavor harmony.
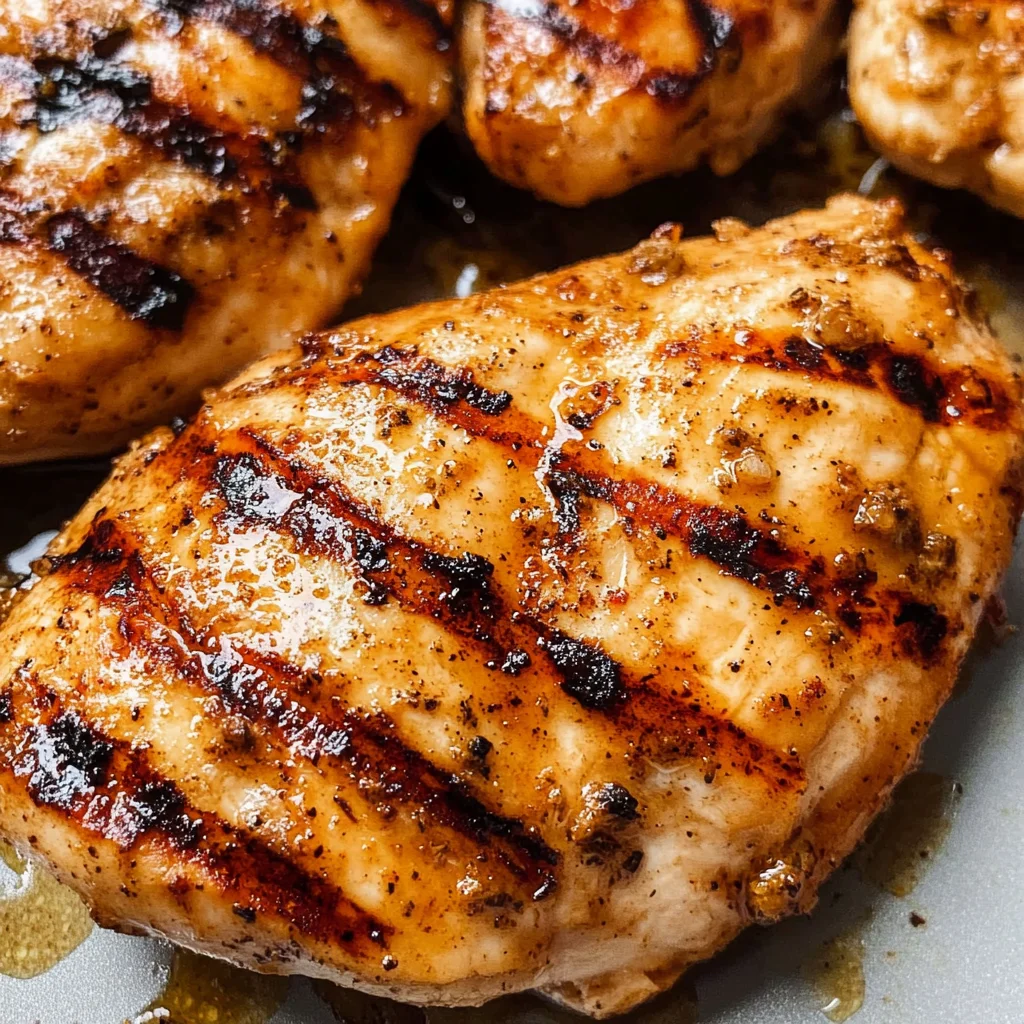
- 6 medium-sized boneless skinless chicken breasts: This is the star of our show! When selecting your chicken breasts, look for ones that are plump and pink without any bruising or discoloration. Boneless, skinless options allow for rapid cooking on the grill while still delivering rich flavor and tenderness. If you’re feeling adventurous or want to experiment with different textures, consider marinating these beauties ahead of time in lemon juice or olive oil for extra juiciness.
- 1 1/2 tablespoons kosher salt: Salt is not merely an ingredient; it’s a flavor enhancer that brings all other tastes into focus. Using kosher salt is preferred because its larger grains make it easier to distribute evenly across the surface of the chicken without overwhelming it. This step is crucial because it helps draw moisture into the meat while creating that irresistible crust on the outside as it cooks.
- 1 1/2 tablespoons ground black pepper: Freshly ground black pepper adds depth and complexity to our dish. It introduces a warm spiciness that complements the natural flavors of the chicken beautifully without overpowering them. Feel free to adjust the amount based on your spice preference—this dish should feel personal to you!
Equipment You’ll Need:
Having the right tools makes all the difference in creating a smooth cooking experience! While they may not be ingredients themselves, these essential partners will help us achieve grilled perfection.
- Grill (charcoal or gas): Your grill is where all the magic happens! A good grill allows for even heat distribution and creates those beautiful char marks we crave. If you’re using charcoal, remember that patience is key as you wait for those coals to reach optimal temperature. On a gas grill, preheating ensures consistent cooking throughout.
- Meat thermometer: This little gadget is absolutely non-negotiable if you want juicy results! It takes away any guesswork by allowing you to check doneness without cutting into your chicken. Aim for an internal temperature of 165 degrees F at the thickest part—this ensures safety while preserving moisture.
- Tongs: A sturdy pair of tongs will be your best friend on grilling day! They provide control when flipping your chicken without puncturing it (which lets those precious juices escape). Look for tongs with good grip and length so you can keep your hands safely away from high heat.
Now that we’re all set up with ingredients and equipment ready at hand, let’s move on to how we’ll transform these pieces into something truly special—a plateful of juicy grilled chicken breasts!
Step 1: Prepare Your Seasoning Mix
First things first—let’s create our seasoning blend! In a small bowl, combine the kosher salt and ground black pepper thoroughly until they’re well mixed. This simple yet effective blend serves two purposes: it enhances flavor while helping create a delicious crust during grilling. When seasoning meat before cooking, remember that it’s about building layers; every sprinkle counts toward elevating your final dish! Take care not to rush this step; giving attention here sets up everything else beautifully.
Step 2: Dry Those Chicken Breasts
Next up—we’re going to give those chicken breasts some love by patting them dry with clean paper towels. This might seem like an insignificant step, but trust me—it’s absolutely critical! Moisture can inhibit browning; drying them out allows our seasoning to stick better while also ensuring we get those delectable grill marks we all crave! Once dried properly, take your seasoning mix and generously sprinkle it over both sides of each breast. You want enough coverage here—imagine each bite bursting with flavor!
Step 3: Preheat Your Grill
Now let’s get down to business—prepping our grill! Heat it up until reaching medium heat (around 400 degrees F). Patience pays off here; if your grill isn’t hot enough when you place those lovely seasoned breasts down, they won’t sear properly and could end up tough instead of juicy! If using charcoal, wait until coals are covered with white ash before placing food on—not only does this signal ideal temperature but also ensures even cooking throughout.
Step 4: Sear That Chicken
It’s time for some action! Place those beautifully seasoned chicken breasts directly onto the hot grill over direct heat—the sound should be music to your ears! Cook them undisturbed for about 4-5 minutes per side; resist the urge to poke or flip too soon—it’s during this initial sear where magic happens as caramelization occurs! You’ll know when they’re ready because they’ll release easily from the grates once formed into beautiful golden-brown crusts.
By following these steps carefully—and trusting in their purpose—you’ll set yourself up perfectly for success as we continue grilling these beauties through indirect heat next…
Step 5: Searing for Flavor
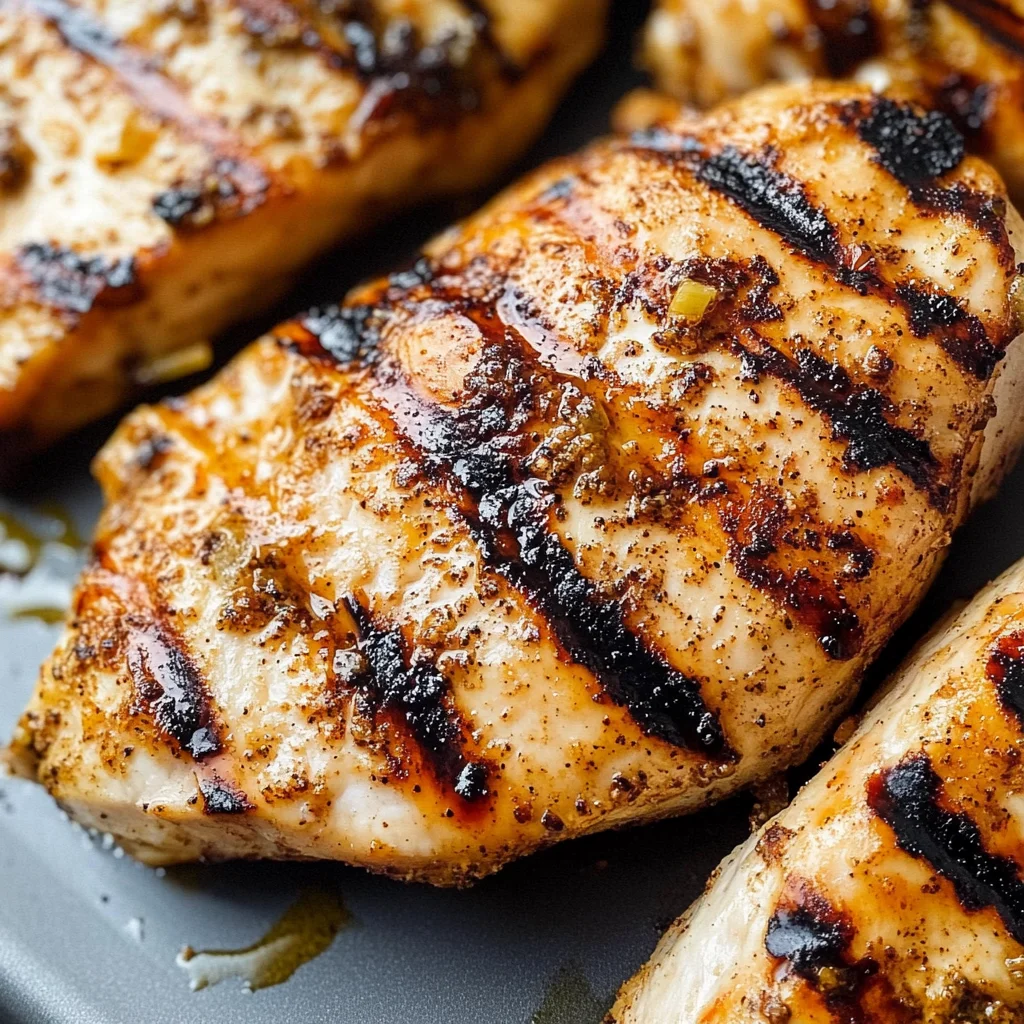
Now that your grill is preheated to a lovely medium heat—think around 400 degrees Fahrenheit, just like the warm embrace of a summer afternoon—it’s time to get those chicken breasts sizzling! This step is where the magic begins, as placing the chicken directly over the flames will create that irresistible sear. You want to hear that satisfying sizzle when the chicken touches the grill; it’s music to any cook’s ears! I usually lay the chicken breasts down at an angle, creating those beautiful grill marks that not only look fantastic but also enhance flavor through caramelization. Allow them to cook undisturbed for about 4-5 minutes on their first side. This is crucial because flipping too soon can cause them to stick—a total bummer! Keep an eye on them; you’re looking for a golden-brown color and a little char. Don’t rush this step; patience here pays off in flavor.
Step 6: The Indirect Heat Dance
Once those first few minutes are up, it’s time to move your chicken away from direct heat. Think of this as giving your chicken a gentle hug instead of a fiery embrace. By transferring the chicken to an area of indirect heat, you allow it to cook slowly and evenly without burning on the outside. Cover your grill if possible during this stage; it creates an oven-like environment that helps retain moisture and distribute heat uniformly. You’ll want to set your timer for an additional 5-7 minutes during this step, but don’t be tempted to flip or poke the chicken around—let it chill out and do its thing! Trust me on this; leaving it alone allows those juices to redistribute within the meat, which leads us directly into that juicy bite we all crave. As you wait, keep an eye on your meat thermometer—it’s essential for achieving perfectly cooked chicken.
Step 7: The Resting Ritual
Ah, my favorite part—the resting phase! Once you’ve reached an internal temperature of 160 degrees Fahrenheit (don’t fret if it seems slightly below; our resting time will help!), it’s vital not to hurry off to cut into that glorious piece of chicken just yet. I know how tempting it can be, but taking those extra moments means everything. When you let grilled chicken rest for at least five minutes, you’re allowing all those precious juices—which have been bubbling around during cooking—to settle back into the meat rather than spilling out onto your cutting board. The internal temperature will naturally rise another 5-10 degrees during this resting period, which brings our chicken right up to that safe eating temperature of 165 degrees Fahrenheit at its thickest part. It’s almost as if you’re allowing each bite to sing with flavor instead of drying out; I promise you, this step transforms good grilled chicken into something truly extraordinary!
Step 8: Perfecting Your Chicken’s Doneness
Now that you’ve let your masterpiece rest, it’s time for the grand reveal! Let’s ensure your chicken is cooked perfectly before diving in—after all, safety first! If you’re unsure whether it’s done (and who wouldn’t be?), grab that trusty meat thermometer once more and test again at the thickest part of each breast. It should read a solid 165 degrees Fahrenheit—if it’s slightly under, don’t panic! Just give it a couple more minutes while still keeping it wrapped in foil to maintain warmth and moisture until you’re ready for slicing. Visually speaking, perfectly grilled chicken should have no pinkness near the bone or thickest parts and should feel firm yet springy when pressed gently with your fingers. Also, remember that everyone’s grill can behave differently based on various factors like outdoor temperature and grill type; so adjust times accordingly as needed.
Conclusion:
As we come full circle from our journey through this recipe on how to grill chicken breasts (so they turn out juicy every time!), I hope you’re feeling just as excited about this dish as I am! There’s something truly magical about transforming simple ingredients into something profoundly satisfying—a symphony of flavors that dances across your palate with each tender bite. The combination of kosher salt and black pepper enhances not only the taste but creates that beautiful crust that seals in moisture like liquid gold! It’s an experience that transcends ordinary weeknight meals and brings everyone together at the table.
This recipe is an absolute must-try not just for its incredible taste but also for the sheer joy it brings while preparing it. Whether you are hosting friends for a backyard BBQ, whipping up an easy weeknight dinner, or crafting meal prep delights that will fuel your week ahead, these grilled chicken breasts are versatile enough to shine in any scenario. Imagine pulling these succulent beauties off the grill and serving them alongside vibrant salads or hearty grain bowls—everyone will be clamoring for more!
For serving suggestions, imagine savoring one of these grilled chicken breasts with a refreshing Chopped Greek Chicken Salad—crisp cucumbers mingling with ripe tomatoes drizzled with tangy dressing; it’s absolutely divine! Or picture yourself wrapping slices of this golden deliciousness into soft tortillas with fresh veggies and zesty sauces—a perfect lunch or quick dinner option packed with flavor! Feeling adventurous? You could even slice it thinly over creamy pasta or toss it into stir-fried veggies; versatility is its middle name!
And let’s talk variations—feeling adventurous? You could easily infuse different flavors by marinating your chicken beforehand! A blend of lemon juice and herbs can elevate it even further into something extraordinary! Alternatively, consider experimenting with spices like smoked paprika or chili powder for a kick of warmth and depth that transforms each bite into an exciting culinary adventure! This recipe is wonderfully adaptable—whatever direction you choose will undoubtedly lead you toward deliciousness! So grab those tongs, fire up that grill, and let’s make some magic happen together—I can’t wait to hear how yours turns out!
How to Grill Chicken Breasts (so they turn out juicy every time!)
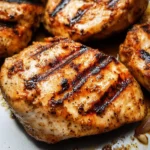
Discover how to grill chicken breasts (so they turn out juicy every time!) with this simple yet flavorful recipe that’s perfect for any occasion!
- Prep Time: 10 minutes
- Cook Time: 15 minutes
- Total Time: 25 minutes
- Yield: Serves 6
- Category: Dinner
- Method: Grilling
- Cuisine: American
Ingredients
- 6 medium-sized boneless skinless chicken breasts
- 1 1/2 tablespoons kosher salt
- 1 1/2 tablespoons ground black pepper
Instructions
- Create a seasoning mix by combining kosher salt and ground black pepper in a small bowl.
- Pat the chicken breasts dry with paper towels to ensure proper browning.
- Preheat your grill to medium heat (around 400°F) for even cooking.
- Generously season both sides of the chicken with the seasoning mix.
- Place the chicken directly over the flames on the grill, cooking undisturbed for about 4-5 minutes on each side until golden brown.
- Move the chicken to an area of indirect heat, cover, and cook for an additional 5-7 minutes until it reaches an internal temperature of 165°F.
- Allow the chicken to rest for at least 5 minutes before slicing.
Nutrition
- Serving Size: 1 serving
- Calories: 270
- Sugar: 0g
- Sodium: 660mg
- Fat: 8g
- Saturated Fat: 2g
- Unsaturated Fat: 6g
- Trans Fat: 0g
- Carbohydrates: 0g
- Fiber: 0g
- Protein: 51g
- Cholesterol: 145mg