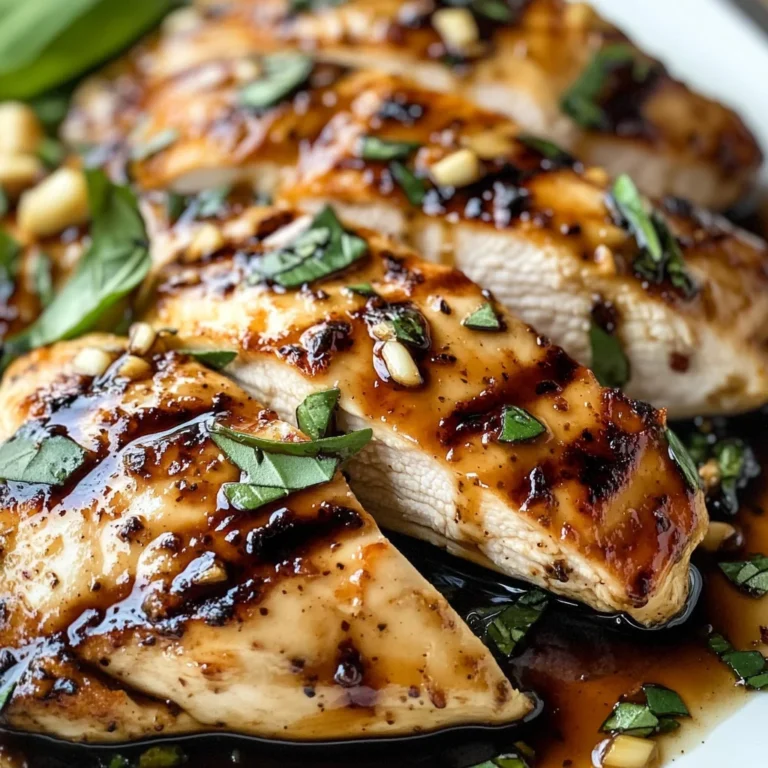
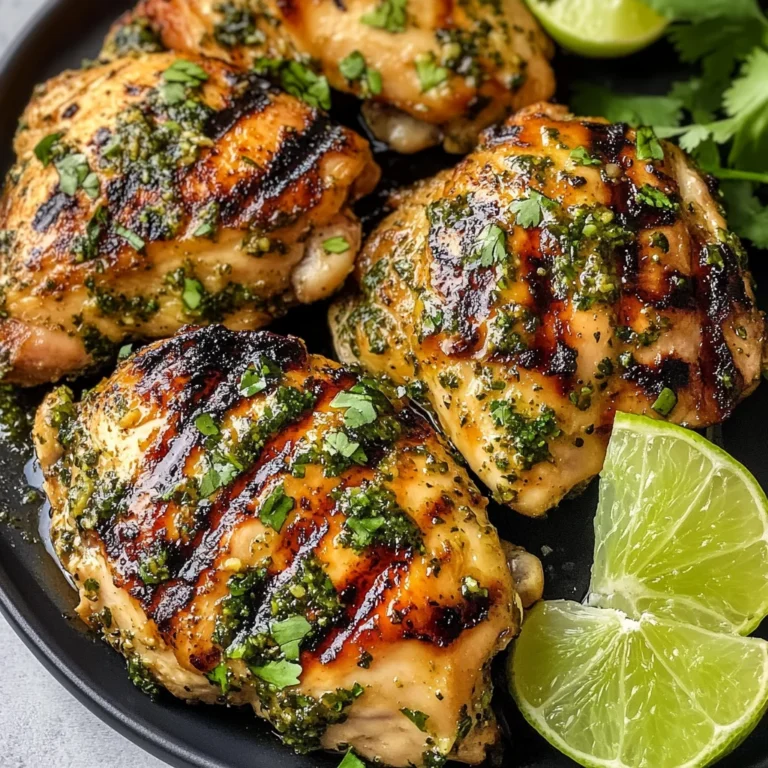
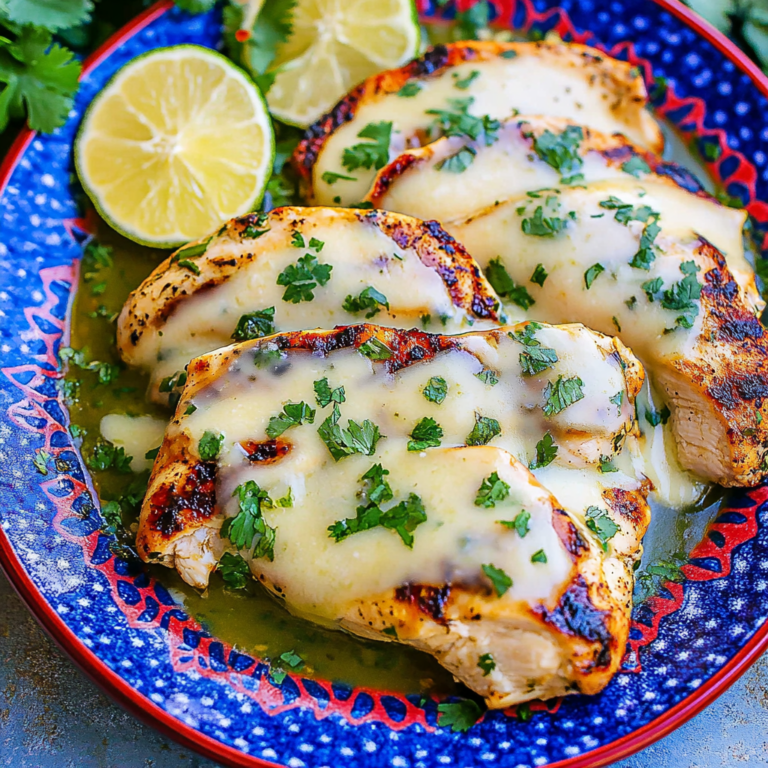
Sticky Sweet Chili Chicken – ready in 25 minutes
There’s something profoundly satisfying about cooking that transcends mere sustenance. When I think of my Sticky Sweet Chili Chicken, I don’t just envision a plate of beautifully glazed chicken thighs; I think of the laughter shared around the dinner table, the fragrant aromas wafting through the kitchen, and the sweet anticipation that builds as everyone waits to dive into a dish that promises warmth and comfort. This recipe, which comes together in just 25 minutes, is not merely about meal prep – it’s an experience that encapsulates joy, love, and a little bit of magic. Trust me when I say this: once you try these Sticky Sweet Chili Chicken Thighs, they might just become your new go-to for busy weeknights!
The beauty of this dish lies not only in its simplicity but also in its balance of flavors. The sweet chili sauce mingles with soy sauce and sesame oil to create a glaze that’s utterly intoxicating—sweet yet savory, sticky yet satisfying. It’s a delightful contrast that makes each bite feel like a celebration. I’ve always been captivated by how such uncomplicated ingredients can come together to create something so special. Whether it’s a cozy family dinner or a gathering with friends, this chicken can elevate any occasion into something memorable. And honestly? You won’t believe how easy it is to prepare!
Sticky Sweet Chili Chicken – ready in 25 minutes: A Flavorful Feast in No Time
These Sticky Sweet Chili Chicken Thighs are not only simple to make but also packed with flavor and delightfully juicy texture! You can choose to bake or air fry them, making them perfect for any kitchen setup. Plus, they’re ready in just 25 minutes! So grab your apron and let’s get cooking!
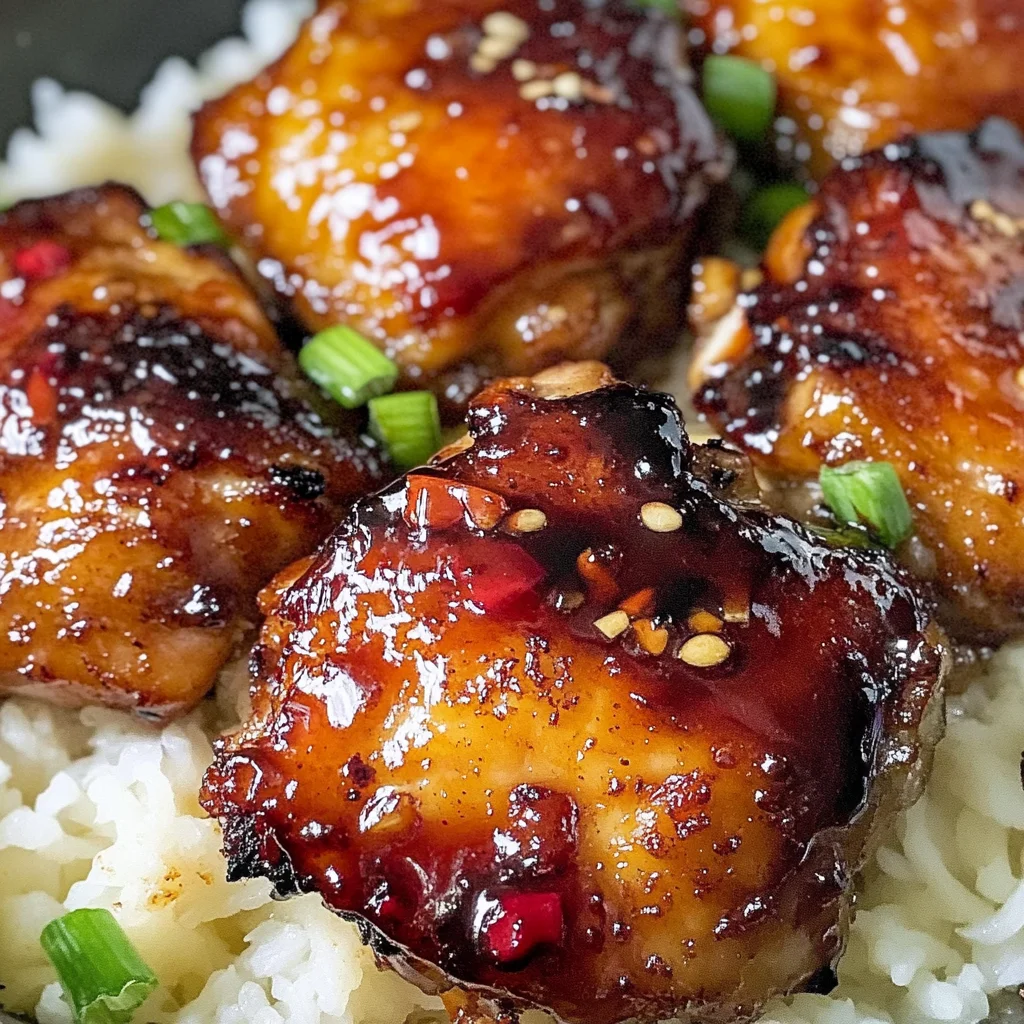
Ingredients:
Embarking on this culinary journey means gathering some essential ingredients that will bring our Sticky Sweet Chili Chicken to life. Each component plays its own crucial role in creating that symphony of flavors we’re aiming for.
- 8 bone-in chicken thighs (boneless works too). The star of our dish! Bone-in chicken thighs are wonderfully juicy and flavorful due to the marbling of fat within the meat, which keeps them moist during cooking. If you’re opting for boneless thighs, they’ll cook faster but may require closer attention to avoid drying out. Whichever you choose, I promise you’ll appreciate how tender and succulent these pieces become when bathed in our sticky glaze.
- 1 tbsp avocado oil. Avocado oil is my go-to for high-heat cooking because it has a high smoke point and neutral flavor that won’t overpower our dish. It also helps to crisp up the skin beautifully while adding healthy fats that contribute to the overall richness of the meal. If you don’t have avocado oil, feel free to substitute with olive oil – just be mindful of its lower smoke point.
- 1 tsp garlic powder. Garlic powder brings an earthy depth to the chicken without overwhelming it with raw garlic’s pungency. It blends seamlessly into our seasoning mix and enhances the umami flavors present in our sauce as well. If you prefer fresh garlic, about 2 cloves minced will work wonders too – just remember to sauté it briefly before applying it to avoid bitterness.
- ½ tsp salt. Salt is absolutely paramount as it elevates all other flavors present in your dish—it acts as a flavor enhancer! This small amount will help season our chicken without making it overly salty; remember that we’ll be adding soy sauce later too.
- ½ tsp pepper. A little freshly cracked black pepper adds warmth and subtle spice, balancing out the sweetness from our glaze perfectly. It’s such an easy addition but makes all the difference!
- ½ cup sweet chili sauce. Here’s where we start getting really excited—the sweet chili sauce is liquid gold! It brings sweetness along with a gentle heat that beautifully coats our chicken thighs as they cook down into sticky perfection. Look for quality brands without artificial additives; trust me when I say they make a world of difference.
- 3 tbsp soy sauce. This ingredient deepens flavor while adding an irresistible umami kick! Soy sauce contributes both saltiness and complexity to our glaze — make sure you’re using low-sodium if you’re watching your salt intake.
- 1 tbsp oyster sauce. While traditionally derived from oysters, there are fantastic vegetarian options available today that deliver similar depth of flavor without animal-derived ingredients. Oyster sauce adds richness and sweetness; it’s non-negotiable for achieving that authentic taste profile!
- 1 tbsp sesame oil. Just a touch goes a long way! Sesame oil adds nutty warmth and aroma which pairs exceptionally well with Asian-inspired dishes like ours—it’s like wrapping everything in a comforting embrace.
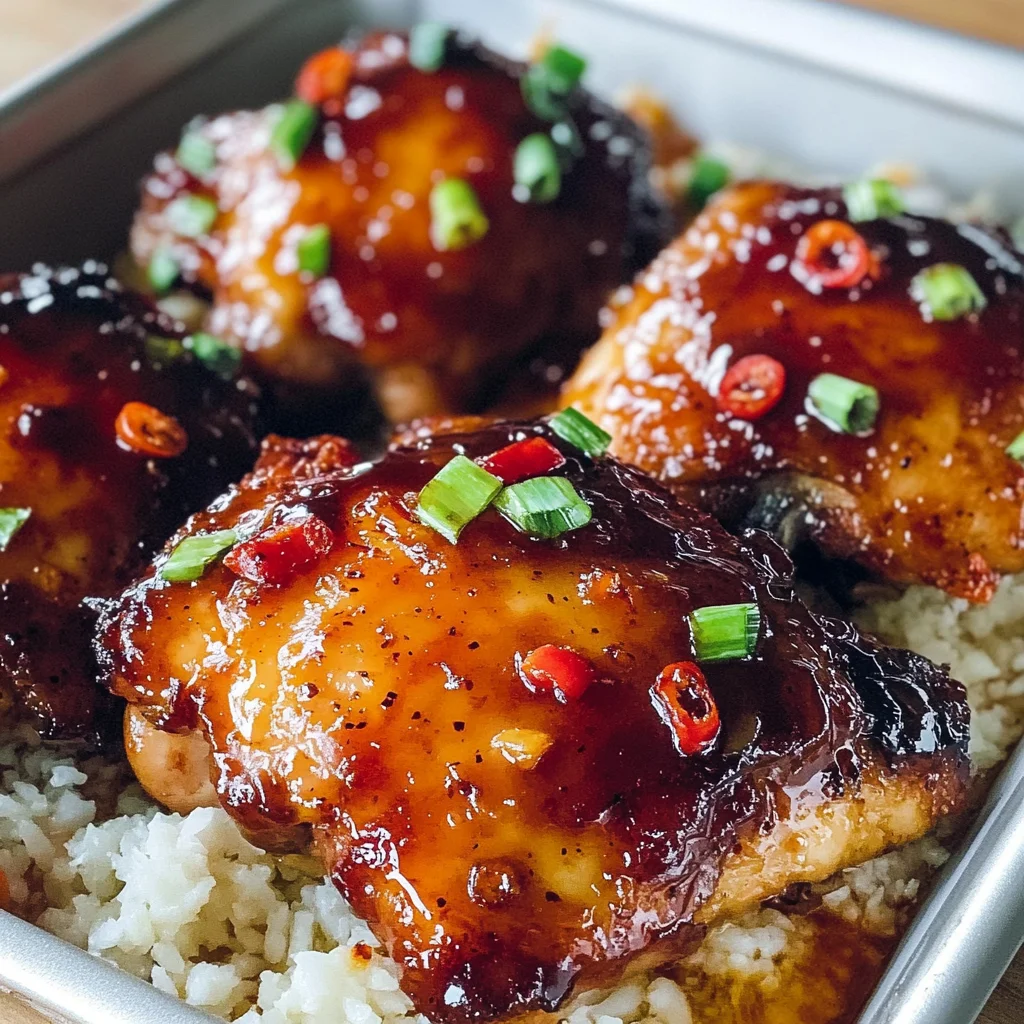
Equipment You’ll Need:
Having the right tools at your disposal makes every step of this cooking adventure smoother—and who wouldn’t want their time spent in the kitchen to feel like pure bliss? While these items may not be ingredients themselves, they are essential partners on our journey toward deliciousness.
- Air fryer or Baking tray – This choice will ultimately depend on your preferred method of cooking! An air fryer gives you crispy results without deep-frying; if you’re baking instead, use a rimmed baking sheet lined with parchment paper for easy cleanup and even cooking.
- Meat thermometer – This tool is invaluable when ensuring your chicken reaches that safe internal temperature of 165°F (74°C). Overcooked chicken can quickly turn dry; having an accurate reading allows you peace of mind so that every bite remains juicy.
- Mixing bowl – You’ll need this for combining your marinade ingredients effortlessly! A medium-sized bowl should suffice; opt for glass or stainless steel so you can see those beautiful colors mixing together.
- Basting brush – An essential tool when it comes time to apply that sticky glaze! Using a brush ensures even coverage over every inch of your chicken thighs—trust me on this one!
Now that we’re fully equipped and ready for action let’s dive into preparing these delectable Sticky Sweet Chili Chicken Thighs!
Step 1: Prepping Your Air Fryer or Oven
First things first—you’ll want to preheat your air fryer or oven to 375°F (190°C). This step is absolutely crucial because starting with hot air will ensure even cooking throughout your chicken thighs right from the get-go! As you wait for it to reach temperature, take this opportunity to pat those beautiful chicken thighs dry using paper towels; moisture is not our friend here if we want crispy skin! By removing excess moisture beforehand, we allow hot air circulation during cooking—resulting in perfectly crisped skin while keeping meat succulent inside.
Step 2: Seasoning Up
Once you’ve dried off those thighs thoroughly—let’s talk seasoning! In another bowl or directly on top of your chicken pieces (easy cleanup!), drizzle one tablespoon of avocado oil over them before sprinkling on garlic powder alongside salt and pepper generously across both sides—don’t miss any spots here! Massage those seasonings into every crevice; trust me when I say this step helps lock flavor within during cooking while also providing extra crunch outside once finished roasting.
Step 3: Cooking Time Begins
Now it’s showtime—place seasoned chicken thighs skin-side down into either your air fryer basket or onto prepared baking tray if going traditional style! Let them bask at that lovely heat setting we’ve established earlier for approximately fifteen minutes without opening up prematurely—that temptation can be hard but resist so we keep consistent airflow around each piece allowing those juices from within meld beautifully together creating moist tenderness throughout their duration inside!
Step 4: Crafting Our Sticky Glaze
While waiting patiently (and probably salivating) over those sizzling thighs creating heavenly smells wafting through kitchen air… let’s whip up our sticky glaze! In separate small mixing bowl combine half-cup sweet chili sauce along with three tablespoons soy sauce plus one tablespoon each oyster & sesame oils until everything melds harmoniously together resembling syrupy perfection—you’ll know it’s ready once all colors blend seamlessly forming glossy consistency perfect enough for basting later on during roasting process!
And there you have it—a glimpse into preparing these delightful Sticky Sweet Chili Chicken Thighs filled with passion and excitement at every step along way! Keep following along as we finish off this fabulous recipe together—it’s going to be utterly extraordinary!
Step 5: Crafting the Irresistible Sticky Glaze
Now, let’s talk about that sticky glaze that transforms our chicken thighs from delightful to downright extraordinary. In a separate small bowl, you’ll want to mix together ½ cup of sweet chili sauce, 3 tablespoons of soy sauce, 1 tablespoon of oyster sauce, and 1 tablespoon of sesame oil. This combination is like a symphony of flavors—each ingredient plays a vital role in creating that glossy, mouthwatering coating that will cling to your chicken and dance on your palate. The sweet chili sauce brings a luscious sweetness complemented by the umami depth of the soy and oyster sauces, while the sesame oil adds a nutty aroma that’s simply intoxicating.
Why is this step so important? Well, it’s not just about flavor; it’s also about texture. As the chicken cooks, this glaze will caramelize beautifully due to the sugars in the sweet chili sauce. This process creates that coveted sticky finish—a visual cue that tells you this dish is going to be something special. I find it helpful to keep tasting as you go; adjust the balance of sweetness or saltiness according to your preference. Don’t rush this step; allow yourself to really get into the groove of mixing these ingredients until they are fully incorporated. The anticipation builds as you envision the glorious result!
Step 6: Basting for Maximum Flavor
Once your chicken thighs have begun their air frying journey and those beautiful aromas fill your kitchen, it’s time to introduce that sticky glaze we prepared earlier. After about 15 minutes of cooking skin side down at 375°F (190°C), carefully pull out your air fryer basket or oven tray (remember, safety first!). Here comes the fun part: grab a brush or spoon and baste those chicken thighs generously with your sticky glaze. I usually do this at least three times throughout the cooking process—it’s absolutely paramount for achieving that deeply caramelized exterior.
As you baste, take a moment to admire how the glaze clings to the chicken like a warm hug, enveloping each piece in its rich flavor profile. This not only enhances taste but also keeps your chicken moist while it cooks—trust me, no one wants dry chicken! Be sure to return your chicken back to its cooking chamber after each basting session; allowing more time for those sugars in your glaze to develop their full potential is non-negotiable if you’re aiming for an utterly intoxicating end result. Keep an eye on everything as it cooks—the sound should be a satisfying sizzle as it caramelizes.
Step 7: Perfectly Cooking Your Chicken
After you’ve basted and returned your chicken for another round in the heat, you’ll want to give it an additional 10 minutes of cooking time. During this phase, it’s crucial to monitor the internal temperature closely—your goal is for each thigh to reach an internal temperature of 165°F (74°C). Why is this step so critical? Cooking chicken thoroughly ensures safety while maintaining tenderness; undercooked chicken can lead to foodborne illnesses while overcooked can leave you with a tough texture that’s less than appealing.
You might find yourself checking frequently with a meat thermometer if you have one on hand; it’s truly a game-changer when aiming for perfectly cooked meat! If you don’t have one, look for juicy meat juices running clear instead of pink and feel free to poke at them gently with a fork—if they bounce back softly, you’re likely good to go! Allowing patience here pays off immensely; trust me on this!
Step 8: Achieving That Crispy Finish
Now comes one of my favorite parts—the broiling step! Once your chicken has reached that perfect internal temperature, remove it from the air fryer or oven (don’t forget those hot pads!). Preheat your broiler and place the chicken thighs skin-side up on a baking sheet lined with parchment paper or foil (for easy cleanup). Broiling isn’t just about finishing cooking; it’s all about achieving that golden-brown color and crispy texture that makes each bite utterly divine.
Broil for about 2-3 minutes, keeping an eagle eye on them as they cook because things can turn from beautifully caramelized to burnt in mere moments! What you’re looking for is that gorgeous bronzed skin glistening with sticky glaze—like liquid gold! This final touch adds layers of flavor and texture that are simply irresistible! The sugar in your glaze will bubble away under high heat, forming delightful crisp edges while still preserving moisture inside—a true culinary miracle!
Conclusion:
As we wrap up this culinary journey together through the recipe for Sticky Sweet Chili Chicken – ready in 25 minutes, I hope you can feel my excitement radiating through every word! This dish is not merely about throwing ingredients into a pan; it’s about creating a symphony of flavors that meld together to form something truly extraordinary. The sweet chili sauce dances beautifully with the savory notes from soy sauce and sesame oil, all while the chicken thighs become tender and crispy. There’s something profoundly satisfying about knowing that with just a few simple steps—and minimal time—you’ve created a meal that’s not only delicious but also brings joy to those who share it.
Why should this recipe be on your must-try list? Well, beyond its incredible taste profile lies its versatility—it’s perfect for cozy family dinners or even casual gatherings with friends. Picture pulling this dish from your oven or air fryer: golden brown skin glistening under the light, inviting everyone over with its irresistible aroma. It’s one of those recipes that creates an atmosphere of warmth and comfort around your dining table; everyone gathers to indulge and share stories over heaping plates of sticky goodness.
Imagine savoring one of these flavorful chicken thighs alongside fragrant jasmine rice or crisp sautéed vegetables; each bite transports you into a world of delightful textures and tastes! For an afternoon pick-me-up, try pairing leftovers with crunchy slaw or adding them into wraps loaded with fresh herbs and zesty sauces. And don’t forget—these thighs are fantastic cold right out of the fridge too!
Feeling adventurous? This recipe is wonderfully adaptable! You could swap out traditional sweet chili sauce for a mango glaze if you’re yearning for something fruity or experiment by adding spices like ginger or even chili flakes if you crave an extra kick. The beauty lies in how easily this dish can transform based on what you have on hand or your personal preferences—so don’t hesitate to get creative! I invite you wholeheartedly to make this recipe yours: try it out, share your experiences with friends and family, and spread that love we all hold dear when we gather around food!
Sticky Sweet Chili Chicken

Discover how easy it is to make Sticky Sweet Chili Chicken – ready in 25 minutes! Treat yourself tonight; you’ll love this delicious dish!
- Prep Time: 10 minutes
- Cook Time: 15 minutes
- Total Time: 25 minutes
- Yield: Serves 4
- Category: Main
- Method: Air Frying or Baking
- Cuisine: Asian
Ingredients
- 8 bone-in chicken thighs (or boneless)
- 1 tbsp avocado oil
- 1 tsp garlic powder
- ½ tsp salt
- ½ tsp black pepper
- ½ cup sweet chili sauce
- 3 tbsp soy sauce
- 1 tbsp vegetarian oyster sauce
- 1 tbsp sesame oil
Instructions
- Preheat your air fryer or oven to 375°F (190°C).
- Pat chicken thighs dry, then coat with avocado oil, garlic powder, salt, and pepper.
- Place seasoned thighs skin-side down in your air fryer or on a baking tray.
- Cook for approximately 15 minutes.
- In a bowl, mix sweet chili sauce, soy sauce, oyster sauce, and sesame oil to create the glaze.
- Baste the chicken with the glaze every few minutes until it reaches an internal temperature of 165°F (74°C); this should take about another 10 minutes.
- Broil for an additional 2-3 minutes for crispy skin.
Nutrition
- Serving Size: 1 thigh, approximately 150g
- Calories: 280
- Sugar: 9g
- Sodium: 580mg
- Fat: 18g
- Saturated Fat: 3g
- Unsaturated Fat: 12g
- Trans Fat: 0g
- Carbohydrates: 12g
- Fiber: 0g
- Protein: 23g
- Cholesterol: 105mg