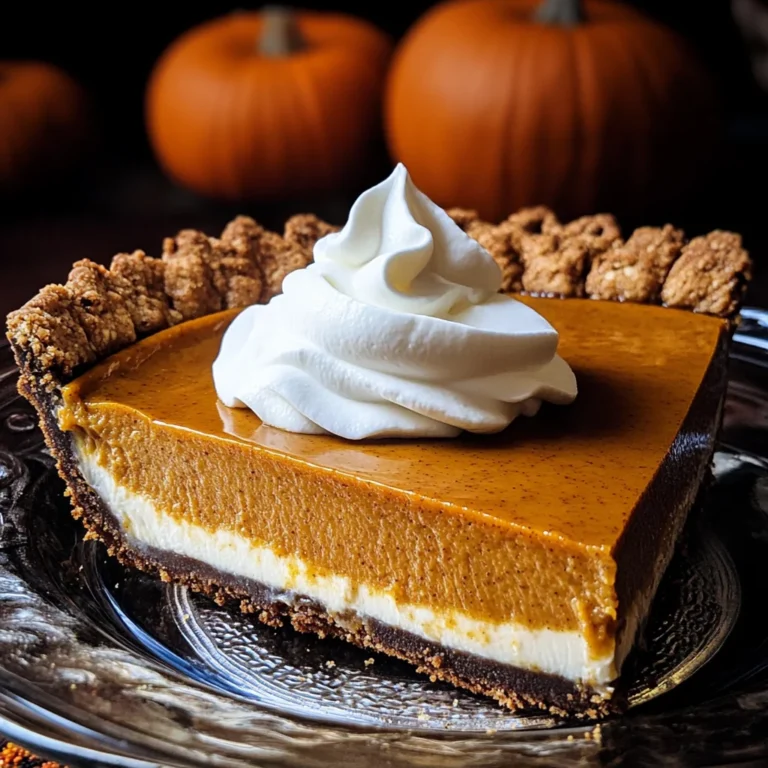
No Bake vegan marshmallows Pumpkin Pie
There’s something incredibly special about the first bite of a sweet, creamy pumpkin pie as the leaves turn and the air turns crisp. It’s not just dessert; it’s a celebration of warmth, comfort, and nostalgia that brings families together during those beautiful fall gatherings. This No Bake Vegan Marshmallows Pumpkin Pie is a delightful twist on the classic, blending fluffy vegan marshmallows with rich pumpkin to create a symphony of flavors that dances on your palate. I promise you, it’s an experience that transcends mere ingredients; it’s a journey into the heart of autumn itself. As you dig into this dreamy pie, with its luscious texture and inviting aroma wafting through the room, you’ll find yourself wrapped in a comforting embrace that only homemade treats can provide.
What makes this pie truly extraordinary is its effortless charm—no baking required! Imagine a dessert that you can whip up in just ten minutes, yet still impresses everyone at the dinner table. The combination of large vegan marshmallows and Cool Whip creates an airy, cloud-like filling that’s perfectly complemented by the warm spices of cinnamon and pumpkin pie spice. Every slice is not just visually appealing but also a celebration of flavors that captures the essence of fall. Whether it’s for Thanksgiving dinner or simply an indulgent weekend treat, this pie will surely become a cherished recipe in your collection. So gather your ingredients, roll up your sleeves, and let’s embark on this delicious adventure together!
No Bake Vegan Marshmallows Pumpkin Pie: A Fluffy Autumn Delight
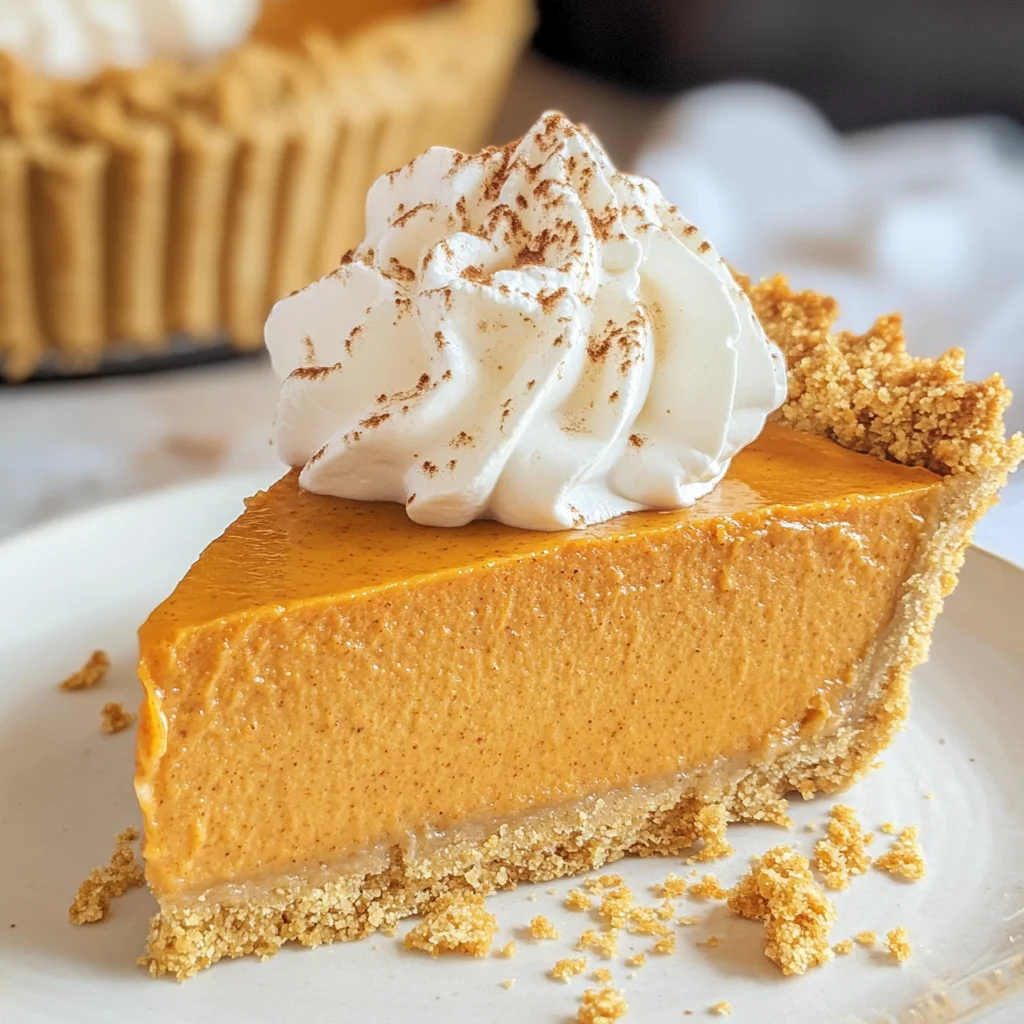
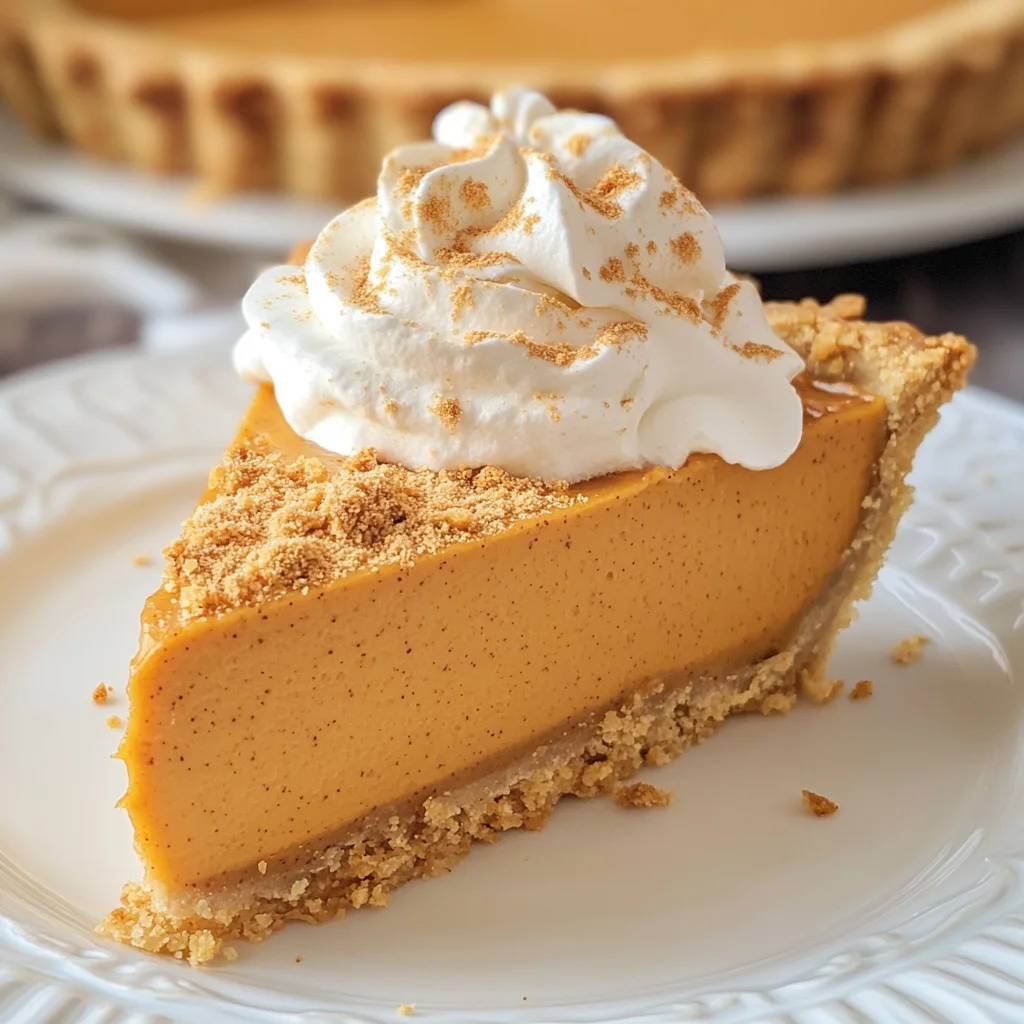
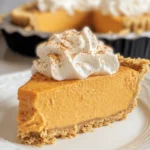
This No Bake Vegan Marshmallows Pumpkin Pie is as easy to make as it is delightful to eat! With its light and fluffy filling nestled inside a crispy graham cracker crust, it’s like capturing sunshine in dessert form. Once you take your first bite, you’ll be swept away by the velvety texture and the perfectly balanced sweetness that dances on your taste buds. Trust me; this pie will quickly become one of your go-to recipes when you’re craving something comforting yet unique.
Ingredients:
As we dive into this culinary journey together, let’s explore each ingredient that brings our No Bake Vegan Marshmallows Pumpkin Pie to life. Each component plays a vital role in creating that perfect balance of flavor and texture.
- 1 bag (10 oz) large vegan marshmallows. These fluffy wonders are what give our pie its signature texture! When melted down gently over heat, they transform into a gooey mixture that’s both sweet and ethereal. Opt for high-quality vegan marshmallows—look for brands free from artificial colors or flavors for a cleaner taste. They not only add sweetness but also help bind everything together beautifully.
- 1 cup pure pumpkin. The star of our show! Look for canned pure pumpkin (not pumpkin pie filling) for convenience; it’s full of warm autumnal flavor and packed with nutrients like fiber and beta-carotene. Its earthy sweetness pairs beautifully with our spices and contributes to that rich color we all associate with classic pumpkin desserts.
- 1 teaspoon cinnamon. This aromatic spice is essential for evoking those cozy fall vibes—it adds warmth and depth to our filling. When choosing cinnamon, opt for Ceylon cinnamon if possible; it has a sweeter profile compared to Cassia cinnamon which is more commonly found in stores.
- ½ teaspoon pumpkin pie spice. A beautiful blend often containing nutmeg, ginger, allspice, and cloves alongside cinnamon—this spice mix elevates our pie by adding complexity without overpowering the delicate flavors of pumpkin or marshmallow.
- ½ teaspoon salt. You might wonder why we need salt in something sweet; it acts as a flavor enhancer! Just a pinch helps balance out the sweetness while accentuating all those lovely warm spices.
- 1 carton (8 oz) Cool Whip (thawed). This creamy topping is what makes our filling light as air! It folds seamlessly into our melted marshmallow mixture to create an airy texture that’s utterly intoxicating when chilled. Make sure it’s completely thawed before mixing; otherwise, you won’t achieve that fluffy consistency we’re after.
- 1 (6 oz) store-bought graham cracker crust. A no-bake dessert wouldn’t be complete without this crunchy base! The sweet crunch complements the smooth filling perfectly while saving you time in the kitchen—because who wants to bake when there are pies waiting to be enjoyed?
Equipment You’ll Need:
Having the right tools makes all the difference when creating your masterpiece! While they may not be ingredients themselves, these essential partners will help ensure your creation turns out wonderfully every time.
- Saucepan – An essential tool for melting down those vegan marshmallows! It allows for gentle heating without burning; use one with thick bottoms to distribute heat evenly.
- Mixing bowl – A large mixing bowl is crucial for combining all your ingredients smoothly once they’re melted down—choose one big enough so you have room to stir without spilling!
- Spatula or wooden spoon – You’ll want something sturdy yet gentle for stirring your marshmallow mixture as well as folding in the Cool Whip later on—these tools are perfect for ensuring everything blends seamlessly together.
- Refrigerator-friendly dish or cake pan – To chill your pie overnight or at least eight hours! Make sure whatever you choose fits neatly inside your fridge while allowing space for air circulation around it so it sets properly.
Now that we’ve set ourselves up with fantastic ingredients and tools let’s get started on preparing this delicious No Bake Vegan Marshmallows Pumpkin Pie!
Step 1: Melting Magic
Begin by placing your saucepan over low or medium-low heat—a gentle touch here is absolutely paramount because we want to melt those marshmallows slowly without scorching them! Add in the large vegan marshmallows along with pure pumpkin, cinnamon, pumpkin pie spice, and salt into the pan. As they start to soften under heat’s embrace, stir frequently to combine everything until it’s luxuriously smooth—a process that takes around 5-7 minutes depending on your stove’s temperament. This step is crucial because if you rush it or increase heat too much, you’ll end up with burnt bits instead of silky goodness!
Step 2: Cooling Down
Once you’ve achieved that wonderful homogenous mixture filled with enticing aromas wafting through your kitchen, transfer it into a mixing bowl and let it cool down to room temperature—around 30 minutes should do nicely but don’t hesitate if it needs more time! This cooling period allows all those flavors inside to meld beautifully while preventing any drastic temperature change from affecting our next ingredient—the Cool Whip! Patience here pays off beautifully since we want everything to come together harmoniously.
Step 3: Whipping Up Fluffiness
When your mixture has cooled adequately (you’ll know it’s ready when you can comfortably touch the bowl without burning your fingers), grab that carton of thawed Cool Whip from earlier—it should be light and fluffy already! Now gently fold it into the cooled pumpkin-marshmallow blend using either spatula or wooden spoon until fully combined—a lovely pale orange hue should result from this union! Be careful not to over-mix though; we want to retain as much airiness as possible so every slice boasts that cloud-like fluffiness we crave!
Step 4: Pouring Perfection
Next comes one of my favorite parts: pouring our gorgeous filling into the graham cracker crust! Gently spoon in dollops at first before spreading evenly across using either spatula or back of spoon—the goal here is even distribution so each slice delivers consistent flavor throughout every bite! Once spread out perfectly within its crusty home, cover with lid included from store-bought crust (or plastic wrap if needed) then place delicately inside refrigerator where magic truly happens!
Stay tuned for how long we need this beauty chilling before serving up slices topped off with whipped cream—it will be worth every second spent waiting!
Conclusion:
As we come full circle on this journey through creating your No Bake vegan marshmallows Pumpkin Pie, I can’t help but feel giddy with excitement! This recipe isn’t just another dessert; it’s an invitation to experience all the warmth and comfort of fall wrapped up in one fluffy slice. The combination of velvety pumpkin puree mingling with those soft vegan marshmallows elevates this dish beyond ordinary expectations, creating a symphony of flavors that feels both nostalgic and refreshingly new at once. Trust me when I say every bite will leave you feeling profoundly satisfied!
Why should you give this recipe a try? Well, not only does it cater beautifully to various dietary preferences without sacrificing taste or texture, but it’s also incredibly easy and versatile! Picture yourself serving this stunning pie at Thanksgiving gatherings or cozy family dinners—your guests will be raving about how light yet indulgent it tastes! Just imagine pulling it from the fridge after chilling overnight: as you lift off the lid and catch that aroma wafting through the air, everyone will gather around, eager for their first taste.
For an afternoon pick-me-up or as a sweet ending to any meal, I highly recommend pairing this pie with a steaming cup of spiced chai or a creamy cup of coffee—the flavors complement each other like old friends reuniting. Or perhaps you’d enjoy savoring one alongside fresh fruit for brightness; think juicy slices of pear or crisp apples drizzled with honey—they provide such a refreshing contrast to the richness of your pie.
Feeling adventurous? This recipe is wonderfully adaptable! How about adding some crushed nuts atop for extra crunch? Or perhaps swirl in some dairy-free chocolate chips before chilling—the possibilities are endless! You could even experiment by swapping out spices based on what you have at hand; ginger would lend an exciting zing while nutmeg adds warmth. Whatever variation you choose, I wholeheartedly encourage you to make this recipe your own! So go ahead—create magical memories around your kitchen table with this No Bake vegan marshmallows Pumpkin Pie. I can’t wait to hear about your experiences as you dive into its delightful charm!
No Bake Vegan Marshmallows Pumpkin Pie
Indulge in the delightful simplicity of our No Bake Vegan Vegan Marshmallows Pumpkin Pie, a perfect addition to your autumn gatherings. This creamy, fluffy dessert combines the nostalgic flavors of pumpkin with light vegan marshmallows, creating a rich and airy filling that sits atop a crunchy graham cracker crust. Impress your family and friends with this effortless recipe that requires no baking and can be whipped up in just ten minutes. Ideal for Thanksgiving or any cozy fall occasion, this pie captures the essence of autumn in every slice. So gather your ingredients and treat yourself to this comforting, delicious dessert that is sure to become a favorite!
- Prep Time: 10 minutes
- Cook Time: None
- Total Time: 0 hours
- Yield: Approximately 8 servings 1x
- Category: Dessert
- Method: No Baking
- Cuisine: American
Ingredients
- 10 oz large vegan marshmallows
- 1 cup pure pumpkin
- 1 teaspoon cinnamon
- ½ teaspoon pumpkin pie spice
- ½ teaspoon salt
- 8 oz Cool Whip (thawed)
- 6 oz store-bought graham cracker crust
Instructions
- In a saucepan over low heat, combine vegan marshmallows, pure pumpkin, cinnamon, pumpkin pie spice, and salt. Stir until smooth (about 5-7 minutes).
- Transfer the mixture to a mixing bowl and let it cool to room temperature.
- Once cooled, gently fold in the thawed Cool Whip until fully combined.
- Spoon the filling into the graham cracker crust evenly.
- Cover and refrigerate for at least eight hours or overnight before serving.
Nutrition
- Serving Size: 1 serving
- Calories: 240
- Sugar: 22g
- Sodium: 160mg
- Fat: 9g
- Saturated Fat: 5g
- Unsaturated Fat: 3g
- Trans Fat: 0g
- Carbohydrates: 37g
- Fiber: 1g
- Protein: 2g
- Cholesterol: 0mg