Old Fashioned Coleslaw with Vinegar
There’s something truly magical about a dish that brings both nostalgia and freshness to our tables, isn’t there? When I think of an Old Fashioned Coleslaw with Vinegar, I’m transported back to sunlit picnics and family barbecues where laughter mingled with the tantalizing aroma of grilled vegetables. This isn’t just a side dish; it’s a bridge to cherished memories, a celebration of simple ingredients transformed into something extraordinary. The crisp crunch of green cabbage, the vibrant hues of shredded carrots, and the zesty dressing come together in a delightful symphony of flavors that dances on your palate. What makes this recipe so special is not only its refreshing taste but also its versatility. It pairs beautifully with everything from smoky grilled veggie burgers to hearty bean salads, making it the perfect companion for any meal.
Now, let’s talk about why this vinegar-based coleslaw stands out in a sea of creamy alternatives. Unlike traditional coleslaws that drown under heaps of mayonnaise, this version is brightened by tangy vinegar and a hint of sweetness from sugar. It’s a revitalizing take that awakens your taste buds without overwhelming them. Plus, it gets even better as it sits! Allowing the flavors to meld overnight transforms this coleslaw into something truly profound—a dish that is more than just food but rather a testament to how time can enhance flavors and elevate experiences. Trust me when I say that the longer it chills in the fridge, the more deliciously intoxicating it becomes.
Old Fashioned Coleslaw with Vinegar: A Refreshingly Crunchy Delight
I’m absolutely thrilled to share this recipe with you! This Old Fashioned Coleslaw with Vinegar will soon become one of your go-to side dishes. It’s effortlessly easy to prepare and doesn’t require any fancy ingredients—just wholesome goodness that everyone will love! Gather your fresh veggies and let’s embark on this culinary journey together.
Ingredients:
As we gather our ingredients for this delightful coleslaw, each one plays an indispensable role in crafting the final product. Let’s dive deep into what makes each component essential!
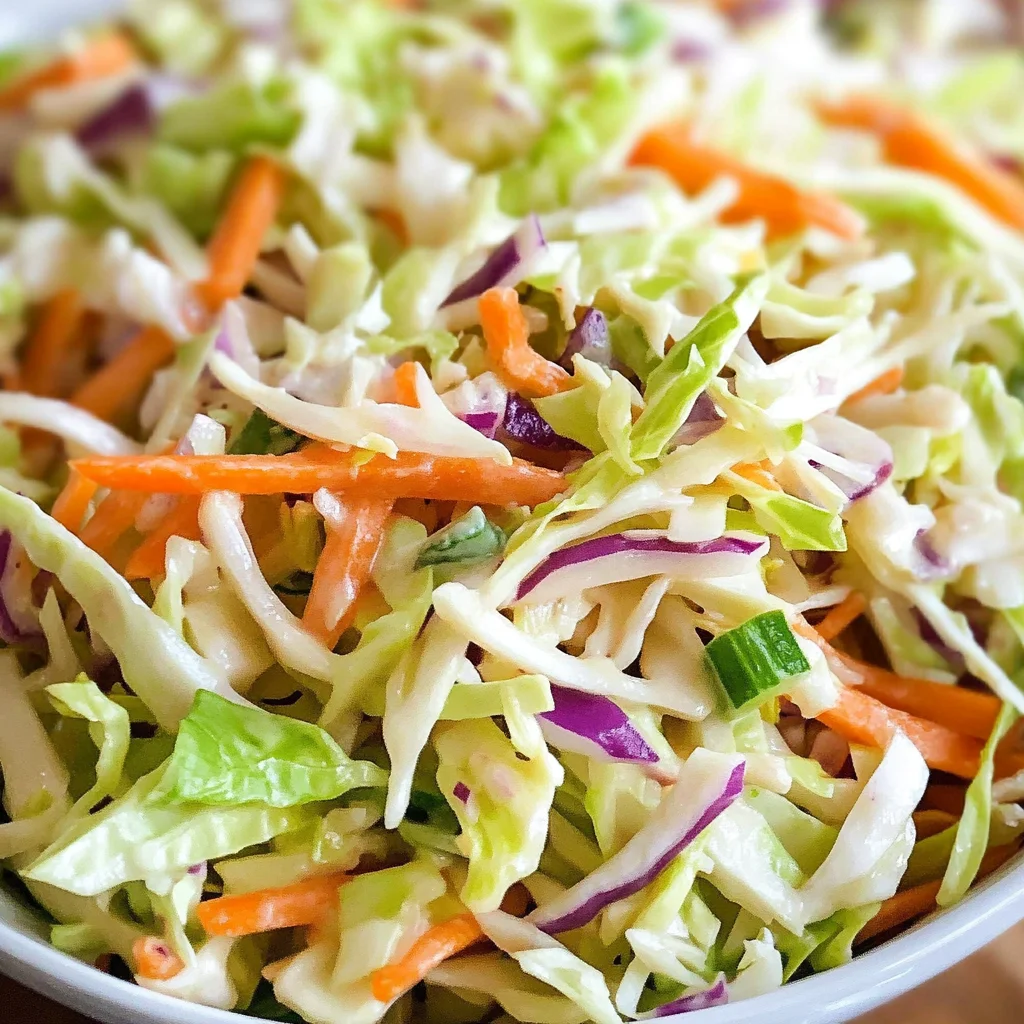
- 5 cups green cabbage (thinly sliced): The star of our coleslaw! Green cabbage offers a satisfying crunch and a subtle sweetness that balances beautifully with the tangy dressing. When selecting cabbage, look for heads that feel heavy for their size and have tightly packed leaves—this usually indicates freshness. Thinly slicing it allows for maximum flavor absorption from our dressing while ensuring every bite has that characteristic crunch.
- 1 cup carrots (shredded): These vibrant orange beauties add a pop of color and natural sweetness that elevates the overall flavor profile of our coleslaw. Fresh carrots not only contribute texture but also bring essential nutrients like beta-carotene into our dish. If you have access to young or heirloom varieties, they tend to be sweeter and more tender—perfect for shredding!
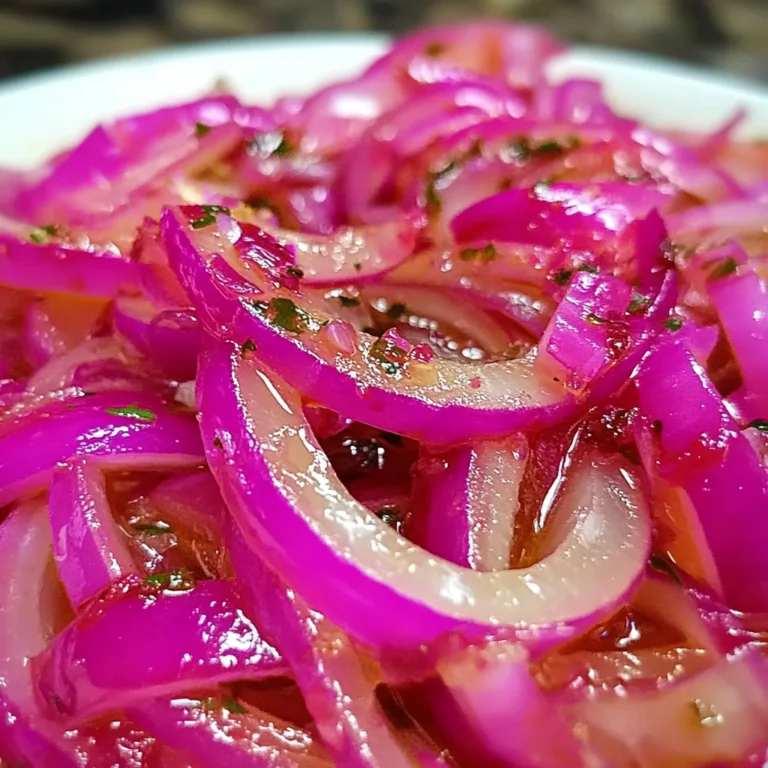
- 1/2 yellow onion (thinly sliced): Onions introduce an aromatic depth that complements the other vegetables excellently. Yellow onions are slightly sweet when raw yet have enough bite to provide balance in flavor without overwhelming the dish. Make sure to slice them thinly so they blend harmoniously into the slaw without dominating every bite; we want them present but not overpowering.
- 1/3 cup sugar: Here comes our little secret ingredient! Sugar helps mellow out acidity while enhancing all those rich flavors at play within our coleslaw. It’s crucial for balancing out the tanginess from vinegar; however, feel free to adjust based on your personal preference or even substitute with agave nectar or honey if you’re looking for alternatives!
- 1 teaspoon celery seed: This tiny seed packs a punch! Celery seed contributes an earthy flavor reminiscent of fresh celery while adding complexity without being too assertive. It’s one of those ingredients you might overlook until you realize how integral it is in pulling together all the elements in your coleslaw.
- 1 teaspoon Dijon mustard: Dijon mustard adds an incredible depth along with a subtle heat that enhances not only flavor but also emulsifies our dressing beautifully once mixed with oil later on. Look for quality brands without additives or preservatives; they make all the difference!
- 1 teaspoon kosher salt: Salt is vital here—it enhances every other flavor present in our dish while helping draw moisture out from the vegetables through osmosis, which creates a lovely briny quality within each bite.
- 1/4 teaspoon black pepper: A dash of black pepper adds warmth and brings everything together beautifully; it’s amazing how such a small amount can intensify flavors across your entire recipe!
- 1/3 cup distilled vinegar: The backbone of our dressing! Distilled vinegar offers sharp acidity that cuts through other flavors without being too harsh compared with some other types like apple cider vinegar or balsamic. It brightens up everything, creating an invigorating experience!
- 1/3 cup olive oil: Finally, we’ll round off our dressing with high-quality olive oil which lends richness while helping emulsify all those wonderful flavors together smoothly into liquid gold! Opt for extra virgin olive oil if possible as its fruity notes complement this vinaigrette perfectly.
Equipment You’ll Need:
Before we dive into preparing this beloved recipe, let’s take a moment to acknowledge some essential tools you’ll need along the way. Having the right equipment not only streamlines your cooking process but also elevates your experience as you create something wonderful!
- Large mixing bowl – This will be your main workspace where all those beautiful veggies come together! A large bowl gives you ample room to toss everything freely without worrying about spills—trust me, that’s important when you’re mixing up those crunchy components.
- Small saucepan – You’ll use this handy pot for whisking together your dressing ingredients before adding olive oil—a crucial step that ensures everything combines seamlessly! Choose one with a sturdy handle so you can whisk confidently without worrying about it slipping away from you.
- Whisk – An absolute must-have tool! Whisks help emulsify ingredients rapidly, ensuring no clumps remain behind as they come together into their harmonious form—like magic happening right before your eyes!
- Sharp knife & cutting board – Having sharp tools makes slicing through vegetables effortless while ensuring safety as well; dull knives can lead to slips or uneven cuts which are never fun during prep time.
Preparing the Old Fashioned Coleslaw with Vinegar
Step 1: Gather Your Fresh Ingredients
First things first—let’s prep those beautiful vegetables because they deserve all our attention! Start by washing your green cabbage thoroughly under cold water; removing any dirt or impurities will enhance freshness dramatically when enjoyed later on. Once clean, slice it thinly using either a sharp knife or mandoline slicer if preferred—aiming for paper-thin slices here allows maximum absorption from our zingy dressing later on! Next up are those vibrant carrots: peel them before shredding using either box grater or food processor until you’ve got about one cup ready—don’t worry about being too precise here—as long as they’re roughly shredded we’re good! Finally slice half an onion thinly; remember—the key is keeping everything uniform so bites are consistent throughout—no one likes chunky bits ruining their slaw experience!
Step 2: Whip Up Your Dressing
Now comes one of my favorite parts—the dressing creation! In your small saucepan over medium-low heat combine half of your sugar along with celery seeds, Dijon mustard kosher salt & black pepper along with distilled vinegar—you want these flavors melding gently as they warm up together creating an aromatic base that promises boldness ahead! Stir continuously until sugar dissolves fully; don’t rush this step—it allows those gorgeous flavors time to develop before we whisk in olive oil next—we’re aiming for balance here after all! Once dissolved bring mixture just until simmering then slowly drizzle in olive oil while whisking vigorously—you should see magic happen right before your eyes as everything emulsifies beautifully into silky liquid gold—this is absolutely paramount folks!
Step 3: Marry Those Flavors
With both components prepared it’s time now for their grand union—the moment we’ve been waiting for! Pour hot dressing over shredded veggies within large mixing bowl before gently tossing them all together until every piece is coated evenly by that flavorful concoction we just created—it should glisten enticingly at this point—a sign things are going splendidly well so far! Cover tightly using plastic wrap or lid then let rest at room temperature briefly before transferring into refrigerator where chilling will work wonders over next couple hours (or ideally overnight!). Why chill? Because allowing time enables vegetables soften slightly whilst soaking up delicious juices from dressing leading us towards ultimate satisfaction when served later—all worth planning ahead trust me!
Step 4: Serve & Enjoy!
After allowing sufficient chilling time (at least two hours), unveil your stunning masterpiece ready for serving alongside favorite dishes whether grilled veggie burgers or hearty bean salads—you’ll find everyone reaching eagerly towards bowl filled brimful deliciousness before them craving more bites filled joyfully crunchy textures blending harmoniously underneath zesty goodness surrounding them—it truly doesn’t get much better than this folks! So grab some tongs & plate generously onto dinner plates garnished freshly chopped herbs if desired then dig right into blissful experience ahead knowing each bite carries essence tradition timeless recipes passed down generations reminding us why comfort foods hold such importance within lives shared closely around tables filled laughter warmth love…Enjoy every morsel wholeheartedly dear friends—I promise you won’t regret diving deep into these flavors today!
Creating Your Old Fashioned Coleslaw with Vinegar
When it comes to making coleslaw, there’s something extraordinarily delightful about a vinegar-based recipe. It’s crisp, refreshing, and provides that perfect tangy zing that just awakens your taste buds. I’ve always been captivated by the simplicity of this Old Fashioned Coleslaw with Vinegar. The ingredients are straightforward, yet when combined, they create a vibrant dish that pairs beautifully with grilled meats or stands alone as a crunchy salad delight. Let’s dive into the next steps of this delightful culinary experience!
Step 5: Whisking Up the Perfect Dressing
Now it’s time to create the dressing that will transform our fresh vegetables into something truly extraordinary. Start by taking a small saucepan and placing it over medium heat—this is where the magic begins! In this pan, whisk together the sugar, celery seed, Dijon mustard, kosher salt, black pepper, and distilled vinegar. You’re not just mixing these ingredients; you’re crafting a harmonious blend of flavors that will infuse the vegetables with an utterly intoxicating tanginess. As you bring this mixture to a low simmer, you’ll notice the sugar dissolving beautifully; this process is crucial because it ensures your dressing has a balanced sweetness that will complement the slight bitterness of the cabbage.
Once you see those gentle bubbles forming around the edges of your saucepan—this usually takes about 2-3 minutes—you’ll want to slowly drizzle in the olive oil while continuously whisking. This technique is known as emulsifying; it allows your oil to blend seamlessly with the other ingredients rather than separating. Trust me on this step! Once fully combined, increase the heat slightly until your dressing reaches a gentle boil for about one minute before removing it from heat. This brief boiling not only enhances all those vibrant flavors but also helps deepen their connection to each other—a non-negotiable step if you want maximum flavor in every bite.
Step 6: Pouring on Flavor
Next up is one of my favorite parts: pouring that hot dressing over your beautiful medley of shredded cabbage, carrots, and onion! Carefully transfer the hot mixture from your saucepan directly onto your crunchy veggies in that large bowl we prepared earlier. As you do this, feel free to take a moment and appreciate how gorgeous everything looks—the vivid colors contrast so beautifully! Now comes another critical step: using tongs or two wooden spoons, gently toss everything together until every shred of vegetable is coated in that glossy dressing. Don’t rush this step; it’s absolutely paramount for ensuring every bite bursts with flavor!
As you mix, take note of how quickly those fresh veggies begin to soften slightly under the warmth of the dressing—that’s precisely what we want! The heat helps break down some of their cellulose structure without wilting them completely so they retain their crunch while absorbing all those delicious flavors. At this point, don’t be shy about tasting! Check if your coleslaw needs a pinch more salt or perhaps an extra splash of vinegar—this is your creation after all!
Step 7: The Importance of Patience
Now that everything is mixed together beautifully and tastes divine, it’s time for some patience—yes, I know how hard it can be to wait when you’re excited about food! Cover your bowl tightly with plastic wrap or transfer everything into an airtight container for refrigeration. The chilling process is essential here; I promise you won’t regret letting this sit for at least two hours—or even better, overnight if you can resist temptation! This waiting period allows all those flavors to meld together; think of it as giving them time to have a little party inside your fridge.
During these hours (or overnight), you’ll notice how much more profound and satisfying each bite becomes as they develop layers upon layers of flavor. It’s like letting fine wine breathe—the longer it sits, the richer and more complex its taste becomes! Plus, cold coleslaw straight from the fridge on a hot summer day? Utterly refreshing! If you’re worried about texture over time (as sometimes happens with salads), rest assured that even after sitting overnight in its vinaigrette bath, your coleslaw will still maintain its delightful crunch.
Step 8: Serving Up Your Creation
Finally! After all that anticipation and patience (which I hope you’ll agree was worth it), it’s time for one last flourish before serving up your Old Fashioned Coleslaw with Vinegar. When you’re ready to enjoy this glorious dish—whether it’s at a backyard barbecue or simply as a side during dinner—give it one last gentle toss right before serving. This ensures any dressing settled at the bottom gets reincorporated back into the mix.
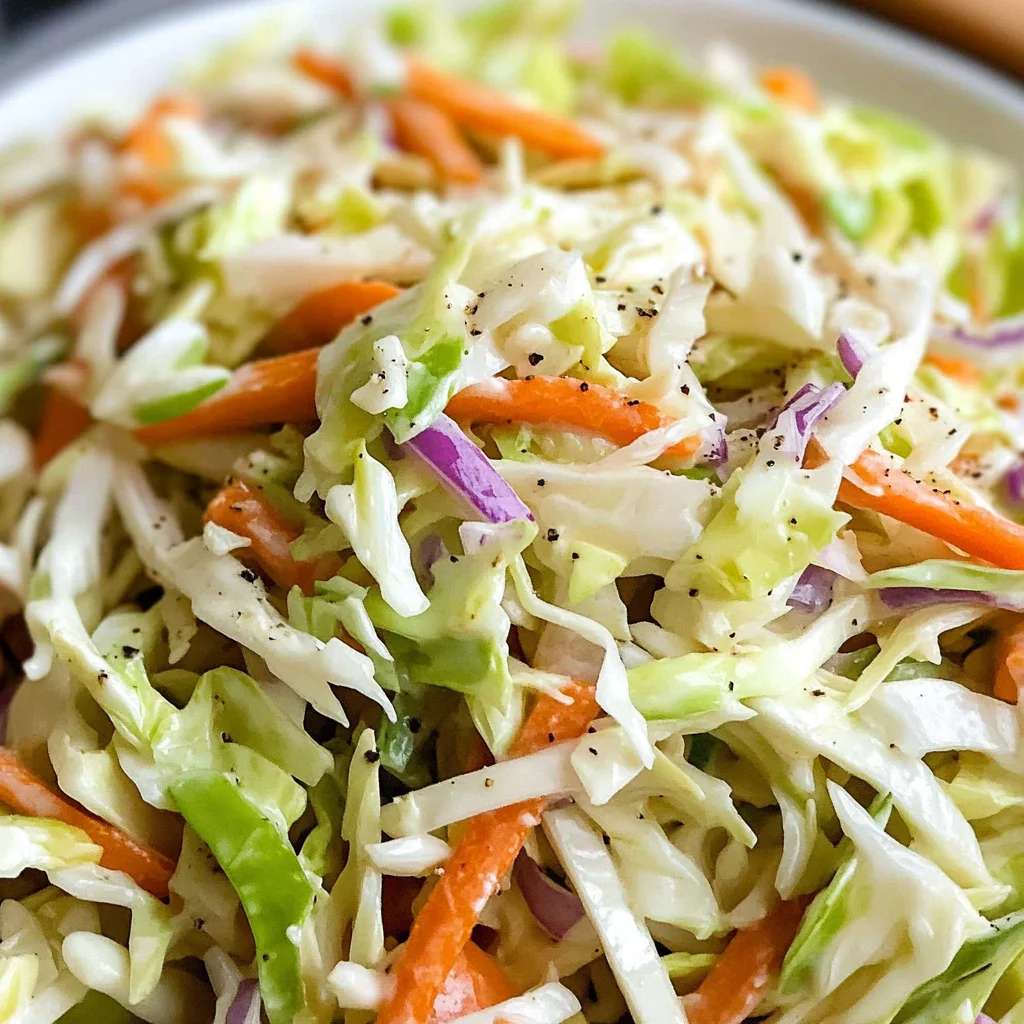
As you ladle generous portions onto plates or serve family-style right from the bowl, take a moment to admire its vibrant colors and enticing aroma wafting through the air—it’s truly captivating! Each bite promises a symphony of flavors: crunchy cabbage enhanced by sweet carrots and punctuated by zesty vinegar—all wrapped up in that beautiful olive oil cloak. I assure you, once you’ve tasted this coleslaw alongside grilled chicken or veggie burgers, you’ll be declaring it an absolute staple at every gathering moving forward.
And there you have it—a simple yet profoundly satisfying Old Fashioned Coleslaw with Vinegar recipe that’s sure to leave everyone raving! So grab your friends or family around the table and dive into this crunchy goodness—it may just become their new favorite side dish too!
Storage and Enjoyment Tips for Your Old Fashioned Coleslaw with Vinegar
With the vibrant colors and tangy aromas wafting through your kitchen, it’s time to enjoy this delightful Old Fashioned Coleslaw with Vinegar! You’ve put in the effort, and now you get to savor the fruits of your labor. Whether it’s gracing your dinner table or making an appearance at a family barbecue, this coleslaw is not just a side dish; it’s a celebration of flavors. But what if you have leftovers? Don’t fret! This coleslaw is just as delicious the next day, and I can’t wait to share how to store it properly so you can enjoy that incredible taste longer.
Storing Leftover Old Fashioned Coleslaw with Vinegar
To keep your coleslaw fresh and crunchy, transfer any leftovers into an airtight container. Glass containers work wonders because they don’t retain odors like plastic can, ensuring that your coleslaw remains pristine. Store it in the refrigerator where it will stay delightful for up to three days; however, I must admit that its flavor only improves after a night in the fridge as the dressing mingles with the veggies. Trust me on this—while freshness is key, allowing those flavors to develop overnight transforms this dish into something truly extraordinary! If you’re concerned about maintaining its crunch, consider placing a slice of bread on top of the coleslaw before sealing the container; this little trick absorbs excess moisture and helps retain that satisfying crunch. When you’re ready to serve again, simply give it a gentle toss and enjoy!
Freezing Old Fashioned Coleslaw with Vinegar for Later
Now, if you’re looking to extend your enjoyment even further, freezing this coleslaw is an option worth exploring! To freeze properly, consider portioning it out into freezer-safe bags or containers—this way, you can thaw just what you need without defrosting the entire batch. It keeps well for about two months in the freezer. When you’re ready for a taste of summer on a chilly day, simply move a portion from the freezer to the fridge to thaw overnight or let it sit at room temperature for about 30 minutes. While freezing may soften some of the crunch (the nature of frozen vegetables), you’ll still relish that tantalizing vinegar flavor that makes this recipe such a standout. The convenience factor here is fantastic; having homemade coleslaw ready to go at a moment’s notice means you’re always prepared for impromptu picnics or barbecues!
Old Fashioned Coleslaw with Vinegar
Old Fashioned Coleslaw with Vinegar is a refreshing and tangy side dish that brings a delightful crunch to any meal. This vinegar-based slaw elevates traditional coleslaw by skipping the heavy mayonnaise, making it lighter and brighter. The crisp green cabbage and sweet carrots are perfectly complemented by a zesty dressing of distilled vinegar, olive oil, and just the right amount of sweetness from sugar. Ideal for summer barbecues, picnics, or as a crunchy topping on sandwiches, this coleslaw is not just about flavor; it’s about nostalgia and shared moments around the table. Plus, it gets even tastier after chilling, allowing the flavors to meld beautifully.
- Prep Time: 15 minutes
- Cook Time: 5 minutes
- Total Time: 20 minutes
- Yield: Serves approximately 6 people 1x
- Category: Salad
- Method: Mixing
- Cuisine: American
Ingredients
- 5 cups green cabbage (thinly sliced)
- 1 cup carrots (shredded)
- 1/2 yellow onion (thinly sliced)
- 1/3 cup sugar
- 1 teaspoon celery seed
- 1 teaspoon Dijon mustard
- 1/3 cup distilled vinegar
- 1/3 cup olive oil
- Salt and black pepper to taste
Instructions
- In a large mixing bowl, combine the sliced cabbage, shredded carrots, and thinly sliced onion.
- In a small saucepan over medium heat, whisk together sugar, celery seed, Dijon mustard, salt, pepper, and distilled vinegar until sugar dissolves.
- Slowly drizzle in olive oil while whisking continuously until emulsified.
- Pour the warm dressing over the vegetables and toss until evenly coated.
- Cover and refrigerate for at least two hours or overnight for best flavor.
Nutrition
- Serving Size: 1 serving
- Calories: 120
- Sugar: 10g
- Sodium: 240mg
- Fat: 7g
- Saturated Fat: 1g
- Unsaturated Fat: 6g
- Trans Fat: 0g
- Carbohydrates: 14g
- Fiber: 4g
- Protein: 2g
- Cholesterol: 0mg