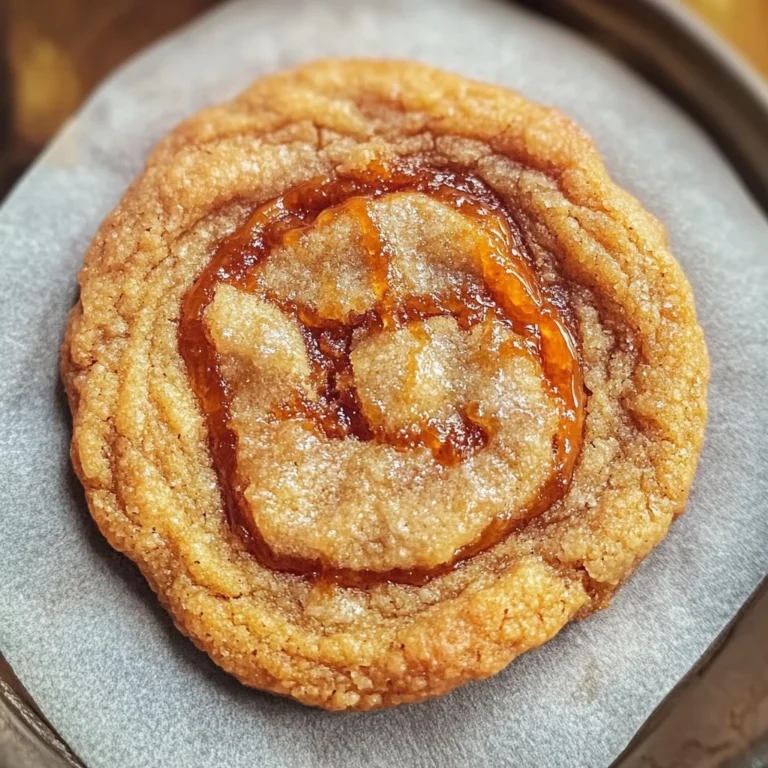
Salted Caramel Cookie Recipe
There’s something undeniably magical about the combination of sweet and salty; it’s a dance of flavors that captivates your taste buds and warms your heart. When I think of my cherished Salted Caramel Cookie Recipe, I can’t help but feel a rush of nostalgia mixed with excitement. Let me take you on a journey where golden caramel mingles with buttery dough, creating cookies that are not just desserts but experiences—moments to be savored, shared, and celebrated. The aroma wafting through the kitchen as these cookies bake is utterly intoxicating, filling the air with warmth that beckons friends and family to gather around. Trust me when I say this recipe is more than just food; it’s an invitation to create memories.
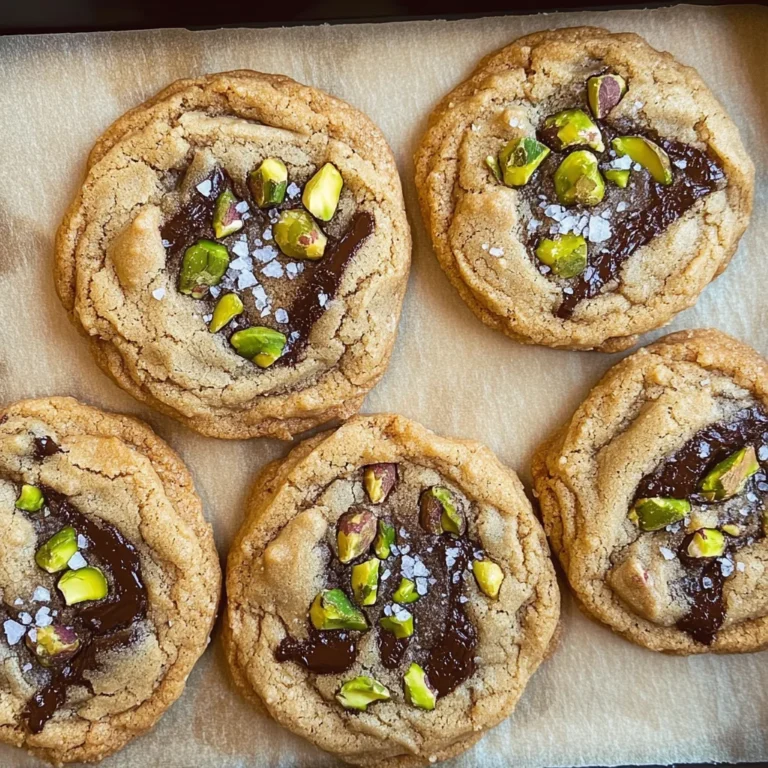
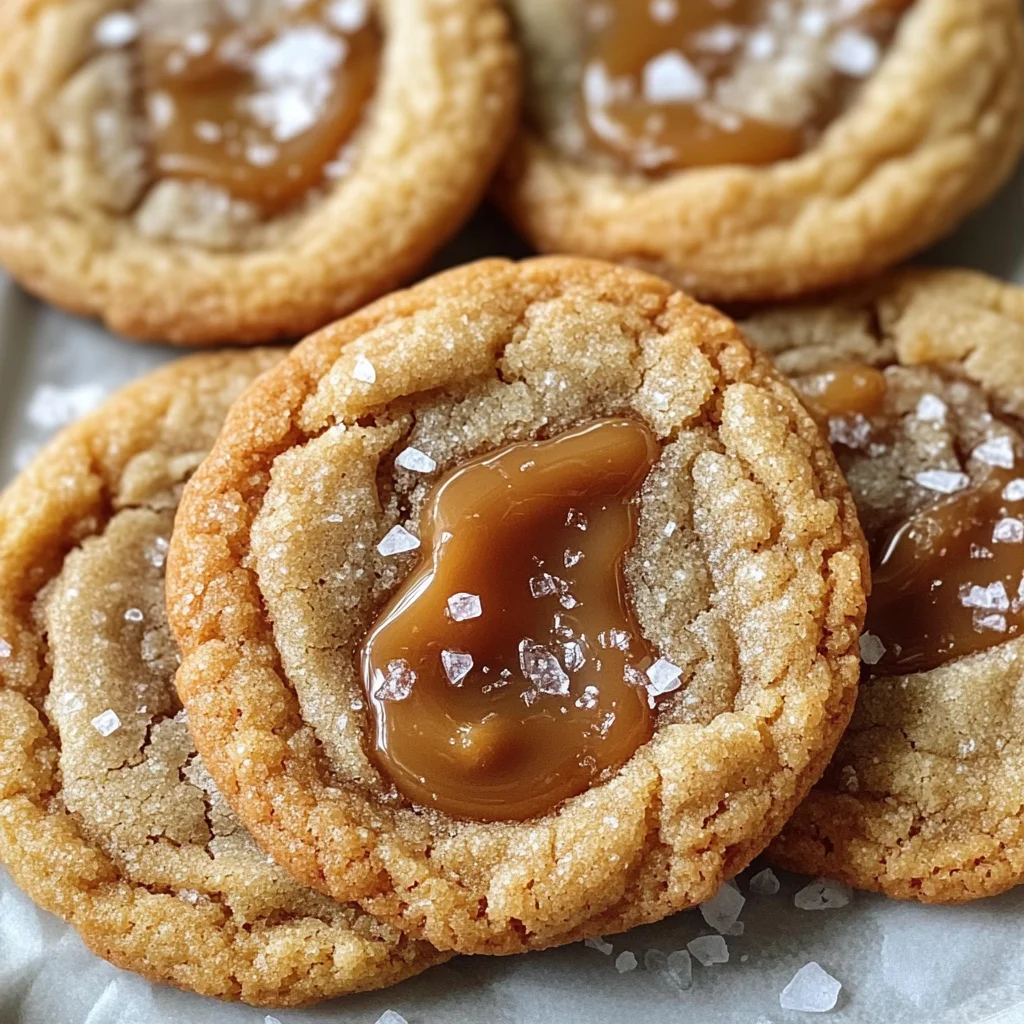
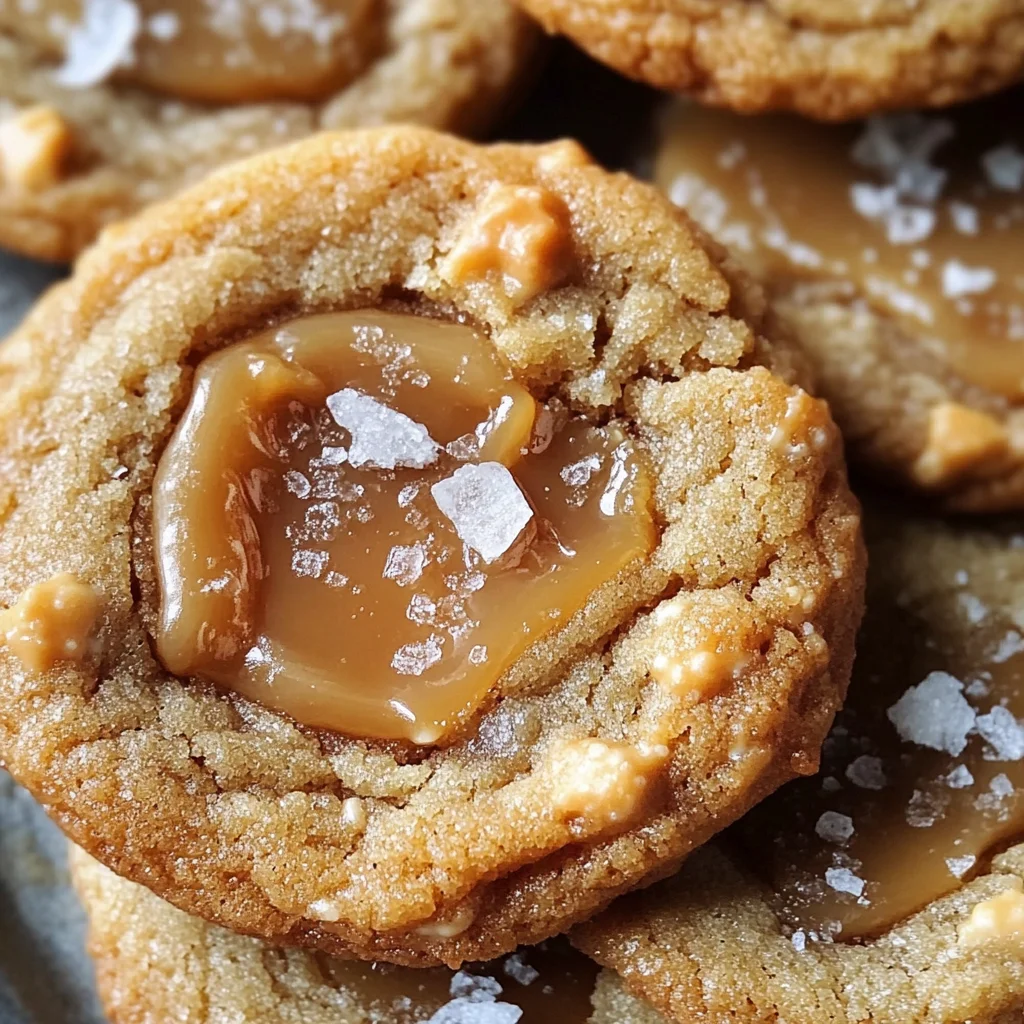
Every bite of these soft and chewy salted caramel cookies reveals hidden pockets of gooey caramel that contrast beautifully with the flaky sea salt sprinkled on top. It’s like a warm hug from Grandma, wrapped in a blanket of nostalgia and comfort. You might be wondering what makes this recipe so special. Well, it’s the perfect balance between sweetness and saltiness that leaves you reaching for just one more cookie—trust me, it’s hard to resist! Whether you’re baking for a special occasion or simply craving something delightful, these salted caramel cookies will undoubtedly become a beloved staple in your home.
Salted Caramel Cookie Recipe: A Sweet Symphony of Flavors
Welcome to the world of baking where each ingredient plays its part in creating something truly extraordinary! I’m thrilled to share this Salted Caramel Cookie Recipe with you, one that promises not only deliciousness but also the joy of creating something beautiful right in your own kitchen. The ingredients you’ll gather will work together to form a symphony of flavors—each note harmonizing perfectly to entice your senses and make your heart sing. Get ready for an adventure filled with sweetness and the delightful crunch of sea salt!
Ingredients:
As we embark on this culinary journey together, let’s take a closer look at each ingredient that will come together to create these luscious cookies. Understanding what each component brings to our masterpiece is crucial because every little detail matters in baking.
- 2 ¼ cups all-purpose flour: Flour is the backbone of our cookie dough; it provides structure and stability while ensuring our cookies hold their shape during baking. When selecting flour, look for high-quality all-purpose flour that has been finely milled—this will give us a tender crumb without being overly dense. It’s important not to over-measure your flour; too much can lead to dry cookies, while too little can cause them to spread excessively. I always recommend spooning the flour into your measuring cup rather than scooping directly from the bag for accurate measurement.
- 1 tsp baking soda: This little powerhouse ingredient is essential for helping our cookies rise properly. Baking soda reacts with acidic components in our dough, which creates carbon dioxide bubbles that give our cookies their lightness and chewiness. Be sure it’s fresh—old baking soda can lose its potency over time. If you want your cookies extra puffy, don’t skip this step; it ensures that perfect texture we all love!
- 1 tsp salt: Salt isn’t just for seasoning; it plays an important role in balancing sweetness in our cookies. A pinch enhances flavors and elevates every bite from ordinary to extraordinary. In this recipe, we’re also using flaky sea salt as a finishing touch, which adds an irresistible contrast to the sweetness and gives those gorgeous flavor bursts that make salted caramel so addictive!
- 1 cup unsalted butter, softened: Butter is crucial for creating that rich flavor we crave in baked goods! Using unsalted butter allows us to control how much salt goes into our dough. For best results, ensure your butter is at room temperature before creaming—it should be soft but not melted. This process allows air to incorporate into the mixture, leading to light and fluffy cookies.
- ¾ cup granulated sugar: Granulated sugar contributes crispiness and helps achieve those lovely golden edges as they bake. The fine grains dissolve quickly into the butter during creaming, promoting even mixing—a vital step for texture! Remember, sugar not only sweetens but also affects color and moisture levels.
- ¾ cup brown sugar: Brown sugar brings moisture and an enchanting depth of flavor thanks to its molasses content—you’ll notice how it adds that lovely caramel taste we’re after! Make sure you pack it well into your measuring cup so you get every bit of deliciousness possible.
- 2 large eggs, room temperature: Eggs bind everything together while adding moisture and richness—a vital component! Room-temperature eggs blend more easily into your batter compared to cold ones straight from the fridge. If you’ve ever wondered why recipes specify temperature—it’s all about achieving that perfect consistency!
- 2 tsp vanilla extract: Pure vanilla extract adds warmth and depth of flavor; it’s like a secret ingredient that takes everything up a notch! When choosing vanilla extract, opt for pure rather than imitation for an authentic taste experience—it truly makes all the difference.
- 1 cup caramel chips: These little gems are where the magic happens! Melting beautifully within each cookie pocket, caramel chips provide gooey surprises with every bite. Look for quality brands known for their rich flavors; after all, we want those pockets of liquid gold!
- ½ cup chocolate chips (optional): While optional, I promise adding chocolate chips enriches these cookies even further—their creamy texture complements the chewy caramel perfectly! If you’re feeling indulgent (and who isn’t?), go ahead and toss them in!
- ½ tsp flaky sea salt: As we sprinkle this atop our unbaked cookies before they hit the oven, we’re creating a contrast that’s absolutely paramount! The burst of salty goodness against the sweet backdrop elevates each bite into something truly unforgettable.
Equipment You’ll Need:
Before diving into making these delicious treats, let’s talk about some essential tools you’ll need by your side—they’re like trusty companions on this baking adventure! Having the right equipment ensures everything runs smoothly while allowing creativity to flourish.
- Mixing bowls: A good set of mixing bowls (preferably glass or stainless steel) will make combining ingredients easy while providing enough space for whisking without any messes—trust me!
- Electric mixer (handheld or stand): Creaming butter and sugars until fluffy requires some muscle power unless you’re feeling extra ambitious with manual mixing! An electric mixer saves time while ensuring everything blends evenly—this step is crucial for achieving light cookies.
- Measuring cups & spoons: Accurate measurements are non-negotiable in baking; having both dry measuring cups (for flour) and liquid measuring cups (for liquids) helps immensely in getting those ratios spot-on!
- Rubber spatula: This tool will be your best friend when folding in those scrumptious caramel chips (or chocolate chips!). It’s perfect for scraping down sides of bowls—ensuring nothing gets left behind!
- Baking sheets: Line them with parchment paper or silicone mats so nothing sticks during baking—they’re essential partners in producing perfectly baked cookies without any hassle!
Preparing the Salted Caramel Cookie Recipe
Step 1: Preheat Your Oven & Prepare Your Baking Sheets
Let’s kick things off by preheating your oven to 350°F (175°C). This step is crucial because starting off at the right temperature ensures even baking throughout each cookie batch—you want them perfectly golden-brown! While waiting for it to warm up (patience pays off here!), line two or three baking sheets with parchment paper or silicone mats—the key here is ensuring easy removal once they’re baked without any fuss involved!
Step 2: Whisk Those Dry Ingredients Together
In a medium bowl, whisk together 2 ¼ cups all-purpose flour along with 1 teaspoon baking soda and 1 teaspoon salt until thoroughly combined—this might seem trivial but trust me on this one! Whisking helps aerate these ingredients evenly throughout our dough later on which leads us closer towards achieving ideal texture when baked—don’t skip out on taking time here!
Step 3: Cream Butter & Sugars Until Light & Fluffy
Now comes one of my favorite parts—the creaming process! In another large mixing bowl (preferably using an electric mixer), add 1 cup softened unsalted butter along with both sugars (¾ cup granulated + ¾ cup brown). Beat them together at medium speed until lightened in color—incredibly fluffy looking too—which usually takes about 3 minutes or so depending upon how powerful your mixer is! This process incorporates air into our mixture creating tenderness within those final baked goods—we want airy yet chewy cookies after all!
Step 4: Add Eggs & Vanilla Extract
Once you reach peak fluffiness during creaming process (and oh boy does it smell heavenly!), it’s time to add those two large eggs one at a time beating well after each addition followed by stirring in two teaspoons vanilla extract until combined smoothly throughout batter again—it should look somewhat glossy now too! Eggs provide binding properties while enhancing overall richness resulting deliciously satisfying treats—so let them shine by giving ample attention here before moving onto next steps!
Step 5: Bringing It All Together – The Joy of Mixing
Now that you’ve creamed your butter and sugars to a delightful, fluffy consistency, it’s time to incorporate the eggs and vanilla extract. This is where the magic truly begins! I recommend adding the eggs one at a time. Why? Each egg contributes moisture and helps create that luscious, chewy texture we all adore in cookies. As you beat in each egg, watch how the mixture transforms – it should become smooth and glossy, almost like liquid gold. The vanilla extract is your secret weapon here; just a couple of teaspoons will elevate the flavors beautifully, giving your cookies a warm, inviting aroma that will have everyone in the kitchen asking when they can have a taste.
Once your eggs and vanilla are fully integrated into your butter-sugar mixture, it’s crucial to ensure everything is well blended without overmixing. You want those gorgeous air pockets formed during creaming to remain intact for an airy texture while still developing enough gluten from the flour in the next step. So take a moment to admire this velvety batter you’ve created; take note of its creamy consistency—this is what you’re looking for! Trust me on this; getting this step right sets the foundation for cookies that are perfectly soft and chewy.
Step 6: Dry Ingredients Meet Wet – The Perfect Union
Now we’ll gently combine our dry ingredients with this rich, buttery mixture. Remember that bowl filled with flour, baking soda, and salt? It’s time to bring it into the fold! Gradually add your dry mix to the wet ingredients, folding it in with a spatula or wooden spoon until just combined. This technique is called mixing, but it’s essential not to go overboard—overmixing can lead to tough cookies due to excessive gluten formation. You want to see some streaks of flour remaining as you stir; this is completely normal and even encouraged!
Take a moment here to appreciate how everything is coming together into one cohesive dough. The dough should feel slightly sticky yet pliable—this indicates that you’ve got just the right amount of moisture thanks to those delightful caramel chips we’ll be adding soon. Speaking of which, after you’ve combined the dry ingredients with those luscious fats and eggs, it’s time for an exciting addition: folding in your caramel chips (and chocolate chips if you’re feeling indulgent). Use a gentle hand here; think of it as tucking those chips into bed rather than mixing them in too vigorously. This ensures they distribute evenly but still leave pockets of gooey caramel bliss within each cookie.
Step 7: Scooping Out Happiness – Forming Your Cookies
Ah, now comes one of my favorite parts—the scooping! Using either a cookie scoop or two tablespoons, portion out your dough onto prepared baking sheets lined with parchment paper. Make sure you space them about two inches apart; as these little rounds bake, they will spread beautifully creating those irresistible edges we all love. Watching them transform from round mounds into flat golden discs is like witnessing an artist at work!
As you scoop out each cookie dough ball, take a moment to really appreciate their size; about 2 tablespoons per cookie is ideal for ensuring that perfect balance between chewy center and crisp edges. And let’s not forget about our special finishing touch! Before sliding these beauties into the oven, sprinkle each mound generously with flaky sea salt—it’s absolutely paramount! This step not only enhances flavor but creates a beautiful contrast between sweetness and saltiness that takes these cookies from delicious to extraordinary.
Step 8: Baking Magic – Transforming Dough into Cookies
With your oven preheated to 350°F (175°C) and your trays lined with salted dough balls waiting eagerly by the door, it’s time for baking—a true moment of transformation! Slide those trays into the oven (I usually recommend placing them on different racks if you’re using multiple sheets) and set your timer for 10-12 minutes. Keep an eye on them after about 9 minutes—what you’re looking for are edges that turn golden while keeping that soft center slightly underbaked because trust me on this—you want them to finish cooking on their own once out of the oven!
As they bake, allow yourself to indulge in that utterly intoxicating aroma wafting through your home; it’s like being wrapped in a warm hug! When they’re done baking (the visual cue being golden edges), pull them out and let them cool on the sheet for about five minutes before transferring them onto a wire rack. This resting period allows them time to firm up slightly while maintaining their lovely gooey centers—a truly magical moment when patience pays off!
Conclusion:
As we wrap up this delightful journey through my beloved salted caramel cookie recipe, I can’t help but feel excited about all the delectable possibilities this treats holds. From the moment you mix together those simple ingredients to watching your golden-brown cookies emerge from the oven, every step is filled with warmth and joy. These cookies are more than just dessert; they’re an experience—a beautiful dance between sweet caramel pockets and soft dough that creates a symphony of flavors with every bite. I promise you, once you’ve tasted these little treasures topped with flaky sea salt, you’ll understand why they hold such a special place in my heart.
This recipe is truly a must-try for anyone who loves baking—or even those new to it! The ease of preparation means you don’t have to be an experienced baker to create something extraordinary. Plus, think about all those occasions where these cookies could shine: family gatherings, cozy nights in with friends, or simply as a treat after a long day. Picture yourself pulling them from the oven; there’s nothing quite like that warm aroma wafting through your home! You’ve made something beautiful by hand—a labor of love that’s bound to bring smiles all around.
Imagine savoring one of these salted caramel delights alongside a hot cup of coffee or tea for an afternoon pick-me-up; each bite melts in your mouth while perfectly balancing sweetness with that touch of sea salt. For an indulgent dessert experience after dinner, serve them warm with a scoop of vanilla ice cream melting into the warm cookie—truly divine! You could even pair them with fresh berries or chocolate sauce for added decadence; let your imagination run wild!
Feeling adventurous? This recipe is wonderfully adaptable! You could swap out half the caramel chips for white chocolate chips for a different twist or throw in some chopped nuts for added crunch and depth. If you’re craving something fruity, consider adding dried cranberries or cherries instead—they’ll lend an unexpected tartness against the sweetness of the cookie base! No matter how you choose to modify it, I encourage you to embrace creativity in your kitchen. So go ahead and give this salted caramel cookie recipe a try—I would love to hear how it goes! Share your experiences with me and let’s connect over our shared love for baking delicious treats!
Salted Caramel Cookie Recipe

Indulge in the rich flavors of these Salted Caramel Cookies, where sweet caramel meets a buttery dough for an unforgettable treat. Each bite reveals gooey pockets of caramel, perfectly contrasted with a sprinkle of flaky sea salt on top. These cookies are not just desserts; they’re delightful experiences meant to be shared and savored. With their soft and chewy texture, they embody warmth and nostalgia, making them ideal for any occasion—whether you’re baking for a gathering or simply treating yourself.
- Prep Time: 15 minutes
- Cook Time: 12 minutes
- Total Time: 27 minutes
- Yield: Approximately 24 cookies 1x
- Category: Dessert
- Method: Baking
- Cuisine: American
Ingredients
- 2 ¼ cups all-purpose flour
- 1 tsp baking soda
- 1 tsp salt
- 1 cup unsalted butter, softened
- ¾ cup granulated sugar
- ¾ cup brown sugar
- 2 large eggs, room temperature
- 2 tsp vanilla extract
- 1 cup caramel chips
- ½ cup chocolate chips (optional)
- ½ tsp flaky sea salt
Instructions
- Preheat your oven to 350°F (175°C) and line baking sheets with parchment paper.
- In a bowl, whisk together flour, baking soda, and salt; set aside.
- In a large mixing bowl, cream butter with both sugars until light and fluffy.
- Beat in eggs one at a time followed by vanilla extract.
- Gradually fold in dry ingredients until just combined.
- Gently mix in caramel chips (and chocolate chips if using).
- Scoop dough onto prepared baking sheets about two inches apart; sprinkle with flaky sea salt.
- Bake for 10-12 minutes or until edges are golden but centers remain soft.
- Allow to cool on the baking sheet for five minutes before transferring to wire racks.
Nutrition
- Serving Size: 1 cookie (45g)
- Calories: 180
- Sugar: 12g
- Sodium: 150mg
- Fat: 8g
- Saturated Fat: 5g
- Unsaturated Fat: 3g
- Trans Fat: 0g
- Carbohydrates: 27g
- Fiber: 1g
- Protein: 2g
- Cholesterol: 25mg