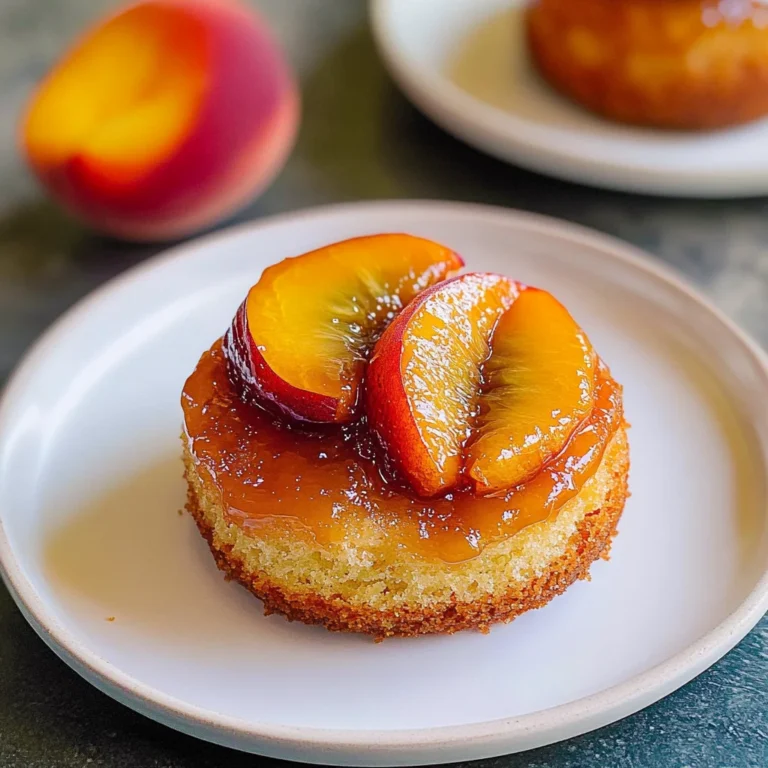
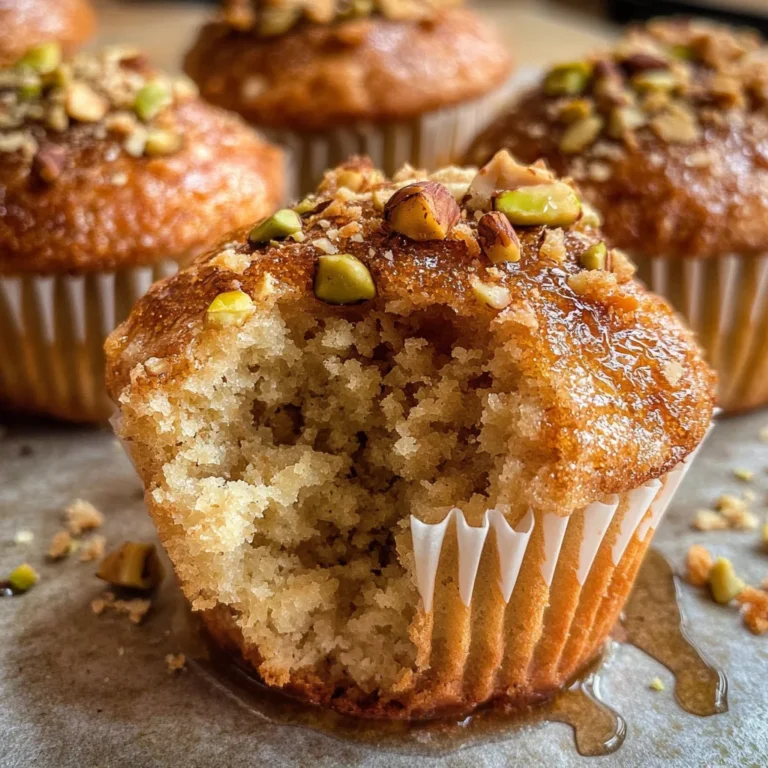
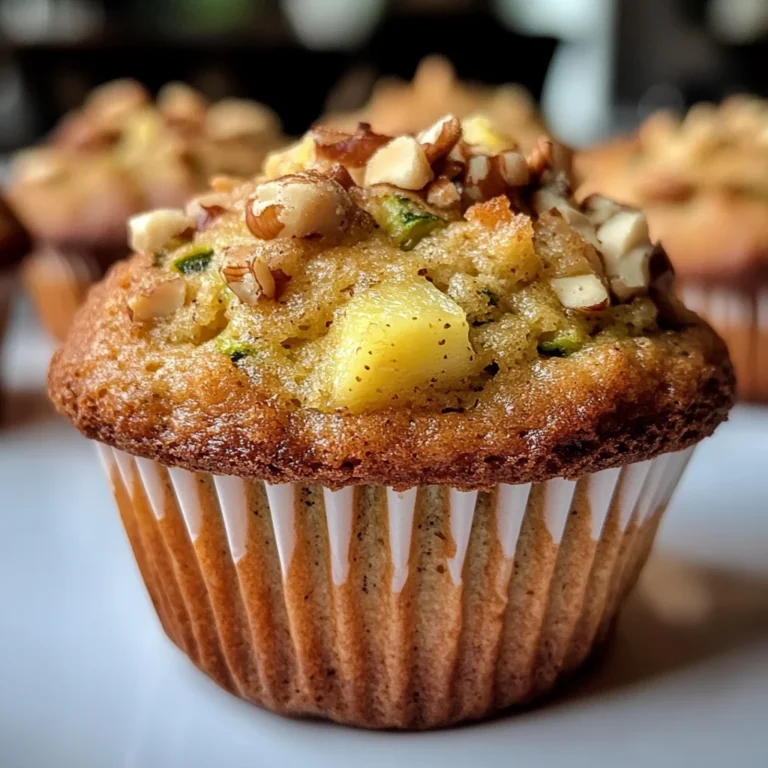
Peach Crumble Bars
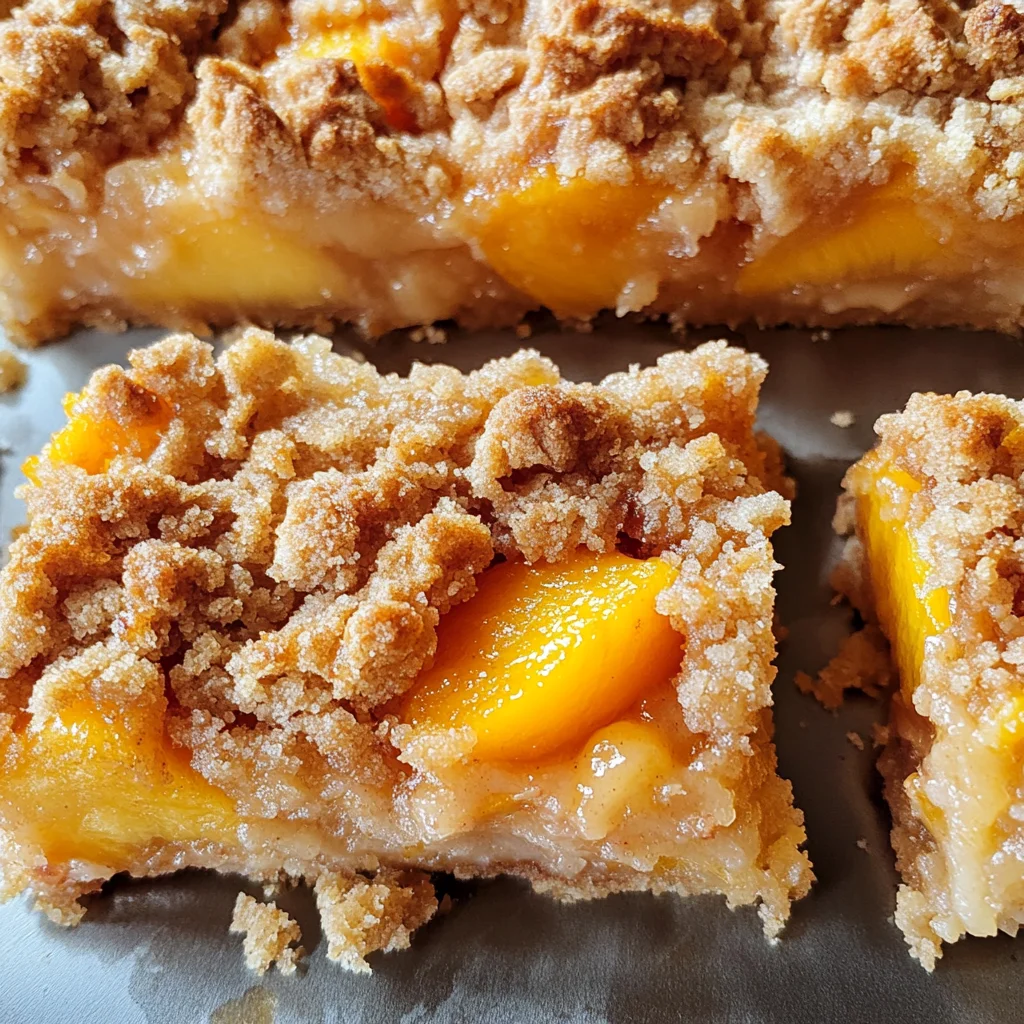
There’s something profoundly magical about the experience of baking, isn’t there? It’s not just about following a recipe; it’s about creating a moment, a connection to our past, and a delicious gift for those we love. When I think of my childhood summers, I remember the sweet aroma of ripe peaches wafting through my grandma’s kitchen as she prepared her famous Peach Crumble Bars. These bars are more than just a dessert; they’re a bridge between nostalgia and the present, offering that warm embrace of home with every bite. Imagine biting into a crumbly, golden top that gives way to soft, juicy peaches, their flavor dancing harmoniously with the nutty essence of oats and the subtle whisper of almond. It’s pure bliss! Trust me, once you make these Peach Crumble Bars, you’ll find yourself in an endless cycle of baking and sharing them with everyone in your life.
Now, let’s talk about the soul of this recipe—the ingredients. Each component plays its part in this symphony of flavors. The buttery crumble melds perfectly with the luscious fruit filling while providing that satisfying crunch that keeps you coming back for more. Whether you’re enjoying these bars as an afternoon snack paired with tea or serving them at a summer gathering, they are bound to be a hit! And here’s my promise: if you follow along closely and pour your heart into this process, you’ll create something truly extraordinary.
Peach Crumble Bars: An Ode to Summer Sweetness
Oh, my friend, you’re in for a treat today! These Peach Crumble Bars are so simple yet so rewarding. They embody everything I adore about dessert: they’re comforting yet elegant and bursting with flavor while being easy to prepare. I often find myself making these when I’m craving something sweet but want to keep things light and fresh—especially during peach season when those golden gems are at their peak ripeness!
Ingredients:
As we embark on this culinary journey together, let’s take a moment to appreciate each ingredient that will come together to make our Peach Crumble Bars unforgettable.
- 140 grams (1 cup) all-purpose flour. This flour is the backbone of our crumble bars; it provides structure while allowing that delightful chewiness to shine through. When selecting flour, look for one labeled as “all-purpose,” which strikes the perfect balance between protein content and versatility. If you’re feeling adventurous or need gluten-free options, almond flour can provide an interesting twist! Just remember that it may alter the texture slightly.
- 130 grams (1 cup and 1/3 cup) rolled oats. Oats bring that wonderful wholesome quality to our bars. Not only do they add nutrients like fiber and protein, but they also contribute to that chewy texture we adore so much. Make sure you’re using rolled oats rather than instant or quick oats; rolled oats hold their shape beautifully during baking and give us that lovely rustic feel in our crumble topping.
- 155 grams (3/4 cup) granulated sugar. Sugar is essential here—not just for sweetness but also for balancing flavors and contributing to browning during baking through caramelization. It creates those beautiful edges on our bars as they bake to perfection. If you want a hint of sophistication in your dessert, consider substituting some granulated sugar with brown sugar for an extra depth of flavor!
- 1 teaspoon cinnamon. Ahh, cinnamon—the warm hug in any dessert! Its aromatic qualities elevate our Peach Crumble Bars from simply tasty to utterly intoxicating. This spice complements the sweetness of peaches beautifully and adds an inviting warmth that makes your kitchen smell divine as it bakes.
- 1/4 teaspoon salt (optional). While it may seem counterintuitive to add salt to something sweet, trust me on this one—it enhances all other flavors beautifully! A pinch brings out the natural sweetness of our peaches and balances the overall taste profile.
- 150 g (⅔ cup) unsalted butter, melted and cooled. Butter is where magic happens; it’s what gives us that rich flavor while ensuring our crumble has both tenderness and crispness in every bite. Ensure your butter is melted but not hot—if it’s too warm when added to our dry ingredients, it can lead to overly greasy bars instead of light ones.
- 450 grams (2 cups) peaches, peeled and cut into small pieces. Fresh peaches are truly the star of this show! Their juicy flesh is what brings brightness to our bars—sweet yet slightly tart—that summer sweetness encapsulated in each slice. Choose ripe peaches for maximum flavor; they should yield slightly when pressed but still hold their shape when cut.
- 30 grams (2 tablespoons) granulated sugar (for peaches). Just like we did earlier with sugar in our crumble mixture, this little addition helps draw out moisture from the peaches while intensifying their natural sweetness—a crucial step toward achieving perfection!
- 2 teaspoons cornstarch. Cornstarch acts as our thickening agent here; it absorbs excess moisture released from the juicy peaches during baking while ensuring we don’t end up with soggy bars—a non-negotiable feature if we want them sliceable!
- 1 teaspoon fresh lemon juice. Brightness is key! A splash of lemon juice enhances the fruity flavor profile while adding acidity that cuts through sweetness—this balance makes all the difference between good and extraordinary!
- 1 teaspoon almond extract. Almond extract adds another layer of complexity here—its delicate nuttiness pairs so well with both oats and peaches! I promise you’ll fall head over heels for how it transforms these bars into something truly special.
Equipment You’ll Need:
Before we dive into preparing these delightful treats, let’s gather some essential tools that will make your baking experience smooth as butter! Having the right equipment ensures not only ease but also success in creating those perfect Peach Crumble Bars we crave.
- 8-inch (20cm) square oven-proof dish – This dish is perfectly sized for our recipe! A glass or ceramic dish retains heat well and promotes even cooking throughout your bars—ensuring every corner gets baked just right without burning.
- Parchment paper – Always line your baking dish with parchment paper—it creates a non-stick surface that’s indispensable for easy removal later on! Plus, it helps catch any drips from juicy fruits while keeping cleanup minimal—a win-win if you ask me!
- Mixing bowls – You’ll need at least two sturdy mixing bowls: one for combining dry ingredients and another for tossing together those luscious peach pieces! Look for bowls with deep sides; they help prevent messes while stirring!
- Measuring cups & spoons – Precision is vital in baking! Invest in good measuring cups (both dry & liquid) as well as spoons so every ingredient is measured accurately—ensuring consistent results every time you bake these heavenly bars!
- Spatula or wooden spoon – You’ll need something sturdy yet gentle enough not to crush those beautiful peach pieces—we want them intact within their crumbly embrace after all!
- Sharp knife & cutting board – For chopping fruits pre-baking—and believe me when I say nothing beats freshly chopped fruit—it contributes significantly towards texture enhancement as they cook down beautifully within their crusty layers.
With everything laid out before us—from ingredients brimming with potential goodness down through essential equipment—we’re ready now more than ever… So let’s roll up those sleeves because it’s time to create some magic in the kitchen!
Step 1: Preheat & Prepare Your Oven
First thing’s first: let’s get that oven preheating at 350°F (177°C). This temperature is absolutely paramount because it allows our bars to bake evenly while achieving that beautiful golden brown color on top—exactly what we want! While waiting patiently for your oven—and perhaps dreaming about how incredible your kitchen will smell—grab your trusty 8-inch square dish and grease it lightly before lining both bottom sides with parchment paper allowing about 2 inches overhang on either side; this will act like handles later on helping us lift out those scrumptious bars effortlessly once cooled down!
Step 2: Prepare Your Peaches
Now onto one of my favorite parts—the peaches! Grab those stunning fruits you’ve selected earlier because they’re going from their whole selves into delightful bite-sized pieces soon enough! Using a sharp knife on your cutting board carefully peel them first before chopping into almost half-inch cubes; we’re looking for uniformity here since this ensures even cooking throughout each bar without leaving behind any raw chunks lurking around later on . Once chopped toss them gently inside one bowl alongside freshly squeezed lemon juice followed by almond extract—this process known as macerating allows flavors mingle beautifully whilst helping soften their textures during baking too! Finally sprinkle cornstarch coated generously by sugar onto top before setting aside patiently waiting till crust gets ready beneath them.
Step 3: Whip Up That Crust Mixture
In another bowl start whisking together flour , rolled oats , cinnamon , salt ; combine until fully blended together making sure no lumps remain visible at all . This step involves incorporating dry elements which will create base structure supporting whole thing firmly throughout its glorious journey inside oven . Once blended seamlessly add melted butter next – melted butter gives richness required within crumb topping ensuring crunchiness achieved doesn’t overshadow softness present underneath . Use spatula or wooden spoon stir gently until mixture takes form resembling damp sand—that’s how you know it’s ready!
Step 4: Layering Time
Let’s assemble this beauty now shall we? Take approximately two-thirds off dough mixture placing evenly across bottom lined dish using hands or spoon spreading uniformly covering entire area without gaps appearing anywhere else – aim towards creating sturdy foundation before layering luscious peach filling above subsequently . Now pour reserved peach mixture over crusted layer leaving behind excess liquid inside original bowl since we might use leftovers later drizzling sauce atop baked bars post-cooling process if desired ! Sprinkle remaining dough atop covering fruits generously pressing lightly into place ensuring adherence occurs nicely throughout ; squeezing bits between fingers beforehand creates larger crumbles which offer delightful contrast visually appealing texture once baked off entirely !
And there you have it—the groundwork laid beautifully now awaits transformation into something scrumptious… Are you ready? We’re almost there friends; hang tight because deliciousness awaits us shortly after popping these beauties into preheated oven set timer around thirty-three minutes watching closely until tops turn golden brown revealing crunchy layers beckoning towards indulgence ahead …
Step 5: Layering the Peach Symphony
Now that you’ve prepared your crust, it’s time to introduce the star of this delightful show: the peaches! Begin by carefully spooning the luscious peach mixture onto your prepped crust. As you do this, let the beautiful hues of golden yellow and soft blush fill your heart with joy; you’re creating something truly magical here! The peaches should be arranged evenly across the surface, ensuring that every bite of these Peach Crumble Bars is infused with that sweet, juicy goodness. Remember, don’t pour in all the excess liquid just yet. This is crucial because we want our bars to maintain a perfect texture—too much moisture could lead to sogginess, which is a flavor crime in my book. Instead, set that liquid aside for a moment.
This step is not just about layering; it’s about building flavors and textures. The cornstarch and sugar you’ve mixed with the peaches will work wonders as they bake—the cornstarch thickens the juices released by the fruit, creating a deliciously gooey layer that melds beautifully with the crunchy crumble on top. Trust me on this one: patience is key. Allow those flavors to mingle for a bit before moving on; it makes all the difference when you take that first bite of your creation.
Step 6: Crumbling Perfection
Next comes my favorite part—topping off these Peach Crumble Bars with an irresistible crumble! Take that remaining dough mixture and sprinkle it generously over your peach layer. Now, here’s where you can get a little creative: if you’re feeling adventurous, squeeze some of the crumble in your hand to create larger chunks before letting them fall onto the peaches. This technique adds delightful texture and contrasts beautifully against the tender fruit below. The more varied the size of your crumbles, the more interesting each bite becomes!
As you scatter this topping across the surface, make sure to gently press down with your fingertips. This helps bind everything together while also ensuring that each piece adheres nicely to those lovely peaches beneath—a non-negotiable step if you want those glorious flavors to meld perfectly during baking. Visualize what you’re creating here: a crunchy, golden crown atop a soft and succulent base; it’s nothing short of extraordinary! Take a moment to appreciate how beautiful it looks before sliding it into the oven.
Step 7: Baking Your Work of Art
Ah, it’s time for our Peach Crumble Bars to shine in their warm haven—the oven! Preheat your oven to 350°F (177°C) if you haven’t already done so; this step is absolutely paramount as we want our bars to bake evenly from start to finish. Once preheated, place your dish on the center rack of your oven and set a timer for 33-35 minutes. You’ll know they’re ready when that tantalizing aroma wafts through your kitchen and fills every corner with warmth—it’s downright intoxicating! Also keep an eye out for visual cues; you’re looking for a golden-brown top and crumbles that are starting to crisp up beautifully.
The magic happens during this baking process as sugars caramelize and flavors deepen—this is where science meets art! The heat transforms those simple ingredients into something profoundly satisfying and utterly delicious. While baking, avoid opening the oven door too often; each peek lets precious heat escape, prolonging cook time and potentially affecting doneness. So resist that urge! Instead, let them bake undisturbed until they reach perfection.
Step 8: Cooling Down – The Transformation Phase
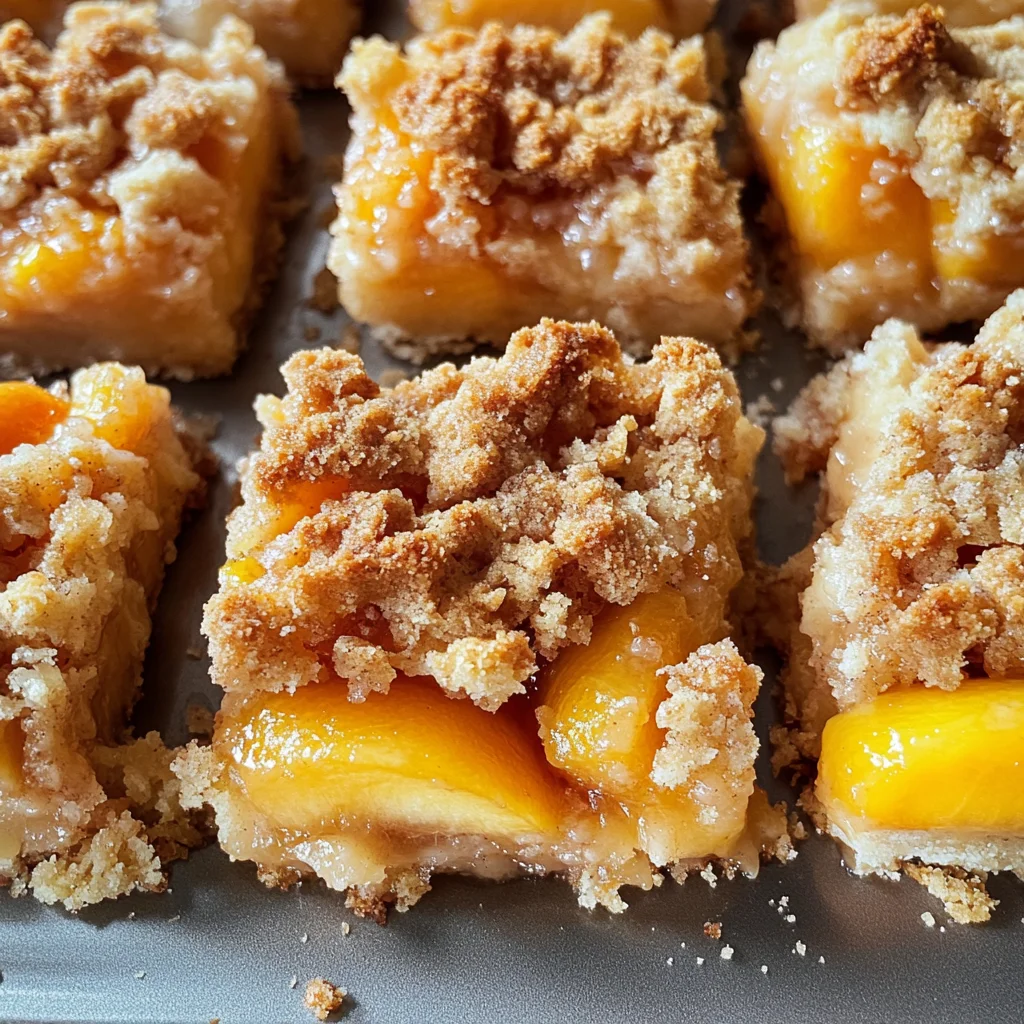
Once your timer goes off—and trust me, you’ll be counting down those last few seconds—remove the dish from the oven with care. It’s important now to allow these heavenly bars some time to cool down at room temperature for about an hour. Yes, I know waiting can be tough when you’re so excited about what you’ve just created! But don’t rush this step; allowing them to cool ensures they firm up properly and hold their shape when cut later on.
After they’ve cooled at room temperature, transfer them into your refrigerator for an extra 1-1.5 hours. This chilling phase not only helps set everything beautifully but also intensifies those incredible flavors you’ve coaxed from each ingredient—think of it as giving them time to mingle like old friends at a gathering! When fully chilled, you’ll find slicing these bars becomes effortless; they’ll have transformed into perfectly structured squares instead of a messy pile of deliciousness. It’s all about that contrast between warm peaches and crispy crumble coming together in each bite!
Final Touches: Serving Up Joy
Now comes my absolute favorite part—serving up these gorgeous Peach Crumble Bars! After all that hard work—and patience—you deserve every bit of joy this recipe brings forth. When it’s finally time to cut into them after cooling completely in the fridge, use a sharp knife for clean edges and even pieces—your friends will thank you later when they see how beautiful each slice turns out!
Feel free to serve these bars as is or elevate them further by adding a scoop of dairy-free vanilla ice cream or dollop of whipped coconut cream on top—they pair exquisitely with those warm fruity notes! And don’t forget about drizzling any reserved peach juice over them; remember that little liquid gold we saved earlier? It adds an extra touch of sweetness that takes these bars over-the-top amazing!
So there you have it—your very own batch of Peach Crumble Bars ready for sharing (or not!). I promise you’ll love how easy they are to make and how deeply satisfying they are to eat together with family or friends during cozy gatherings or quiet evenings at home. Enjoy every crumb—you’ve earned it!
Storage and Enjoyment Tips for Your Peach Crumble Bars
Now that your Peach Crumble Bars have baked to golden perfection and cooled just enough to tempt you, it’s time to share this delightful treat with your loved ones—or maybe keep a few for yourself! I promise you, the joy of indulging in these bars is only matched by the excitement of sharing them. But let’s talk about how to preserve that glorious taste and texture for as long as possible, because trust me, you’ll want to savor every last crumb.
Storing Leftover Peach Crumble Bars
To keep your Peach Crumble Bars fresh and delicious, store them in an airtight container at room temperature if you plan to enjoy them within a few days. For longer storage, simply pop them in the refrigerator where they can stay scrumptious for up to a week. If you’re anything like my friends and me, you’ll want to make sure they stay as mouthwatering as the day they were made—so here’s a little secret: placing a slice of bread in the container can help retain moisture! This simple trick works wonders in keeping those irresistible bars from drying out. After storage, you might notice that the flavors meld beautifully together; the peaches become even more luscious while the crumble gains an almost caramelized edge that’s truly extraordinary. When you’re ready to indulge again, serve them straight from the fridge for a refreshing treat or give them a quick warm-up in the oven for about 10 minutes—imagine that delectable aroma wafting through your kitchen!
Freezing Components for Later
If you’d like to prep ahead or save some bars for a rainy day (or any day really!), freezing is absolutely the way to go! To freeze your Peach Crumble Bars properly, simply cut them into squares once completely cooled, then layer them between sheets of parchment paper in a freezer-safe container. They can be kept frozen for up to three months without losing their marvelous flavor. The best part? You can take out just what you need whenever cravings strike! As they thaw, perhaps overnight in the fridge or at room temperature for a couple of hours, they will regain their soft chewiness and delightful crunchiness with ease. Freezing not only provides convenience but also allows you to enjoy this comforting dessert anytime—what could be better?
Peach Crumble Bars

Enjoy delicious Peach Crumble Bars that are easy to make and perfect for sharing! Try this recipe today and delight your taste buds.
- Prep Time: 15 minutes
- Cook Time: 35 minutes
- Total Time: 50 minutes
- Yield: Serves approximately 12 bars 1x
- Category: Dessert
- Method: Baking
- Cuisine: American
Ingredients
- 1 cup all-purpose flour
- 1 1/3 cups rolled oats
- 3/4 cup granulated sugar
- 1 teaspoon cinnamon
- 1/4 teaspoon salt (optional)
- 2/3 cup unsalted butter, melted and cooled
- 2 cups peaches, peeled and diced
- 2 tablespoons granulated sugar (for peaches)
- 2 teaspoons cornstarch
- 1 teaspoon fresh lemon juice
- 1 teaspoon almond extract
Instructions
- Preheat your oven to 350°F (177°C). Grease an 8-inch square baking dish and line with parchment paper.
- In one bowl, combine flour, oats, sugar, cinnamon, and salt. Mix well.
- Stir in melted butter until crumbly. Press two-thirds of this mixture into the bottom of your prepared dish.
- In another bowl, mix diced peaches with lemon juice, almond extract, cornstarch, and sugar. Pour over the crust.
- Sprinkle the remaining crumble mixture on top of the peaches.
- Bake for 33-35 minutes or until golden brown. Let cool completely before slicing.
Nutrition
- Serving Size: 1 bar (60g)
- Calories: 210
- Sugar: 10g
- Sodium: 90mg
- Fat: 9g
- Saturated Fat: 5g
- Unsaturated Fat: 3g
- Trans Fat: 0g
- Carbohydrates: 32g
- Fiber: 2g
- Protein: 3g
- Cholesterol: 15mg