Easy Lemon Tart Recipe
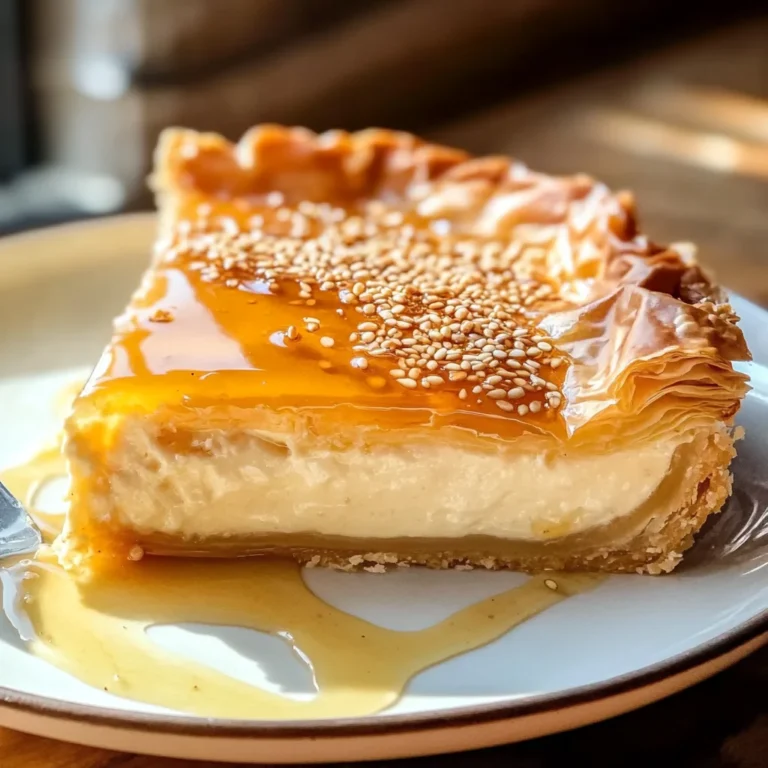
There’s something truly magical about the aroma of freshly baked lemon tart wafting through the kitchen, isn’t there? It’s not merely a dessert; it’s an experience that brings back cherished memories of sun-drenched afternoons and laughter shared over sweet treats. This Easy Lemon Tart Recipe is more than just a compilation of ingredients and instructions; it’s an invitation to create a symphony of flavors that dance on your palate, a bridge between nostalgia and culinary innovation. Imagine slicing into that delicate crust, revealing the silky smooth lemon curd inside—a vibrant yellow hue that practically glows with promise. With every bite, you’ll feel the warmth of sunshine captured in the tartness of lemons, balanced perfectly by a touch of sweetness. Trust me, this is a recipe that will not only dazzle your taste buds but also elevate your baking game to new heights.
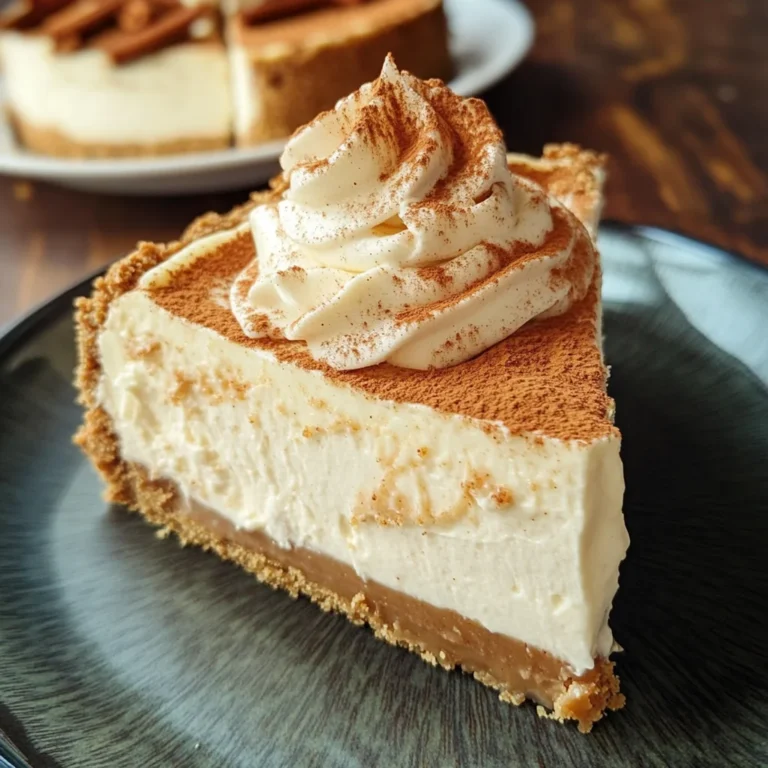
I’ve always been captivated by desserts that manage to be both elegant and approachable, and this lemon tart beautifully embodies that balance. Much like a classic French lemon tart, it presents itself with sophistication while remaining incredibly easy to prepare—making it perfect for any occasion, from celebratory dinners to quiet evenings at home when you need a little indulgence. The joy of crafting this tart is not just in its creation but in sharing it with loved ones; nothing says I care quite like presenting a homemade dessert. Whether topped with fresh berries or simply dusted with confectioners’ sugar, each slice becomes a moment of pure delight. So roll up your sleeves and let’s embark on this delightful culinary journey together!
Easy Lemon Tart Recipe: A Sunshine Delight in Every Slice
Welcome to the world of baking bliss! With this Easy Lemon Tart Recipe, you’re about to create something truly special—a dessert that balances tangy brightness with creamy indulgence and an inviting crust that serves as the perfect foundation for all those luscious flavors. It’s time to gather our ingredients and dive into this delicious adventure!
Ingredients:
Before we leap into the magic of baking, let’s take a moment to appreciate each ingredient’s role in our Easy Lemon Tart Recipe. Each one contributes not only flavor but also texture and depth to our creation.
- 1 large egg yolk: This single egg yolk is crucial for enriching our tart crust. It adds richness and helps bind everything together while giving it that tender texture we love. When selecting eggs, look for those with deep yellow yolks—they’re often fresher and will impart more flavor.
- 1 tablespoon heavy cream: Adding just a touch of heavy cream elevates our tart crust’s richness. It acts as a binding agent while softening the dough just enough to make it manageable. If you find yourself without heavy cream, don’t worry—a good substitute could be whole milk mixed with a bit of melted butter.
- 1 teaspoon pure vanilla extract: This ingredient is where we infuse warmth into our tart crust. Vanilla extract enhances all the flavors without overpowering them, creating a lovely background note that harmonizes everything beautifully.
- 1¼ cups (6 ¼ ounces) all-purpose flour: Flour serves as the backbone of our crust—the structure that holds everything together. Make sure to measure carefully; spooning flour into your measuring cup rather than scooping can prevent it from becoming too dense.
- ½ cup confectioners’ sugar: Unlike granulated sugar, confectioners’ sugar dissolves quickly which makes our crust wonderfully tender and sweet without any grit. It’s essential for achieving that delicate cookie-like texture we crave in this tart.
- ¼ teaspoon kosher salt: Salt isn’t just there for seasoning; it enhances sweetness and balances flavors beautifully in desserts. Don’t skip this step—it’s absolutely paramount!
- 8 tablespoons (½ cup or 1 stick) unsalted butter, cut into ¼-inch pieces and chilled: Butter is another key player here; its cold temperature will ensure we achieve flakiness in our crust. Unsalted butter gives us control over how salty our dessert turns out—always use high-quality butter for the best results.
- ¼ cup lemon zest: Here comes one of my favorite ingredients! Zest is where all the concentrated flavor lives—it’s bright and aromatic, adding an extra punch of citrus goodness that’s hard to resist.
- ½ cup lemon juice (from about 4 lemons): Freshly squeezed juice brings acidity and brightness that are essential for creating that signature lemon flavor in our curd filling. I highly recommend using fresh lemons rather than bottled juice; they have such vibrancy!
- 2 large eggs: These eggs lend stability to our filling while contributing richness as well—essential components for creating that smooth texture we desire.
- 7 large egg yolks: Yes, more yolks! They contribute even more silkiness and depth to our lemon curd while also helping it set up beautifully during baking.
- ½ cup honey: Honey adds its own unique floral sweetness while providing moisture to our filling—substituting some sugar with honey makes this recipe feel slightly more wholesome without sacrificing flavor.
- Salt: Just a pinch! Salt helps amplify flavors throughout the entire dish—a small yet powerful addition.
- 4 tablespoons unsalted butter, cut into 4 pieces and chilled: We’ll fold this butter into our warm curd at the end for added richness—this step transforms ordinary curd into something utterly luxurious!
- 2 tablespoons heavy cream: A last-minute addition before serving can elevate your final presentation—this bit of cream adds richness when drizzled atop each slice!
- Berries (optional): Fresh berries are optional but oh-so-recommended! They not only add color but also contrast beautifully against the tartness of the lemon filling—this simple addition transforms your dessert from lovely to spectacular!
- Confectioners’ sugar (optional): A light dusting before serving can enhance both appearance and taste—who can resist that touch of sweetness?
Equipment You’ll Need:
Getting set up in your kitchen can make all the difference when preparing desserts like our Easy Lemon Tart Recipe! While these items aren’t “ingredients,” having the right tools ensures everything runs smoothly as you create your masterpiece.
- 9-inch tart pan with removable bottom – This pan allows you to easily remove your finished tart without damaging its delicate structure or presentation—a must-have for any baker who wants their creations looking pristine!
- Mixing bowls (various sizes) – You’ll need different sizes for mixing your dough and curd separately; having quality bowls helps keep things organized so you can focus on what really matters—the joy of baking!
- Whisk – A sturdy whisk is essential for incorporating air into mixtures like custards or creamed butter—it creates light textures which are crucial when making desserts such as ours.
- Rubber spatula – Perfect for scraping down sides of bowls or folding ingredients together gently without deflating air pockets—we want every inch of flavor possible!
- Zester or microplane grater – For capturing all those fragrant oils from lemons’ peels effortlessly—you’ll thank yourself later when tasting how bright your curd turns out!
Now that we’ve gathered everything needed let’s dive into preparing this delightful Easy Lemon Tart Recipe together—I’m so excited to guide you through each step!
Step 1: Make Your Tart Crust
To begin crafting this lovely dessert, we first need to prepare our tart crust. Start by combining your flour, confectioners’ sugar, and kosher salt in one bowl—this blend will provide both structure and sweetness once baked. Now comes an important technique called cutting in—take those chilled pieces of unsalted butter and work them into your dry mixture using either your fingers or a pastry cutter until it resembles coarse crumbs reminiscent of sandy beaches on warm summer days! Why do we do this? Cold butter creates pockets within the flour matrix which will puff up during baking resulting in flakiness—we want every bite to melt in your mouth! Once incorporated well enough where no large chunks remain visible (about pea-sized), drizzle in your egg yolk mixed with heavy cream along with vanilla extract before gently mixing until just combined—it should form a cohesive dough without overworking it since gluten development isn’t desirable here either.
Step 2: Chill Your Dough
After forming your dough ball—a beautiful sight already—wrap it tightly in plastic wrap before placing it into the refrigerator for at least an hour (or longer if you have time!). Cooling is crucial because it relaxes any gluten formed during mixing while also firming up those buttery bits so they won’t melt prematurely when exposed directly onto heat later on during baking—the result? A perfectly tender yet crisp base ready for holding its luscious filling! Don’t rush this step; patience pays off tremendously here! If you’re short on time though, chilling even just 30 minutes can still yield decent results—but trust me when I say letting it rest longer makes all difference here.
Step 3: Prepare Your Lemon Curd Filling
While waiting patiently for our dough-loving friends to chill properly away from us (we miss them already!), let’s turn attention towards crafting our heavenly lemon curd filling! In another mixing bowl combine fresh lemon juice alongside zest—you’ll notice how aromatic these vibrant fruits are once juiced correctly! Next whisk together whole eggs along with additional egg yolks until fully blended before gradually adding honey—we’re going after lusciousness folks! After everything has been well-combined pour this mixture through fine mesh strainer directly over medium saucepan set on low heat bringing joyously fragrant aroma wafting throughout home—stir continuously keeping close watch over temperature since custards can easily scramble if left unattended too long—we want silky goodness not scrambled chaos here people!! Cook gently until mixture coats back side spoon thick enough holding shape when run finger across surface (around 10 minutes).
Step 4: Finish Your Filling
Once thickened behold glorious transformation happening before eyes! Remove from heat then whisk cold pieces butter one-by-one until fully emulsified within warm curd mixture ensuring brilliant shine achieved through patience alone here—it feels like magic watching simple ingredients come alive doesn’t it?! Finally pour prepared curd through strainer again ensuring silky-smooth consistency collected within clean bowl ready-to-pour directly onto cooled shell post-baking away golden glory awaiting us soon ahead!!
I can’t help but feel excited as we progress further along together towards completion—I promise you’re going love how satisfying every aspect proves during process leading ultimately towards final tasting moment rich citrus delight awaits ahead!!
Stay tuned as we continue creating perfection step by step together…
Crafting Your Easy Lemon Tart Recipe
Step 5: The Tart Crust That Sets the Stage
Now that we’ve prepared our delightful dough, it’s time to create the tart crust—a crucial element that provides the perfect canvas for our luscious lemon curd. Begin by taking your chilled butter, which is key to achieving that tender texture, and cutting it into small pieces. Since we’re aiming for a cookie-like crust, we want the butter to remain cold, so don’t let it sit out too long. In your mixing bowl, combine the all-purpose flour, confectioners’ sugar, and kosher salt. This blend of dry ingredients will create a light sweetness and a hint of savory balance in your crust.
Using a pastry cutter or your fingertips, work the chilled butter into the flour mixture until it resembles coarse crumbs—think of sandy shores rather than beach balls! You’re looking for a texture where the pieces of butter are still visible; this is absolutely paramount. Why? Because those little nuggets of butter will melt while baking, creating pockets of flakiness that we all adore in a perfect tart shell. Once you reach this desired state, gently stir in the egg yolk, heavy cream, and vanilla extract until just combined. You want to be careful here: overmixing can lead to a tough crust instead of the delicate shell we crave. The goal is to bring everything together until you can form it into a ball without it crumbling apart.
After forming the dough ball, flatten it slightly into a disc shape, wrap it snugly in plastic wrap, and refrigerate for at least 30 minutes. Trust me on this one—this chilling step allows the gluten to relax and prevents shrinkage during baking. Think of it as giving your dough a mini-vacation before its big moment in the oven!
Step 6: Rolling Out Perfection
Once your dough has had its well-deserved chill time, it’s time to roll it out! Dust your countertop with a bit of flour—just enough to keep things from sticking—and gently place your dough disc in the center. Using a rolling pin (or even a wine bottle if you’re feeling adventurous), roll out the dough evenly to about 1/8-inch thick. As you roll, keep turning the dough occasionally so that it maintains an even thickness and doesn’t stick to your workspace.
Why is this step so vital? The size and thickness of your rolled-out dough determine how well it fits into your tart pan and how beautifully it bakes up! If it’s too thick, you risk an overly dense crust; too thin might lead to cracks or burnt edges during baking—none of which we want! When you’ve reached the desired size that can comfortably cover your tart pan (don’t forget about those lovely fluted edges!), carefully drape the dough over your rolling pin and transfer it into your pan. Gently press down to fit; avoid stretching as this may lead to shrinkage later on.
Trim any excess dough hanging over the edges with a sharp knife or kitchen shears because nobody wants burnt bits in their final masterpiece! Next comes another crucial part: you’ll need to dock (prick) the bottom of the tart shell with a fork so steam can escape while baking—this helps prevent bubbling and allows for an even bake.
Step 7: Pre-Baking for Flaky Goodness
Now that you’ve prepped your crust beautifully, it’s time for some gentle pre-baking—a process known as blind baking—which sets us up for success when adding our zesty lemon filling later on. Preheat your oven to 375°F (190°C). While waiting for that glorious heat, take some parchment paper or aluminum foil and line your tart shell; fill it generously with pie weights or dried beans. This step is non-negotiable because it keeps our crust from puffing up like an over-inflated balloon while baking!
Pop the tart shell into the preheated oven and let it bake for about 15-20 minutes until it’s lightly golden brown around the edges—the aroma wafting through your kitchen will be utterly intoxicating! Halfway through baking, I encourage you to check on its progress; if you notice any bubbles forming on top of the crust, simply give them a gentle poke with a fork to deflate them—this ensures an even finish without unsightly bumps later on.
Once baked perfectly golden brown and set on top but still soft inside (it’ll firm up as it cools), remove from oven and let cool slightly before proceeding. This part allows us to layer flavors better without compromising texture; remember—the magic happens when patience meets preparation!
Step 8: Crafting Your Silky Lemon Curd
With our beautiful tart shell ready and waiting patiently on its cooling rack, it’s now time for us to dive into making that show-stopping lemon curd—arguably my favorite part of this Easy Lemon Tart Recipe! Start by whisking together in a medium saucepan those beautiful large eggs along with seven luscious egg yolks—you’ll just love how rich they make this filling! Add in half a cup of honey for natural sweetness balanced perfectly against our vibrant lemon juice (freshly squeezed from about four lemons) and zest from those same lemons; trust me when I say this symphony of flavors will be one for the ages.
Place this heavenly mixture over medium heat while constantly stirring—it’s essential not only for mixing but also preventing curdling as we slowly bring everything together. What you’re looking for here is a gradual thickening process—after about 5-10 minutes of gentle stirring (make sure not to rush!), you’ll notice that bubbly surface start transforming into something divine as those flavors meld beautifully together into what feels like liquid gold!
Once you’ve reached that custard-like consistency (think dipping back of spoon), remove from heat promptly and add four tablespoons of chilled butter cut into pieces. Stir until melted completely—we want every ounce incorporated smoothly because this addition adds richness while also enhancing that creamy texture we adore! Finally comes another splash of heavy cream which lightens up our curd further while amplifying flavor complexity—I promise you won’t regret adding this last touch!
Step 9: The Grand Assembly
Now comes perhaps my favorite part: assembling all these components together! Pour that gloriously silky lemon curd filling right into your cooled tart shell—it should fill right up nearly flush with those edges—a beautiful sight indeed! Gently shake side-to-side if needed just to smooth out any imperfections—it truly is okay if there are small bubbles; they usually pop during cooling anyway but keep an eye out just in case!
Once filled beautifully with lemony goodness awaiting transformation in flavor profiles upon cooling down completely outside at room temperature before placing inside refrigerator (at least two hours or overnight if possible) so flavors deepen while attaining set consistency—isn’t patience wonderful? And please do resist temptation during this stage—the waiting game really pays off here since allowing cooling time lets those layers truly shine through come serving day!
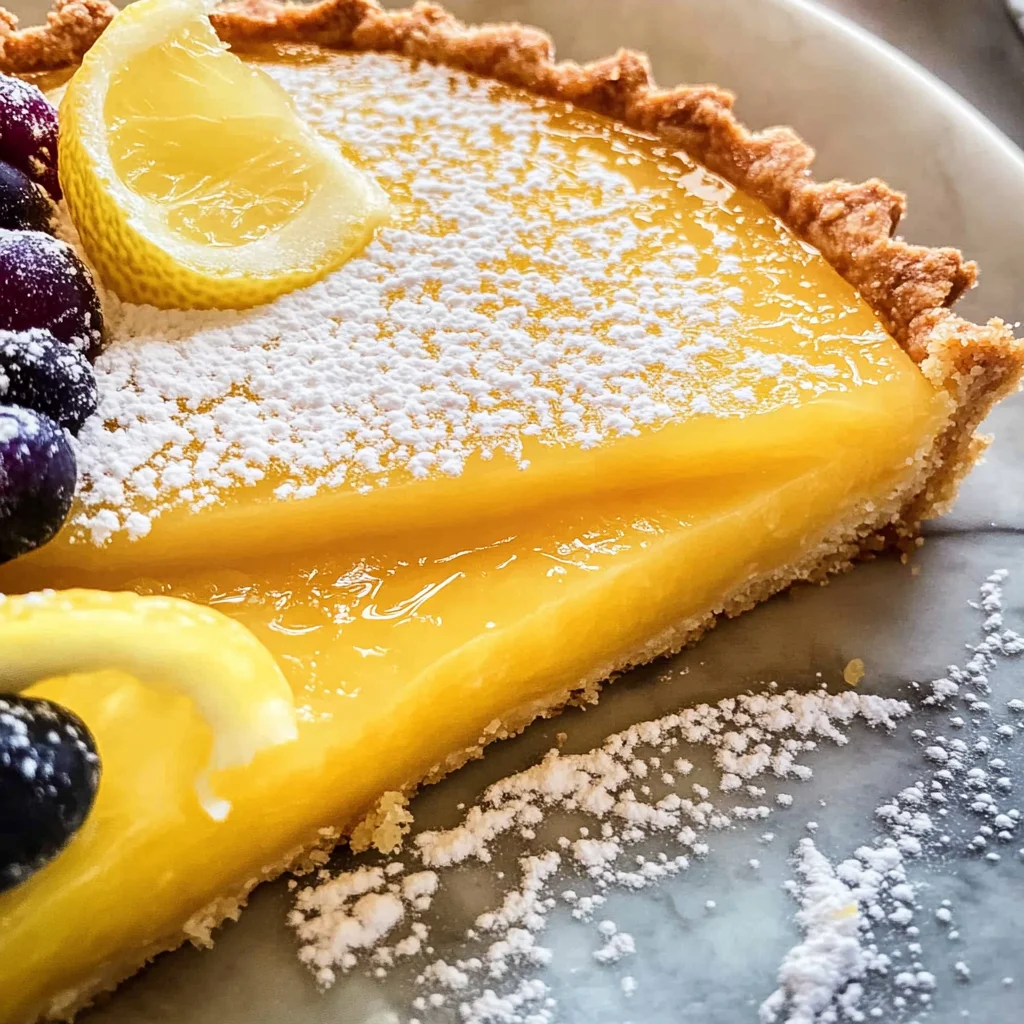
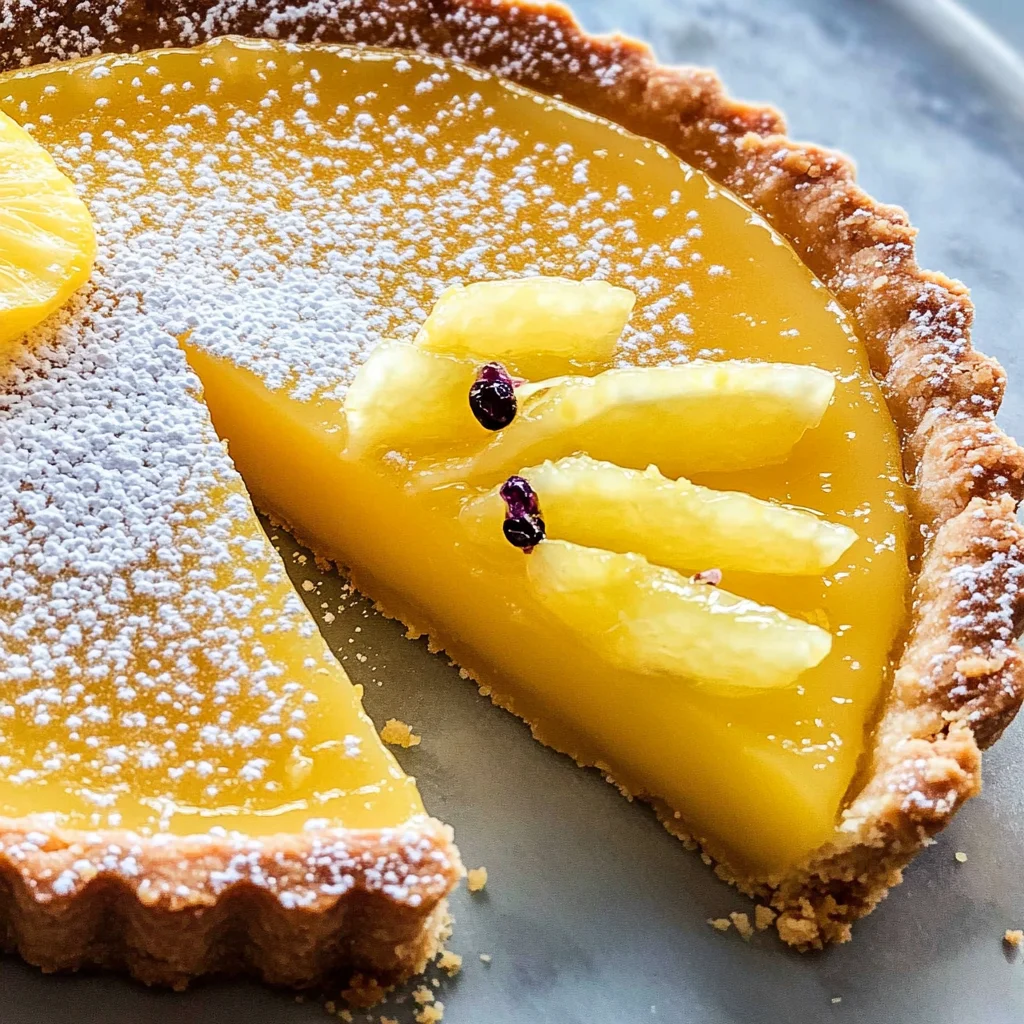
When finally ready after chilling period comes slicing time where each bite reveals not only vibrant color contrast between tangy pale yellow curd atop buttery golden crust but also brings forth freshness reminiscent summertime joy captured within each mouthful itself bringing smiles all around table—a moment worth celebrating indeed!
And there you have it—the wonderful journey through crafting an Easy Lemon Tart Recipe filled with love straight from my kitchen to yours! Whether enjoyed solo or shared amongst family & friends alike; I promise each slice served with fresh berries or dusted lightly over top with confectioners’ sugar elevates experience further making memories worth cherishing forevermore!
Enjoy every bite and happy baking!
Storage and Enjoyment Tips for Your Easy Lemon Tart Recipe
Now that your Easy Lemon Tart has cooled to perfection and is just waiting to be sliced, it’s time to talk about how you can savor this delightful dessert even longer! The sheer joy of pulling a perfectly set lemon tart from the refrigerator, its glossy surface glistening like morning dew, is an experience I cherish. But let’s be honest—sometimes, we can’t finish an entire tart in one sitting (though I wouldn’t blame you if you tried!). So, let’s dive into how to preserve that zesty goodness so every slice remains as fresh and vibrant as when you first made it.
Storing Leftover Easy Lemon Tart Recipe
To ensure your leftover Easy Lemon Tart remains a culinary delight, the best practice is to store it in an airtight container. This will shield it from any unwanted odors in your fridge while keeping that luscious lemon curd intact. You can also cover it tightly with plastic wrap; just make sure the wrap doesn’t touch the surface of the tart because we want to avoid any unsightly condensation that could mar its beauty. If stored properly, your tart will keep beautifully in the refrigerator for up to five days—although I promise you, it may not last that long! After a day or two in the fridge, the flavors meld together even more profoundly, creating an utterly intoxicating experience with each bite. When it’s time to serve again, simply slice into those bright yellow layers and admire how they glisten. For an added touch of indulgence, dust a sprinkle of confectioners’ sugar on top right before serving!
Freezing Your Easy Lemon Tart for Later
If you’re thinking ahead and want to save some slices for later enjoyment, freezing is a fantastic option! Just make sure that your tart is completely cooled before wrapping it up tightly in plastic wrap. It’s crucial to press the wrap against the tart as much as possible to prevent freezer burn or any pesky ice crystals from forming. After wrapping it snugly, place it inside a freezer-safe container or a resealable freezer bag—trust me on this one; proper sealing is non-negotiable if you want to retain all those vibrant flavors! When stored correctly, your Easy Lemon Tart can stay fresh for up to three months in the freezer. When you’re ready for a slice of sunshine, simply transfer it to the fridge overnight to thaw gently. Not only does this method allow you to enjoy this exquisite dessert at a moment’s notice, but think of how impressed your friends will be when they taste something so delightful straight from your freezer!
Easy Lemon Tart

There’s a delightful charm in whipping up an Easy Lemon Tart that encapsulates the essence of sunny days and sweet moments shared with loved ones. This recipe is a beautiful homage to the classic lemon tart, featuring a buttery crust that cradles a silky-smooth lemon curd filling. With its perfect balance of tanginess and sweetness, every bite offers a refreshing burst of flavor that’s sure to impress at any gathering or as a special treat at home. Whether you’re garnishing it with fresh berries or simply dusting it with confectioners’ sugar, this tart will not only elevate your dessert game but also create lasting memories around the table. Join me in crafting this culinary masterpiece that’s as approachable as it is elegant!
- Prep Time: 30 minutes
- Cook Time: 20 minutes
- Total Time: 50 minutes
- Yield: Serves approximately 12 slices 1x
- Category: Dessert
- Method: Baking
- Cuisine: French
Ingredients
- 1 large egg yolk
- 1 tablespoon heavy cream
- 1 teaspoon pure vanilla extract
- 1¼ cups all-purpose flour
- ½ cup confectioners' sugar
- ¼ teaspoon kosher salt
- 8 tablespoons unsalted butter, cut into ¼-inch pieces and chilled
- ¼ cup lemon zest
- ½ cup freshly squeezed lemon juice
- 2 large eggs
- 7 large egg yolks
- ½ cup honey
Instructions
- Prepare the tart crust by mixing flour, confectioners' sugar, and salt in a bowl. Cut in chilled butter until crumbly.
- Add egg yolk, heavy cream, and vanilla; mix until combined. Form dough into a disc, wrap in plastic, and chill for at least 30 minutes.
- Roll out the chilled dough to fit into a tart pan. Prick the bottom with a fork and pre-bake at 375°F (190°C) for about 15 minutes until golden.
- For the lemon curd, whisk together eggs, yolks, honey, lemon juice, and zest in a saucepan over medium heat until thickened.
- Stir in butter pieces until fully melted and smooth; pour into the cooled tart shell.
- Chill for at least two hours before serving.
Nutrition
- Serving Size: 1 slice (90g)
- Calories: 210
- Sugar: 11g
- Sodium: 55mg
- Fat: 12g
- Saturated Fat: 7g
- Unsaturated Fat: 4g
- Trans Fat: 0g
- Carbohydrates: 22g
- Fiber: 0g
- Protein: 3g
- Cholesterol: 85mg