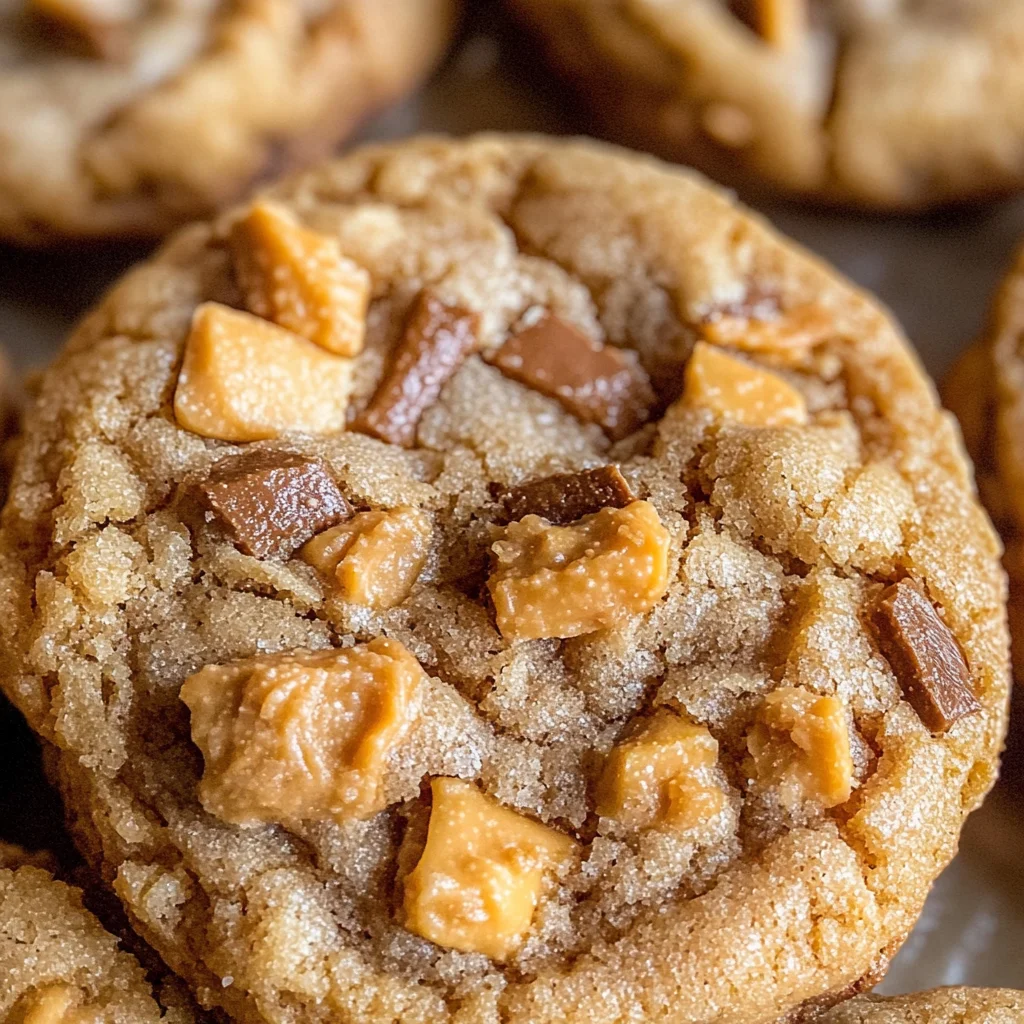
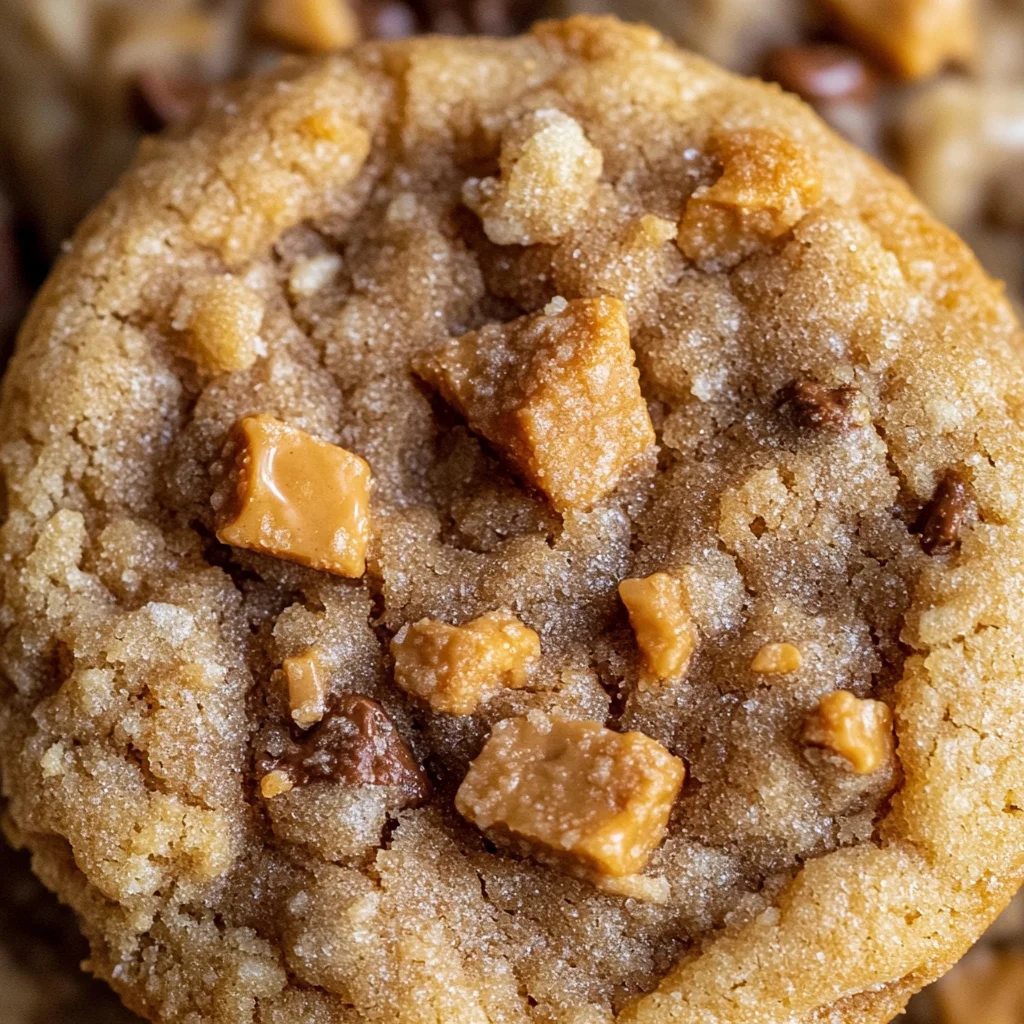
Peanut Butter Butterfinger Cookies
If you’re looking for a cookie that takes the classic peanut butter flavor to a whole new level, then you’ve stumbled upon the right recipe! These Peanut Butter Butterfinger Cookies are not just any cookies; they are a delightful combination of soft, thick peanut butter goodness and crunchy Butterfinger bits. Each bite is like a little piece of heaven, making them perfect for everything from busy weeknights to family gatherings or even just treating yourself. Trust me, after one taste, you’ll understand why this recipe has become a treasured favorite in my home!
Whether you’re baking for a special occasion or simply want to whip up something sweet to enjoy with friends over coffee, these cookies are sure to impress. They are easy to make, and you’ll find that the ingredients are simple and wholesome—just what you need for a cozy baking session!
Why You’ll Love This Recipe
- Quick Preparation: With just 15 minutes of prep time, you can have these cookies in the oven before you know it!
- Family-Friendly: Kids and adults alike will adore the combination of peanut butter and candy. It’s hard to resist!
- Deliciously Unique: The addition of Butterfinger bits gives these cookies an irresistible crunch that elevates them above your standard peanut butter cookie.
- Make-Ahead Friendly: You can chill the dough for up to 24 hours or freeze it for later baking—perfect for busy days!
- Perfect for Sharing: This recipe yields about 25 cookies, making it ideal for sharing with family and friends (if you can resist eating them all yourself!).
Ingredients You’ll Need
Let’s gather our simple ingredients! These Peanut Butter Butterfinger Cookies come together quickly with items that you likely already have in your pantry. Here’s what you’ll need:
- 3/4 cup butter (softened, which is about 1 and 1/2 sticks)
- 1/2 cup granulated sugar
- 1/2 cup brown sugar (packed)
- 1 cup peanut butter (don’t use natural peanut butter)
- 1 large egg
- 1 and 1/2 teaspoons vanilla extract
- 1 and 1/2 cups all-purpose flour (spooned and leveled)
- 1/2 teaspoon baking soda
- 1/2 teaspoon baking powder
- 1/4 teaspoon kosher salt
- 16 ounces Butterfinger (chopped; see note*)
Variations
This recipe is quite flexible! If you’re excited to try different flavors or ingredients, here are some fun ideas:
- Add Chocolate Chips: Mix in some semi-sweet chocolate chips for an extra chocolatey twist.
- Use Other Candies: Experiment with other candy bars like Snickers or Reese’s Pieces for variety.
- Nutty Twist: Incorporate chopped nuts such as peanuts or almonds to enhance the texture.
- Flavored Extracts: Try swapping vanilla extract with almond extract for a unique flavor profile.
How to Make Peanut Butter Butterfinger Cookies
Step 1: Cream the Butters
In a large bowl or stand mixer, start by beating together your softened butter until it’s smooth and creamy. This step helps create a light texture in your cookies. Scrape down the sides of the bowl frequently so that everything gets well combined.
Step 2: Sweeten Things Up
Next, add in both granulated sugar and packed brown sugar. Beat this mixture well for about two minutes until it becomes fluffy. The sugars help provide sweetness while contributing to that lovely chewy texture we crave in cookies.
Step 3: Add Peanut Butter
Now it’s time for the star ingredient—peanut butter! I personally love using Jif because it has the perfect consistency. Beat this into your sugary mixture until fully combined; this is where that rich peanut flavor really comes alive!
Step 4: Mix in Eggs and Vanilla
Add one large egg along with one and a half teaspoons of vanilla extract. Mixing these in will add moisture and flavor depth. Remember to scrape down those sides again so everything is evenly blended.
Step 5: Combine Dry Ingredients
Now we’re ready for the dry ingredients! Add one and a half cups of spooned-all-purpose flour directly into the bowl without mixing yet. Top this off with baking soda, baking powder, and kosher salt. Stir these dry ingredients together lightly using a teaspoon—this helps break up any clumps while ensuring an even rise during baking.
Step 6: Bring It All Together
Turn on your mixer just enough to combine the dry ingredients into your dough. Be careful not to overmix! Once everything is barely combined—and you still see some flour—stop mixing. Overworking the dough could lead to tough cookies.
Step 7: Fold in Butterfinger Bits
Now comes the fun part! Gently fold in those chopped Butterfinger bits until they’re just incorporated into your dough. This step adds that delightful crunch that makes these cookies so special.
Step 8: Chill Out
Cover your dough and chill it in the refrigerator for about 15 minutes up to an hour (or even overnight!). Chilling helps develop flavor while keeping your cookies thick when baked—so try not to sneak too much dough!
Step 9: Preheat & Prepare Baking Sheets
While your dough chills, preheat your oven to 350 degrees F. Line two baking sheets with parchment paper or silicone mats; this will prevent sticking.
Step 10: Shape Your Cookies
Once chilled, scoop out portions of dough using about two inches per cookie ball. I love using a cookie scoop—it really speeds things up! Place these on your prepared baking sheets at least an inch apart since they will spread as they bake.
Step 11: Bake Them Up
Pop those trays into the oven and bake at 350 degrees F for about ten minutes. Keep an eye on them—they should be puffy but set at the edges when done.
Step 12: Cool Down Time
After taking them out, let your cookies cool on the pan for at least five minutes before transferring them onto a wire rack. It’s tempting, but waiting ensures they firm up nicely!
These Peanut Butter Butterfinger Cookies are bound to become a staple in your home—enjoy every delicious bite!
Pro Tips for Making Peanut Butter Butterfinger Cookies
Baking is all about having fun and perfecting your technique, so here are some tried-and-true tips to elevate your cookie game!
- Use room temperature ingredients: Starting with softened butter and eggs helps them blend more smoothly into the dough, resulting in a better texture.
- Don’t overmix the dough: Mixing just until combined prevents tough cookies, allowing them to remain soft and chewy with a delightful crumb.
- Chill the dough: Allowing the dough to chill not only enhances the flavor but also helps the cookies maintain their shape while baking.
- Press down slightly before baking: If your cookies aren’t spreading much during baking, a gentle press with a spatula can help them achieve that classic cookie shape.
- Store properly: For optimal freshness, keep leftover cookies in an airtight container; this keeps them from getting stale too quickly!
How to Serve Peanut Butter Butterfinger Cookies
These delectable Peanut Butter Butterfinger Cookies are perfect for any occasion! Whether you’re hosting a party or simply indulging at home, here are some delightful serving ideas.
Garnishes
- Chopped nuts: Sprinkle some chopped peanuts on top for added crunch and flavor.
- Chocolate drizzle: A drizzle of melted chocolate over the cooled cookies can add an elegant touch and extra sweetness.
Side Dishes
- Milk: A classic pairing! The creaminess of milk complements the richness of the peanut butter perfectly.
- Ice cream: Serve these cookies warm alongside a scoop of vanilla or chocolate ice cream for an indulgent dessert experience.
- Fresh fruit platter: The refreshing taste of fruits like strawberries or bananas can balance out the sweetness of the cookies.
- Coffee or tea: A warm cup of coffee or herbal tea makes for a cozy pairing that enhances the flavors of your cookies.
Enjoy every bite of these delightful Peanut Butter Butterfinger Cookies! They make not only for a delicious treat but also a wonderful addition to gatherings with family and friends. Happy baking!
Make Ahead and Storage
These Peanut Butter Butterfinger Cookies are perfect for meal prep! You can easily whip up a batch ahead of time, ensuring you always have a delicious treat ready to go.
Storing Leftovers
- Allow the cookies to cool completely.
- Place them in a tightly sealed container to maintain freshness.
- Store at room temperature for up to 3 days.
Freezing
- Form cookie dough balls and place them on a baking sheet.
- Freeze the dough balls until firm, then transfer them to a ziplock bag.
- The dough can be frozen for up to 3 months.
- Alternatively, freeze baked cookies in a sealed container for up to 4 weeks.
Reheating
- For frozen cookie dough balls, bake straight from the freezer, adding an extra minute or two to the baking time.
- Press down on them gently with a spatula after baking if they don’t spread.
- Warm baked cookies in the microwave for about 10-15 seconds before enjoying.
FAQs
Here are some common questions you might have about these delightful cookies!
Can I use natural peanut butter in Peanut Butter Butterfinger Cookies?
No, it’s best not to use natural peanut butter as it has different properties that can affect the texture and consistency of your cookies.
How do I store Peanut Butter Butterfinger Cookies?
Store your cookies in a tightly sealed container at room temperature for up to 3 days. For longer storage, consider freezing them!
Can I freeze the cookie dough for Peanut Butter Butterfinger Cookies?
Absolutely! You can freeze the formed cookie dough balls for up to 3 months. Just bake them straight from frozen when you’re ready!
What makes Peanut Butter Butterfinger Cookies special?
These cookies combine soft, thick peanut butter cookie goodness with crunchy bits of Butterfinger candy, creating an irresistible flavor and texture!
Final Thoughts
I hope you enjoy making these Peanut Butter Butterfinger Cookies as much as I do! They bring together everything we love about classic peanut butter cookies with that delightful crunch from Butterfingers. Whether you’re sharing them with friends or keeping them all for yourself, they’re sure to bring a smile. Happy baking!
Peanut Butter Butterfinger Cookies

Indulge in the delightful world of Peanut Butter Butterfinger Cookies, a perfect blend of soft, chewy peanut butter goodness with the delightful crunch of Butterfinger candy. These cookies are not just your average treat; they bring a unique twist to classic peanut butter cookies that will leave everyone craving more. Whether you’re baking for a holiday gathering, a cozy night in, or just to satisfy your sweet tooth, this recipe is both simple and rewarding. With just a few easy steps and common pantry ingredients, you’ll have a batch of irresistible cookies ready to share—or keep all to yourself!
- Prep Time: 15 minutes
- Cook Time: 10 minutes
- Total Time: 25 minutes
- Yield: Approximately 25 cookies 1x
- Category: Dessert
- Method: Baking
- Cuisine: American
Ingredients
- 3/4 cup butter (softened)
- 1/2 cup granulated sugar
- 1/2 cup brown sugar (packed)
- 1 cup peanut butter
- 1 large egg
- 1 and 1/2 teaspoons vanilla extract
- 1 and 1/2 cups all-purpose flour
- 1/2 teaspoon baking soda
- 1/2 teaspoon baking powder
- 1/4 teaspoon kosher salt
- 16 ounces Butterfinger (chopped)
Instructions
- Preheat oven to 350°F (175°C) and line baking sheets with parchment paper.
- In a large bowl, cream softened butter until smooth.
- Add granulated sugar and brown sugar; beat until fluffy.
- Mix in peanut butter until fully combined.
- Add egg and vanilla extract; mix well.
- Combine flour, baking soda, baking powder, and salt in a separate bowl. Gradually add dry ingredients to the wet mixture.
- Fold in chopped Butterfinger bits gently.
- Chill dough for at least 15 minutes before scooping onto prepared baking sheets.
- Bake for about 10 minutes or until edges are set.
- Let cool on the baking sheet for five minutes before transferring to a wire rack.
Nutrition
- Serving Size: 1 cookie (approximately 30g)
- Calories: 150
- Sugar: 9g
- Sodium: 90mg
- Fat: 8g
- Saturated Fat: 4g
- Unsaturated Fat: 3g
- Trans Fat: 0g
- Carbohydrates: 18g
- Fiber: 0g
- Protein: 3g
- Cholesterol: 15mg