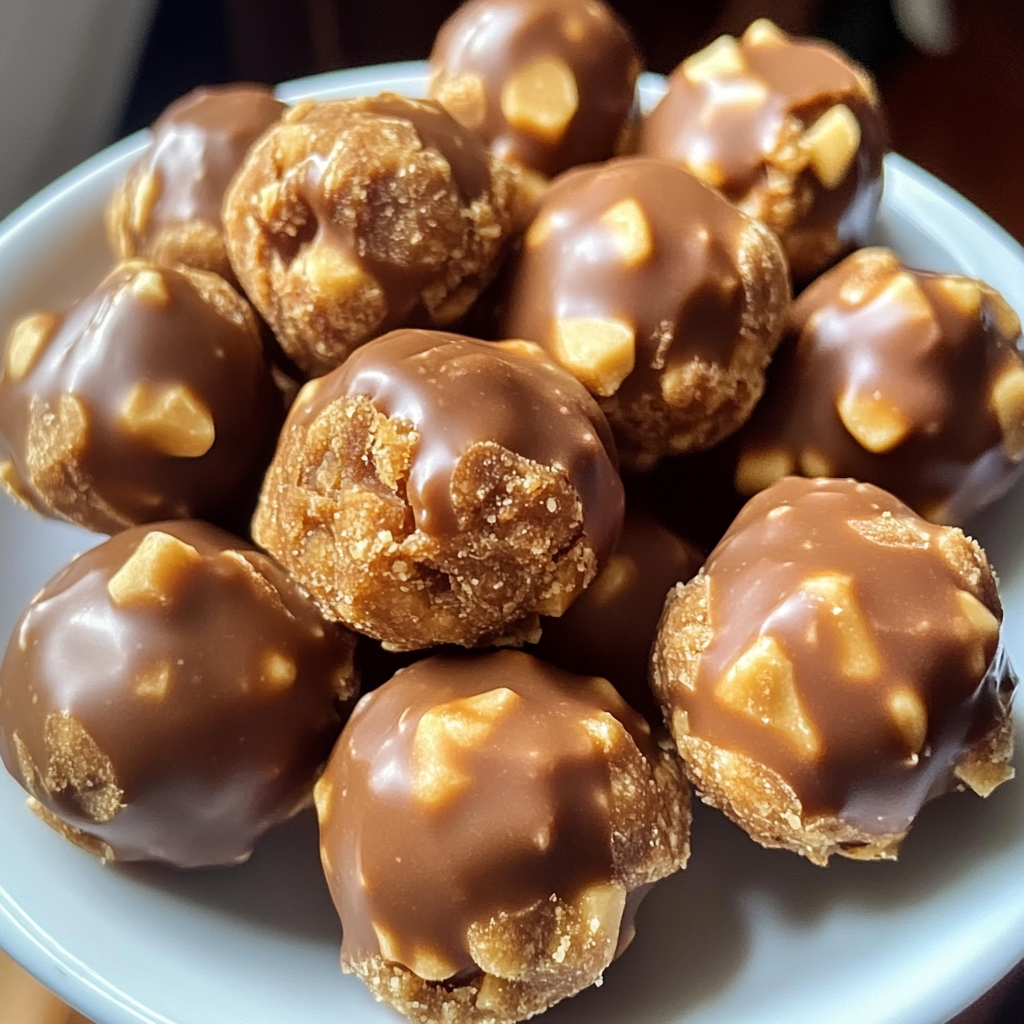
Butterfinger Balls
If you’re looking for a delightful treat that’s sure to impress family and friends, these Butterfinger Balls are just the ticket! This recipe has been a cherished favorite in my home for years. With the perfect harmony of creamy peanut butter, crunchy graham crackers, and sweet Butterfinger bars, all enveloped in rich melted chocolate, it’s hard not to fall in love with these little bites of bliss. Whether you’re preparing for a busy weeknight dessert or a festive gathering, these treats will be the star of the show!
What makes these Butterfinger Balls even more special is how easy they are to make. In just a short amount of time, you can whip up a batch that will have everyone asking for seconds (and maybe thirds!). Trust me; once you taste them, you’ll understand why they disappear so quickly!
Why You’ll Love This Recipe
- Quick Preparation: This recipe comes together in about 15 minutes of prep time, making it perfect for those last-minute cravings.
- Family-Friendly: Kids and adults alike adore the sweet and salty combination found in each bite—what’s not to love?
- Make-Ahead Convenience: These treats can be made ahead of time and stored in the fridge or freezer, making them ideal for parties or gatherings.
- Customizable Toppings: You can get creative with your toppings, allowing you to personalize each treat to suit your tastes.
- Irresistible Flavor: The combination of peanut butter and chocolate is a classic that never goes out of style—everyone will be reaching for more!
Ingredients You’ll Need
This recipe calls for simple, wholesome ingredients that you probably already have on hand. Let’s gather everything we need to make these delicious Butterfinger Balls!
For the Base
- 4 tablespoons softened butter (½ stick)
- 1 teaspoon vanilla extract
- 1 cup peanut butter (avoid all-natural varieties)
- 1 cup powdered sugar
- ¾ cup crumbs from graham crackers
- ½ cup Butterfinger bars (crushed)
For the Coating
- 8 ounces chocolate bark or chocolate chips
Optional Garnishes
- Additional crushed Butterfinger bars
- Festive sprinkles
- Coarse sea salt
Variations
One of the best things about this Butterfinger Balls recipe is its flexibility! You can easily mix things up based on what you have on hand or your flavor preferences. Here are some fun variations to try:
- Swap the Nut Butter: Use almond butter or sunflower seed butter for a different flavor twist while keeping it nutty and delicious!
- Change the Chocolate: Experiment with white chocolate or dark chocolate instead of milk chocolate for unique flavor profiles.
- Add Crunch: Toss in some chopped nuts or pretzels into the mixture for an extra crunch factor.
- Flavor Boost: Include a pinch of sea salt in the mixture or sprinkle it on top after coating to enhance the sweet flavors.
How to Make Butterfinger Balls
Step 1: Prepare the Dough
In a mixing bowl, combine peanut butter and softened butter. Using an electric mixer set at medium speed, blend until creamy and uniform. This step is crucial because it ensures that your base is smooth and well-combined, which will make shaping easier later on.
Step 2: Add Aromatic Notes
Now it’s time to incorporate vanilla extract. Blend thoroughly until everything is mixed well. The vanilla adds a warm flavor that elevates these treats from good to absolutely heavenly.
Step 3: Sweeten the Deal
Gradually add powdered sugar, blending at low speed. Remember to scrape down the sides of the bowl as needed. This step sweetens your dough but also helps achieve that perfect consistency.
Step 4: Crunch Time
Gently fold in graham cracker crumbs and crushed Butterfinger bars. Combining these ingredients gives your balls extra texture and flavor—trust me; this step makes all the difference!
Step 5: Shape ’em Up
Line a large cookie sheet with parchment paper. Scoop out about 1 to 1½ tablespoons of dough, roll them into neat balls, and place them on the sheet. This step is where your treats start taking shape!
Step 6: Chilling Phase
Freeze those dough balls on the cookie sheet for about 30 minutes until they are firm. Chilling helps solidify their form before dipping them in chocolate.
Step 7: Melting the Chocolate
Once chilled, it’s time to melt your chocolate! Use a microwave-safe bowl, heating in 30-second spurts at 50% power while stirring between intervals. Be careful not to overheat—some lumps are okay as they will melt when stirred.
Step 8: Chocolate Symphony
Once melted, dip each chilled ball into the luscious chocolate coating. You can fully coat them or leave some peanut butter exposed—it’s all about personal preference here!
Step 9: Finishing Touches
Sprinkle additional crushed Butterfinger bars or festive toppings over each ball while the chocolate is still wet. This adds visual appeal and enhances that delicious flavor even more.
Step 10: The Grand Finale
Allow your coated Butterfinger Balls to cool completely until the chocolate sets. Once hardened, enjoy these delightful treats with family and friends while basking in their delighted reactions!
Pro Tips for Making Butterfinger Balls
Making Butterfinger Balls is a breeze, especially with a few handy tips to guide you along the way!
- Use Room Temperature Ingredients: Starting with softened butter and peanut butter helps the mixture blend smoothly, resulting in a creamy texture that holds together well.
- Don’t Rush the Chilling: Be sure to freeze the dough balls until firm; this step is crucial for maintaining their shape when dipped in chocolate.
- Be Mindful When Melting Chocolate: Melting chocolate slowly at reduced power prevents scorching. It’s better to have some lumps remaining, as they will melt with stirring, achieving a smooth coating.
- Customize Your Toppings: Feel free to get creative with garnishes! Adding different toppings can make each ball unique and visually appealing, perfect for festive gatherings.
- Store Properly: Keep your Butterfinger Balls in an airtight container in the fridge for up to a week. This helps retain their freshness and flavor, ensuring every bite is just as delightful as the first.
How to Serve Butterfinger Balls
These delightful treats are not only delicious but also visually appealing, making them perfect for any occasion. Present them on a beautiful platter or in decorative cupcake liners for an inviting display that’s sure to impress your guests!
Garnishes
- Crushed Nuts: Chopped peanuts or almonds add a crunchy texture that complements the creamy filling.
- Chocolate Drizzle: A quick drizzle of melted chocolate on top enhances the indulgence and provides an elegant presentation.
- Cocoa Powder Dusting: A light dusting of cocoa powder can give your Butterfinger Balls a sophisticated touch while balancing their sweetness.
Side Dishes
- Fresh Fruit Skewers: Light and refreshing, fruit skewers like strawberries and pineapple provide a contrasting flavor that pairs wonderfully with the rich sweetness of Butterfinger Balls.
- Cheese Platter: A selection of mild cheeses can offer a savory balance to the sweet treats, creating a well-rounded dessert table.
- Miniature Cookies: Serve alongside small cookies such as chocolate chip or oatmeal raisin for an added variety of textures and flavors.
- Coffee or Tea: A warm beverage like coffee or tea serves as the perfect complement to these sweet bites, enhancing their richness and providing a cozy experience.
Now that you’re armed with these serving suggestions and pro tips, you’re all set to enjoy and share your scrumptious Butterfinger Balls! Happy indulging!
Make Ahead and Storage
These Butterfinger Bliss Balls are not only delicious but also perfect for meal prep! Whip up a batch ahead of time, and you’ll have a delightful treat ready to enjoy whenever you need a sweet pick-me-up.
Storing Leftovers
- Store the Butterfinger Balls in an airtight container at room temperature for up to 3 days.
- For longer freshness, keep them in the refrigerator, where they can last up to a week.
- If you prefer them chilled, enjoy them straight from the fridge!
Freezing
- To freeze, place the Butterfinger Balls on a baking sheet lined with parchment paper and freeze until firm.
- Once frozen, transfer them to a freezer-safe bag or container, separating layers with parchment paper.
- They can be kept in the freezer for up to 3 months. Just thaw in the fridge overnight before enjoying!
Reheating
- These treats are best enjoyed cold or at room temperature; no reheating is necessary!
- If you like them slightly warm, you can microwave them for about 10-15 seconds. Just be cautious not to overheat.
FAQs
Got questions? We’ve got answers! Here are some common inquiries about Butterfinger Balls:
Can I make Butterfinger Balls without peanut butter?
Absolutely! You can substitute peanut butter with almond butter or sunflower seed butter for a nut-free option.
How do I store my Butterfinger Balls?
Store them in an airtight container at room temperature for 3 days or refrigerate them for up to a week for best results.
Can I use other types of candy instead of Butterfinger bars?
Yes! Feel free to experiment with different candy bars like Reese’s or Crunch bars, adjusting quantities as needed.
What are Butterfinger Balls made of?
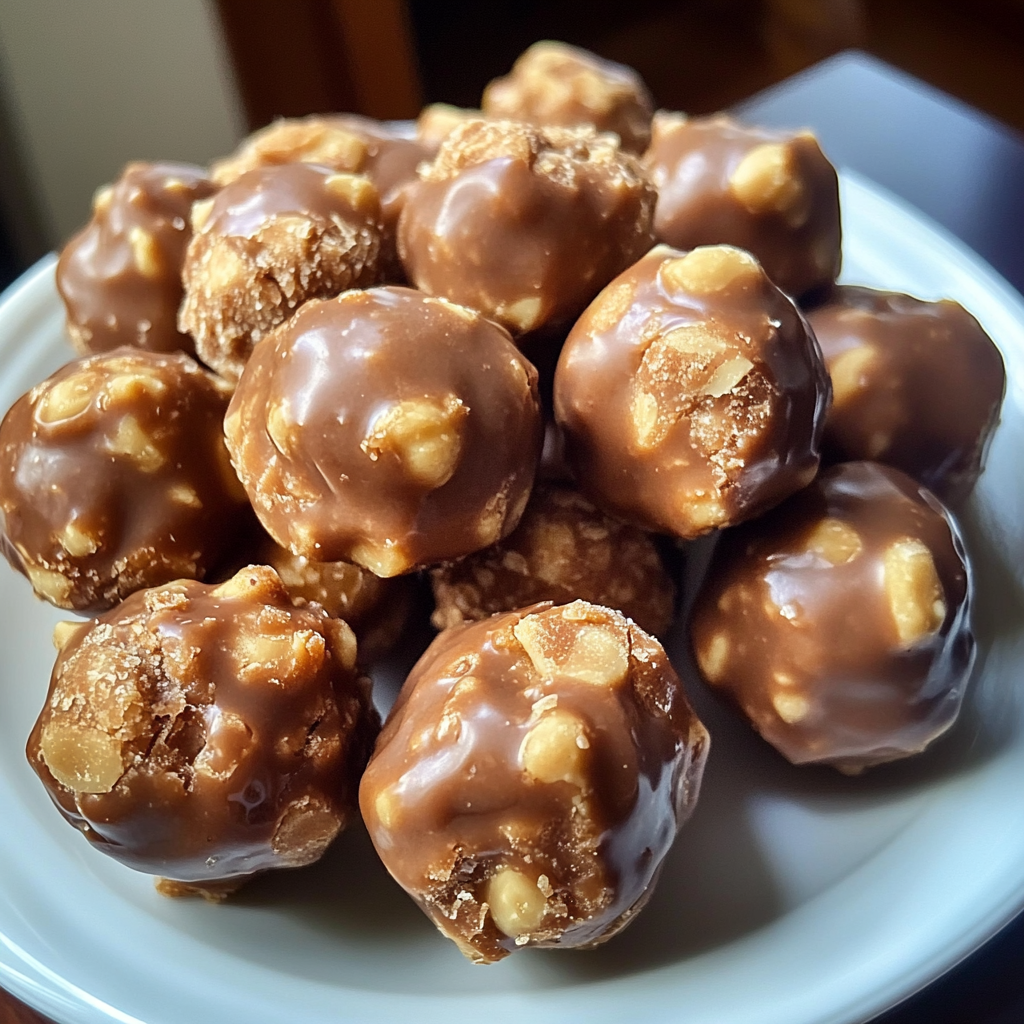
Butterfinger Balls consist of creamy peanut butter, crushed Butterfinger bars, graham cracker crumbs, and chocolate coating—pure bliss!
How many servings does this Butterfinger Balls recipe yield?
This recipe makes approximately 20 delightful Butterfinger Bliss Balls!
Final Thoughts
I hope you find joy in creating these delightful Butterfinger Bliss Balls! They are not only fun to make but also bring smiles to everyone who gets to enjoy them. Whether it’s for a special occasion or just because, these treats are bound to impress. Happy cooking and enjoy every bite!
Butterfinger Balls
If you’re in search of a delectable treat that will wow your family and friends, these Butterfinger Balls are the perfect choice! Combining creamy peanut butter with crunchy graham cracker crumbs and sweet Butterfinger bars, all enveloped in rich melted chocolate, these no-bake delights are sure to satisfy any sweet tooth. Easy to prepare and customizable, they make an ideal dessert for any occasion—be it a busy weeknight or a festive gathering. In just 15 minutes of prep time, you’ll have a batch ready to impress!
- Prep Time: 15 minutes
- Cook Time: None
- Total Time: 0 hours
- Yield: Approximately 20 servings 1x
- Category: Dessert
- Method: No-Bake
- Cuisine: American
Ingredients
- 4 tablespoons softened butter
- 1 teaspoon vanilla extract
- 1 cup peanut butter (non-natural)
- 1 cup powdered sugar
- ¾ cup graham cracker crumbs
- ½ cup crushed Butterfinger bars
- 8 ounces chocolate bark or chocolate chips
Instructions
- In a mixing bowl, blend softened butter and peanut butter until creamy.
- Mix in vanilla extract until combined.
- Gradually add powdered sugar while mixing at low speed; scrape down the bowl as needed.
- Fold in graham cracker crumbs and crushed Butterfinger bars until well combined.
- Roll mixture into balls (1 to 1½ tablespoons each) and place on a parchment-lined cookie sheet.
- Freeze for about 30 minutes until firm.
- Melt chocolate using a microwave-safe bowl; dip each chilled ball into the chocolate coating.
- Add optional toppings while still wet, then allow to cool completely.
Nutrition
- Serving Size: 1 ball (30g)
- Calories: 130
- Sugar: 8g
- Sodium: 90mg
- Fat: 7g
- Saturated Fat: 3g
- Unsaturated Fat: 3g
- Trans Fat: 0g
- Carbohydrates: 15g
- Fiber: 0g
- Protein: 2g
- Cholesterol: 10mg