Healthy Chocolate Peanut Butter No-Bake Oatmeal Cookies
There’s something profoundly delightful about creating a treat that feels indulgent yet is wholesome at its core. These Healthy Chocolate Peanut Butter No-Bake Oatmeal Cookies are a testament to that beautiful balance; they’re not just cookies, they’re little bundles of joy that can brighten any day. Imagine biting into one and experiencing the rich, fudgy chocolate mingling with the creamy essence of peanut butter, all while knowing they’re made from nourishing ingredients. It’s a symphony of flavors, textures, and emotions wrapped into one delicious bite! And the best part? You can whip them up in just 5 minutes, which makes them an ideal choice for those moments when you crave something sweet but want to keep it guilt-free. Trust me when I say, once you try these cookies, they’ll become a cherished staple in your kitchen repertoire.
Now, let’s get into the heart of these cookies — they are not only vegan but also gluten-free and free from any animal-derived gelatin or alcohol. It’s amazing how such simple ingredients can create something so rich and satisfying! Picture yourself on a cozy afternoon, perhaps with a warm cup of tea or coffee by your side, indulging in these delightful morsels. You’ll find that every bite is like a hug from an old friend — comforting and utterly satisfying. Whether you’re looking to impress guests or simply treat yourself (because let’s be honest, you deserve it), these cookies are sure to please everyone.
Healthy Chocolate Peanut Butter No-Bake Oatmeal Cookies: A Decadent Yet Wholesome Delight
Let’s dive right into this recipe that has quickly become one of my favorites. The beauty of these Healthy Chocolate Peanut Butter No-Bake Oatmeal Cookies lies in their simplicity and speed. You don’t need to wrestle with flour or worry about baking times; instead, it’s all about mixing together wholesome ingredients that come together to create magic. I promise you will fall in love with how easy they are to make!
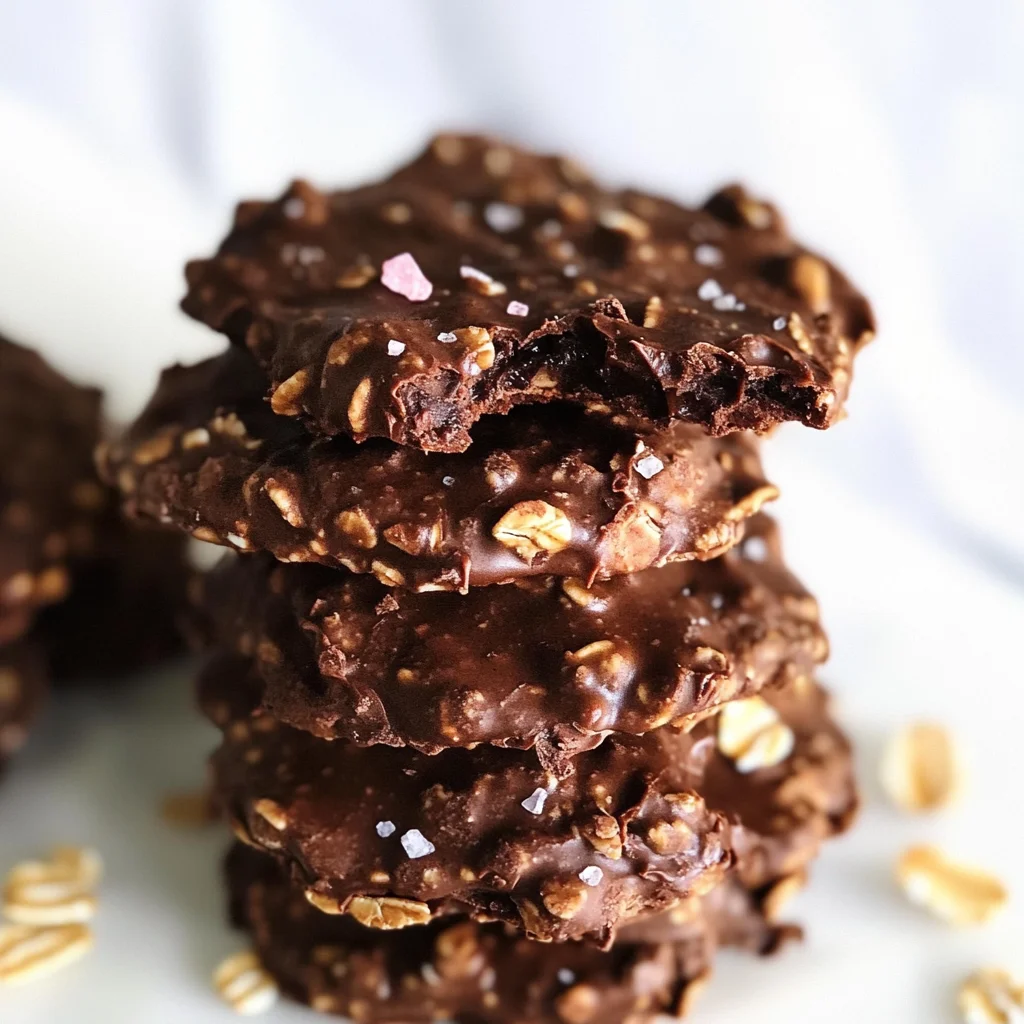
Ingredients:
As we embark on this culinary journey together, let’s take a moment to appreciate each ingredient that plays a vital role in crafting these delectable cookies.
- 1 cup rolled oats (gluten-free). Rolled oats are the backbone of our no-bake cookie recipe. They provide not just texture but also fiber and nutrients that help keep you feeling full longer. When selecting oats, make sure they’re labeled gluten-free if you have dietary concerns; indeed, the quality of oats matters here as it affects both flavor and texture. These oats soak up all the lovely moisture from the other ingredients while still retaining a pleasant chewiness that makes every bite enjoyable.
- 1/2 cup coconut oil. This golden liquid fat is absolutely paramount in achieving the luxurious mouthfeel we desire in our cookies. Coconut oil melts beautifully and binds everything together while imparting a subtle tropical flavor that complements the chocolate perfectly. When purchasing coconut oil, look for virgin or extra virgin varieties as they tend to have more flavor and nutrients compared to refined versions. If you’re sensitive to coconut flavor, feel free to substitute with another healthy fat like avocado oil.
- 1 teaspoon vanilla. Ahh, vanilla — it’s like the fairy dust of baking! Just a teaspoon elevates our cookie mixture by adding warmth and depth to the overall flavor profile. Opt for pure vanilla extract whenever possible; its rich complexity will shine through in your final product versus imitation vanilla which often lacks that genuine taste.
- 1/2 cup peanut butter powder. If you haven’t tried peanut butter powder yet, you’re in for a treat! This magical ingredient provides all the nutty goodness without the added oils found in traditional peanut butter. It mixes seamlessly into our cookie dough and gives us that creamy peanut flavor we crave while keeping things light and lower in calories too! Plus, if you don’t have peanut butter powder on hand, feel free to use natural almond or cashew butter — just remember it may alter the texture slightly.
- 1/4 cup cocoa powder. Not all cocoa powders are created equal! For this recipe, using high-quality unsweetened cocoa powder will make all the difference between good and extraordinary cookies. Cocoa powder adds rich chocolatey notes without overwhelming sweetness; it balances perfectly with our maple syrup for that ideal fudgy consistency we’re aiming for.
- 1/2 cup maple syrup. This liquid gold not only sweetens our cookies but also helps bind everything together thanks to its viscous nature. Maple syrup brings an earthy sweetness that’s far superior to refined sugars and pairs so beautifully with both chocolate and peanut flavors — it’s like magic in a bottle! When selecting maple syrup, opt for grade A dark syrup for a more robust flavor.
- Pink Himalayan salt (pinch). Although it seems small, don’t underestimate salt’s role here! Just a pinch enhances all the other flavors beautifully — it’s like giving each ingredient permission to sing its song fully! The minerals found in Himalayan salt also add unique health benefits over regular table salt while contributing subtle complexity to our dessert.
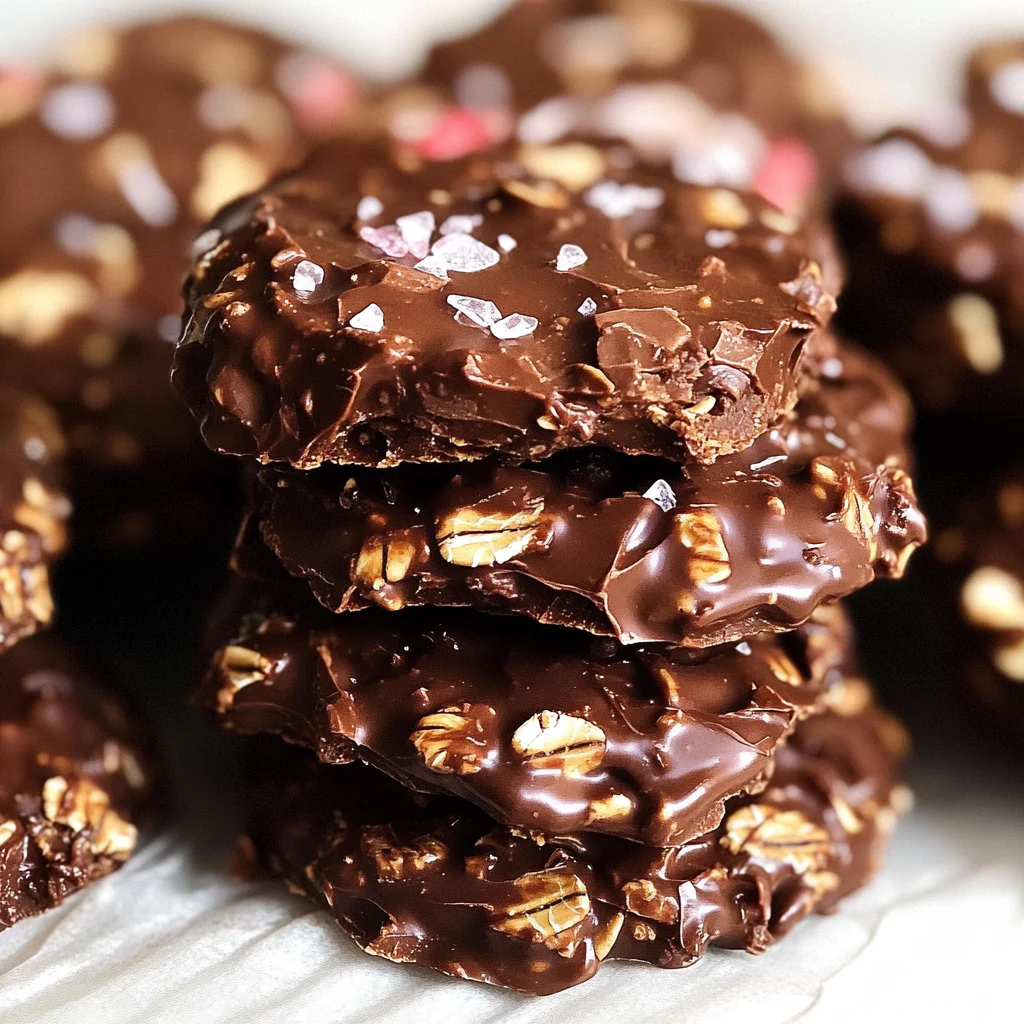
Equipment You’ll Need:
Now let’s take a moment to acknowledge some essential tools needed for our cookie-making adventure because having the right equipment makes everything smoother and more enjoyable!
- Baking sheet: A sturdy baking sheet is crucial as it serves as our canvas for shaping these delightful cookies! Make sure it’s large enough to hold all your scoops comfortably without overcrowding them; this allows air circulation around each cookie as they chill.
- Parchment paper or silicone baking mat: Either option is fantastic for lining your baking sheet because it prevents sticking and ensures easy lifting when it’s time to enjoy those sweet bites! If you’re using parchment paper, make sure it’s cut large enough to cover your entire sheet for maximum ease.
- Mixing bowls: You’ll need at least two medium-sized bowls — one for melting your coconut oil and mixing wet ingredients together before introducing those hearty rolled oats into the mix! Glass bowls are my favorite as they allow you conveniently see everything happening inside them.
- Whisk: A good whisk will be your best friend throughout this process as it helps thoroughly combine ingredients until smooth without leaving lumps behind — trust me; nobody wants clumpy cookie dough!
- Spoon or cookie scoop: For portioning out those lovely mounds onto your prepared baking sheet easily! A tablespoon measuring spoon works wonderfully if you don’t have an actual cookie scoop on hand; just aim for roughly equal sizes so they’ll chill evenly.
With our ingredients gathered and tools ready at hand let’s jump right into making these scrumptious cookies!
Step 1: Prepare Your Canvas
First things first—let’s set ourselves up for success by preparing our baking sheet properly! Lay down either parchment paper or silicone mats on your sheet ensuring there’s enough room between them once we start scooping out portions later on—this step may seem simple but trust me when I say it lays down groundwork crucial during chilling time allowing air circulation around each cookie to firm up nicely as they cool down!
Step 2: Melt That Coconut Oil
Now comes one of my favorite parts—melting coconut oil until it’s glorious liquid gold! You can do this either in short bursts (about 20 seconds) in the microwave or gently over low heat on the stove-top until melted completely; just be careful not to overheat because we want it warm but not bubbling away — this temperature allows us easy incorporation with other dry elements later on without cooking anything prematurely!
Once melted, pour your coconut oil into one of those mixing bowls we’ve prepared earlier then add peanut butter powder followed by cocoa powder along with vanilla extract—this combination creates what I like calling the magical mixture because together they’ll form luscious chocolatey goodness waiting patiently for oats next!
Step 3: Whisk Until Smooth
Grab your trusty whisk again now because it’s time do what we do best—mixing! Start whisking everything together until smoothness reigns supreme within your bowl; you’ll notice how beautifully fragrant twirls fill up space around you—ohhh yes please! After reaching perfect harmony between these components (which should take no more than couple minutes), gently add in maple syrup slowly pouring while continuing whisking diligently ensuring every single drop gets lovingly incorporated fully into mixture before moving forward.
Step 4: Fold In Those Hearty Rolled Oats
Here comes where things really start coming alive—the addition of rolled oats takes center stage now bringing balance alongside texture excitement into play—folding rather than stirring preserves aeration allowing lightness retain throughout batter itself while ensuring even distribution amongst flavors present earlier within bowl too carefully handling each oat flake until well coated entirely through mixture is absolutely key here….
Stay tuned as we’ll continue crafting this delightful treat step-by-step because soon enough you’ll have perfectly formed delights ready for chilling bliss ahead!
Step 5: Forming Your Cookies with Care
Now that you have this beautiful, glossy mixture of fudgy goodness, it’s time to turn it into cookies! Use a tablespoon or a small cookie scoop—something that allows you to portion out about 1 tablespoon of the mixture with ease. This part is especially fun; I always find it brings out my inner child, imagining how these little mounds will transform into delightful bites of joy. As you scoop the mixture, you’ll notice its thick and sticky texture, which is exactly what we want! This thickness is crucial because it ensures that your cookies hold their shape while chilling.
Place each mound onto your prepared baking sheet, leaving about an inch of space in between each cookie. This spacing is important; it allows air to circulate around them as they cool down, helping them set properly and preventing them from merging into one another. If you’re feeling particularly fancy (and who doesn’t love a little flair?), you can press the tops of the cookies gently with the back of a fork or your fingers to create a lovely little indentation or design. Trust me on this—these small touches can elevate the visual appeal and make your cookies even more inviting!
Step 6: The Art of Patience – Chilling Time
Once you’ve formed all your delightful little cookie mounds on the baking sheet, it’s time for a little patience—yes, I know we all want to dig right in! But this chilling phase is absolutely paramount for achieving that perfect chewy yet fudgy texture we adore. Pop the baking sheet into the refrigerator for about 30 minutes; however, if you have extra time to spare (which I highly encourage), letting them chill for an hour will only improve their firmness and flavor.
Why chill? Well, cooling allows the coconut oil to solidify again after being melted, creating a firm structure that holds each cookie together beautifully. When chilled properly, these no-bake treats will be easier to handle and will deliver that satisfying bite you’re after. Keep an eye on them as they chill; you’ll notice them becoming firmer to the touch as they set. It’s such an exciting transformation! And remember, don’t rush this step—good things come to those who wait!
Step 7: The Sweet Reveal – Enjoying Your Cookies
After patiently waiting through the chilling process, it’s finally time for the grand unveiling! Gently remove your baking sheet from the refrigerator and admire those perfectly formed Healthy Chocolate Peanut Butter No-Bake Oatmeal Cookies. They should feel firm but not rock-hard; a gentle press should leave a slight indentation without crumbling apart. Now comes one of my favorite parts—the taste test!
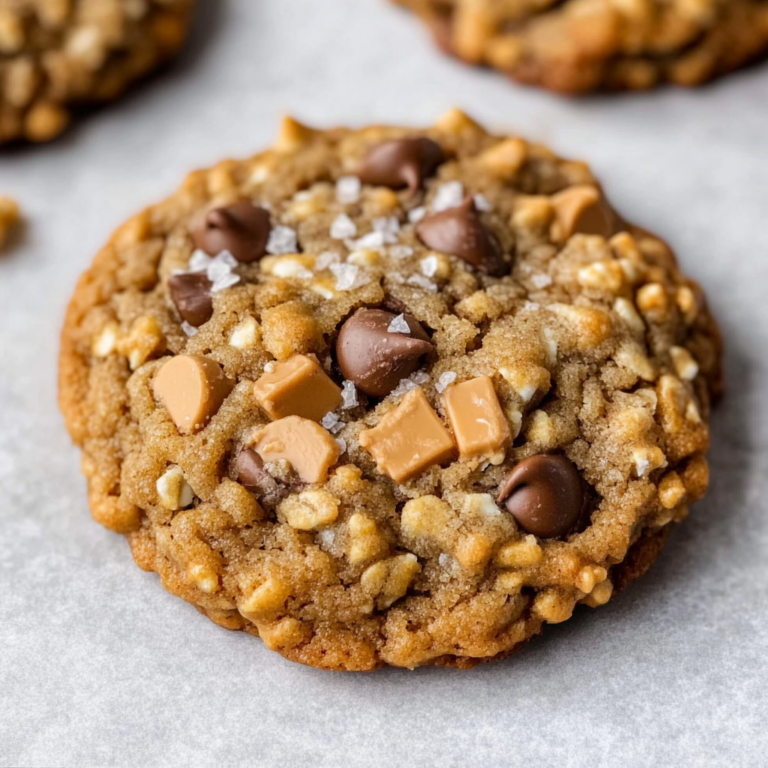
Using a spatula (or just your fingers if you’re feeling adventurous), carefully lift one cookie off the sheet. Take a moment to appreciate its appearance—the rich chocolatey hue paired with flecks of rolled oats creates such an inviting treat. As you take that first bite, allow yourself to experience the wonderful symphony of flavors—the creamy peanut butter mingling beautifully with chocolate and just a hint of sweetness from the maple syrup—it’s utterly intoxicating! I promise you; once you take that first bite, you’ll be hooked!
Step 8: Storing Your Culinary Creations
Now that you’ve indulged in some well-deserved treats, let’s talk about storing any leftover cookies (if there are any!). These delightful morsels can be stored in an airtight container in your refrigerator for up to a week—although they’ll likely vanish much sooner than that! It’s important to keep them cold since their structure relies on the solidified coconut oil; room temperature will lead them to soften too much.
When storing these cookies, layer parchment paper between rows if you’re stacking them up in a container; this will prevent them from sticking together and losing their lovely shapes. You might also consider freezing some for later enjoyment—especially if you’ve made a double batch (which I wholeheartedly encourage!). Simply place them in a freezer-safe container lined with parchment paper and freeze for up to three months. When you’re ready for another delicious treat, just pull out what you need and let them thaw at room temperature or pop them in the fridge overnight.
Conclusion:
Embarking on the journey of making these Healthy Chocolate Peanut Butter No-Bake Oatmeal Cookies has been nothing short of joyous! Each step—from melting that coconut oil to mixing in the oats—has been infused with love and anticipation. What truly makes this recipe special is how simple yet satisfying it is; the silky chocolate combined with creamy peanut butter powder creates an utterly intoxicating blend that dances on your palate while still being wholesome enough to feel good about indulging in. It’s like treating yourself without compromise!
This recipe is undoubtedly a must-try—not just because of its mouthwatering taste but also due to the sheer joy it brings while preparing it! Whether you’re whipping them up for a cozy evening at home or bringing them along to share at gatherings, they’re sure to be a hit! Picture yourself pulling these beauties from the fridge, each cookie glistening ever so slightly—a testament to their rich ingredients—and savoring one right away with friends gathered around sharing stories and laughter.
Imagine savoring one alongside a steaming cup of herbal tea for an afternoon pick-me-up or perhaps enjoying one after dinner with a scoop of dairy-free ice cream as dessert—it really elevates the experience! And if you’re feeling adventurous, think about pairing these cookies with banana slices drizzled in nut butter for an even more wholesome treat. For those who love variety, feel free to swap out ingredients; maybe add some shredded coconut for texture or throw in some dark chocolate chips if you’re feeling extra indulgent. This recipe is wonderfully adaptable and lends itself beautifully to experimentation—so go ahead and make it your own!
I invite you wholeheartedly to dive into this culinary adventure and create memories steeped in deliciousness! Share your experiences and variations with me—I’d love nothing more than hearing how you’ve made this recipe uniquely yours. Happy baking (or rather, no-baking), my friend!
Healthy Chocolate Peanut Butter No-Bake Oatmeal Cookies
Indulge in the delightful world of Healthy Chocolate Peanut Butter No-Bake Oatmeal Cookies, where rich flavors meet wholesome ingredients. These cookies are a perfect balance of fudgy chocolate and creamy peanut butter, all while being quick and easy to prepare. Made without any baking, they come together in just 5 minutes, making them an ideal treat for busy days or spontaneous cravings. Each bite offers a satisfying texture that feels indulgent yet guilt-free. Plus, they’re vegan, gluten-free, and free from animal-derived gelatin or alcohol. Enjoy these cookies as a nourishing snack or dessert that the whole family will love!
- Prep Time: 5 minutes
- Cook Time: 0 minutes
- Total Time: 5 minutes
- Yield: Approximately 12 cookies 1x
- Category: Dessert
- Method: No-Bake
- Cuisine: Vegan
Ingredients
- 1 cup rolled oats (gluten-free)
- 1/2 cup coconut oil
- 1 teaspoon vanilla extract
- 1/2 cup peanut butter powder
- 1/4 cup cocoa powder
- 1/2 cup maple syrup
- Pink Himalayan salt (pinch)
Instructions
- Line a baking sheet with parchment paper.
- Melt coconut oil in a bowl, then mix in peanut butter powder, cocoa powder, and vanilla extract until smooth.
- Gradually whisk in maple syrup until fully combined.
- Fold in rolled oats until evenly coated.
- Scoop tablespoon-sized amounts onto the prepared baking sheet, spacing them apart.
- Refrigerate for 30-60 minutes to set before enjoying.
Nutrition
- Serving Size: 1 cookie (30g)
- Calories: 135
- Sugar: 7g
- Sodium: 10mg
- Fat: 7g
- Saturated Fat: 5g
- Unsaturated Fat: 2g
- Trans Fat: 0g
- Carbohydrates: 17g
- Fiber: 2g
- Protein: 3g
- Cholesterol: 0mg