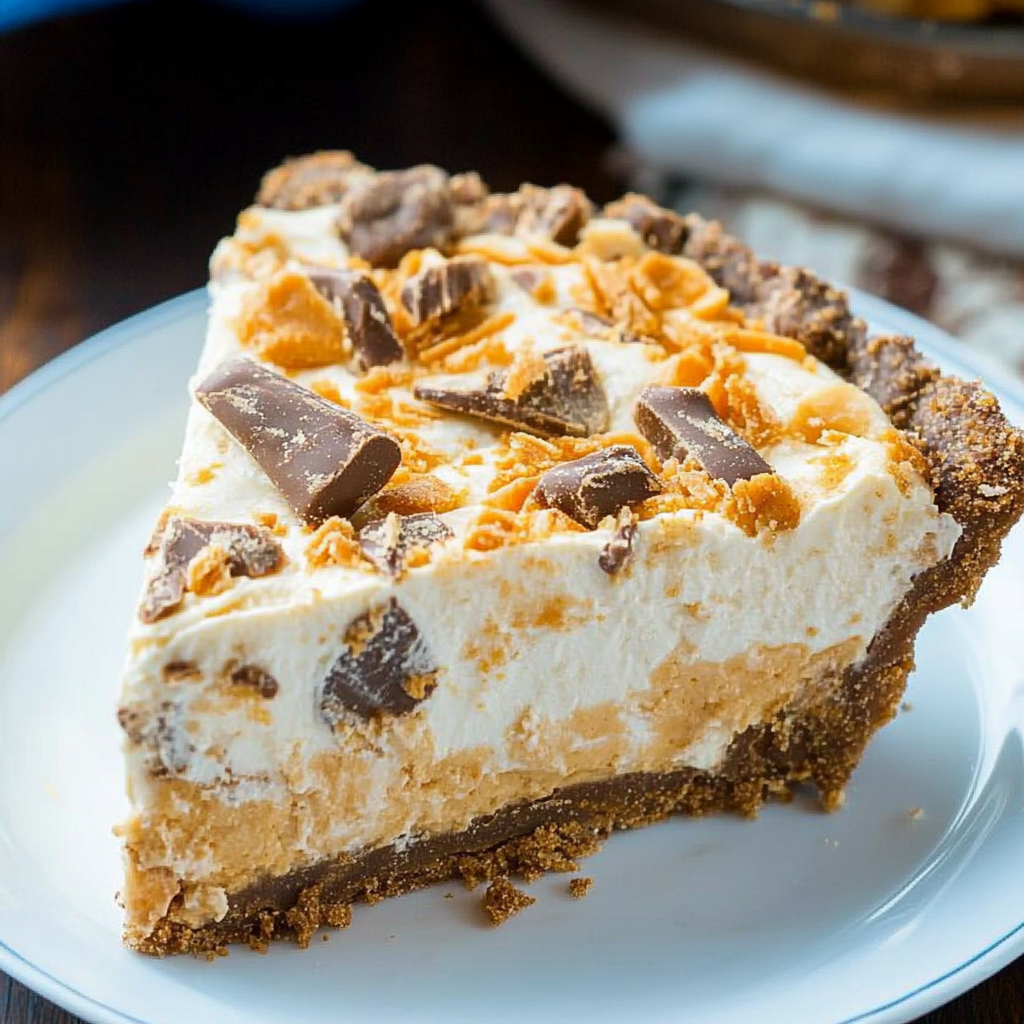
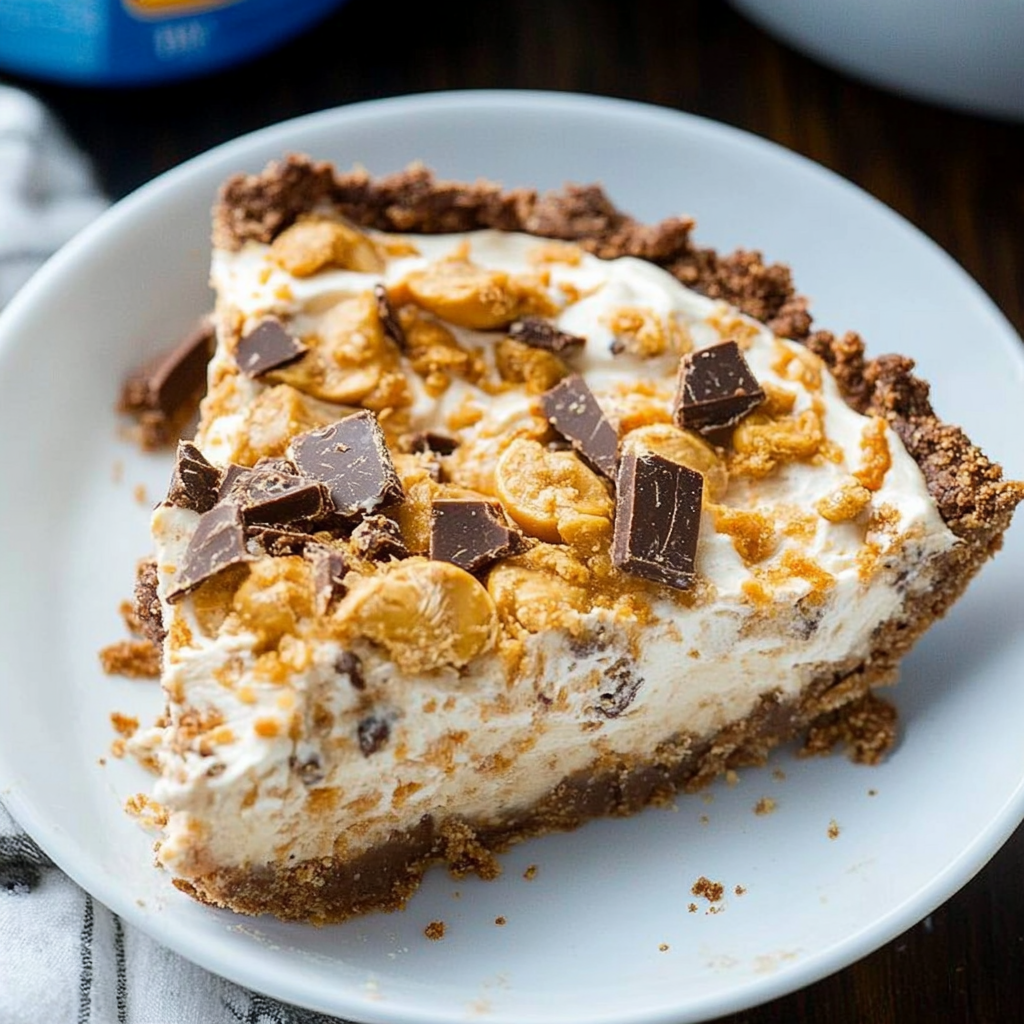
Butterfinger Pie
If you’re looking for a dessert that’s as delightful to eat as it is easy to make, then this Butterfinger Pie is just the ticket! This cool and creamy treat has been a favorite in my family for years. Its no-bake nature makes it a go-to recipe for busy weeknights or impromptu gatherings. Whether you’re celebrating a special occasion or simply satisfying a sweet tooth, this pie brings smiles all around.
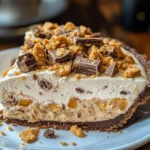
What makes this Butterfinger Pie so special? It combines the rich flavors of peanut butter and cream cheese with the crunch of crushed Butterfinger bars, creating a dessert that is both indulgent and fun. Trust me—once you serve this at your next family gathering, it will quickly become everyone’s favorite!
Why You’ll Love This Recipe
- Super easy to prepare: With just 15 minutes of prep time, you can whip up this delicious pie without any fuss.
- Kid-friendly appeal: Kids love the combination of peanut butter and chocolate, making it a hit at parties!
- Perfect for make-ahead: Just pop it in the fridge for a few hours, and it’s ready when you are.
- No baking required: It’s a great option for hot days when you don’t want to turn on the oven.
- Decadently delicious: The blend of flavors ensures each bite is creamy, crunchy, and oh-so-satisfying.
Ingredients You’ll Need
Let’s talk about these simple, wholesome ingredients that come together beautifully in this Butterfinger Pie. You probably have most of them on hand already!
For the Filling
- 1 (8-ounce) package cream cheese (room temperature)
- 1/2 cup creamy peanut butter
- 2 teaspoons vanilla extract
- 1 1/2 cups powdered sugar
- 1 (12.5-ounce) bag fun-sized butterfinger bars (crushed; reserve 2 bars to sprinkle on top)
- 1 (8-ounce) container Cool Whip (thawed)
For the Crust
- 1 store-bought oreo or chocolate graham cracker crust
Variations
One of the best things about this Butterfinger Pie is how flexible it is! Feel free to get creative with these fun variations:
- Try different candy bars: Swap out Butterfingers for your favorite candy like Snickers or Reese’s for a new twist.
- Add some crunch: Mix in chopped nuts such as peanuts or almonds for added texture.
- Go dairy-free: Use dairy-free cream cheese and whipped topping for a delicious alternative.
- Make it chocolatey: Drizzle some chocolate sauce over the top before serving for an extra layer of sweetness.
How to Make Butterfinger Pie
Step 1: Prepare the Filling
Start by placing your room-temperature cream cheese and peanut butter into a large mixing bowl. Add in the vanilla extract. Using an electric mixer, beat everything together until it’s smooth and creamy. This step is crucial because it ensures there are no lumps in your filling—smoothness is key in achieving that dreamy texture!
Step 2: Sweeten Things Up
Next, beat in the powdered sugar gradually until everything blends smoothly. This will give your pie that sweet flavor we all love while balancing out the richness of the cream cheese and peanut butter. Make sure not to rush through this step; we want all those ingredients well combined!
Step 3: Add Some Crunch
Now it’s time to fold in those crushed Butterfinger bars! Gently mix them into your creamy filling. This adds delightful little pockets of crunch throughout your pie. Plus, who doesn’t want more candy?
Step 4: Fold in Cool Whip
Carefully fold in the thawed Cool Whip until fully incorporated. This will add lightness to your filling, making it airy and perfect for pie! Be gentle during this step; we want to keep all that wonderful fluffiness intact.
Step 5: Assemble Your Pie
Spread the filling evenly into your pre-made crust. It’s okay if it’s not perfect—imperfections add character! Top it off with the reserved crushed Butterfingers for that extra touch of crunch.
Step 6: Chill Before Serving
Finally, cover your pie and refrigerate it for at least four hours before serving. This waiting period allows all those flavors to meld beautifully together and lets the filling set up just right. Patience pays off here!
And there you have it—a luscious Butterfinger Pie that’s sure to impress! Enjoy every creamy bite!
Pro Tips for Making Butterfinger Pie
Making Butterfinger Pie is a breeze, but with these pro tips, you can elevate your dessert game even further!
- Use room temperature cream cheese: This helps achieve a smooth and creamy filling without any lumps, making your pie ultra-silky.
- Crush the Butterfingers evenly: For an even distribution of flavor and texture in every slice, use a food processor or place them in a zip-top bag and crush them with a rolling pin.
- Let it chill long enough: Although 4 hours is the minimum, letting the pie sit overnight allows the flavors to meld beautifully and results in a firmer texture.
- Experiment with crust options: While an Oreo or chocolate graham cracker crust is classic, try using a peanut butter cookie crust for an extra layer of flavor that complements the pie perfectly.
- Serve cold for the best experience: The cold temperature enhances the creamy texture and makes it refreshing, especially on warm days!
How to Serve Butterfinger Pie
Presenting your Butterfinger Pie in an inviting way can make all the difference. Here are some ideas to serve it up beautifully!
Garnishes
- Whipped Cream: A dollop of whipped cream adds an airy touch that balances the richness of the pie.
- Chocolate Sauce: Drizzling some chocolate sauce over each slice not only enhances the visual appeal but also adds a delicious chocolatey flavor.
- Chopped Peanuts: Sprinkling chopped peanuts on top introduces a delightful crunch that contrasts beautifully with the creamy filling.
Side Dishes
- Fresh Fruit Salad: A light fruit salad made with seasonal fruits offers a refreshing contrast to the rich pie and is perfect for cleansing the palate.
- Vanilla Ice Cream: Pairing this dessert with a scoop of vanilla ice cream creates a classic combination that elevates your dessert experience.
- Chocolate Mousse: For true chocolate lovers, serving chocolate mousse alongside provides an indulgent treat that complements the flavors of Butterfinger Pie.
- Coffee or Herbal Tea: Offering a warm beverage like coffee or herbal tea can help balance out the sweetness of the pie and provide a comforting finish to your meal.
Now you’re ready to impress your friends and family with this delectable Butterfinger Pie! Enjoy every bite!
Make Ahead and Storage
This Butterfinger Pie is not only a delightful treat but also perfect for meal prep! You can make it ahead of time, allowing the flavors to meld beautifully while saving you time on the day you plan to serve it.
Storing Leftovers
- Place any leftover pie in an airtight container.
- Store in the refrigerator for up to 3 days.
- If using a pie dish, cover it tightly with plastic wrap or aluminum foil.
Freezing
- To freeze, slice the pie into individual servings and wrap each slice in plastic wrap.
- Place wrapped slices in a freezer-safe bag or container.
- Freeze for up to 2 months. Thaw in the refrigerator before serving.
Reheating
- This dessert is best served chilled and doesn’t require reheating.
- If desired, allow frozen slices to sit at room temperature for about 15 minutes before enjoying.
FAQs
Here are some common questions you might have about this delicious Butterfinger Pie.
Can I use different candy bars in Butterfinger Pie?
Absolutely! While Butterfinger bars give this pie its signature flavor, feel free to experiment with your favorite chocolate or nutty candies for a unique twist.
How do I know if my Butterfinger Pie has set properly?
Your Butterfinger Pie should be firm but creamy after chilling for at least 4 hours. A good test is to gently shake the pie; if it jiggles slightly without being liquidy, it’s ready!
Is Butterfinger Pie suitable for special diets?
This recipe is made without pork or alcohol and uses non-animal derived ingredients. However, always check specific dietary needs and adjust accordingly!
What can I serve with Butterfinger Pie?
This pie pairs well with a dollop of extra Cool Whip or a scoop of vanilla ice cream. Fresh berries also make a lovely contrast!
Final Thoughts
I hope you feel inspired to whip up this luscious Butterfinger Pie! It’s such a fun and easy dessert that brings joy to gatherings or simply makes any day feel special. As you dive into making your own version, I can guarantee you’ll enjoy every creamy, crunchy bite. Happy baking, and I can’t wait for you to share your thoughts on this delightful treat!
Butterfinger Pie
Indulge in the delightful experience of making this creamy Butterfinger Pie, a no-bake dessert that combines the rich flavors of peanut butter and cream cheese with the irresistible crunch of crushed candy bars. This easy-to-make treat is perfect for busy weeknights or impromptu gatherings, ensuring smiles all around. With just a few simple ingredients and minimal prep time, you can create a dessert that’s not only delicious but also visually appealing. Chill it in the fridge, and you’ll have a cool, refreshing delight ready to impress your family and friends. Whether you’re celebrating a special occasion or simply satisfying your sweet tooth, this Butterfinger Pie is destined to become a favorite!
- Prep Time: 15 minutes
- Cook Time: None
- Total Time: 0 hours
- Yield: Serves 8
- Category: Dessert
- Method: No-Bake
- Cuisine: American
Ingredients
- 1 (8-ounce) package cream cheese (room temperature)
- 1/2 cup creamy peanut butter
- 2 teaspoons vanilla extract
- 1 1/2 cups powdered sugar
- 1 (12.5-ounce) bag fun-sized Butterfinger bars (crushed; reserve 2 bars for topping)
- 1 (8-ounce) container Cool Whip (thawed)
- 1 store-bought chocolate graham cracker crust
Instructions
- In a large mixing bowl, beat the room-temperature cream cheese and peanut butter with an electric mixer until smooth.
- Gradually add powdered sugar and mix until fully incorporated.
- Fold in the crushed Butterfinger bars gently until evenly distributed.
- Carefully fold in the thawed Cool Whip to maintain fluffiness.
- Spread the mixture into the chocolate graham cracker crust, topping with reserved crushed Butterfingers.
- Refrigerate for at least four hours before serving.
Nutrition
- Serving Size: 1 slice (approximately 100g)
- Calories: 350
- Sugar: 30g
- Sodium: 250mg
- Fat: 22g
- Saturated Fat: 9g
- Unsaturated Fat: 11g
- Trans Fat: 0g
- Carbohydrates: 36g
- Fiber: 1g
- Protein: 4g
- Cholesterol: 30mg