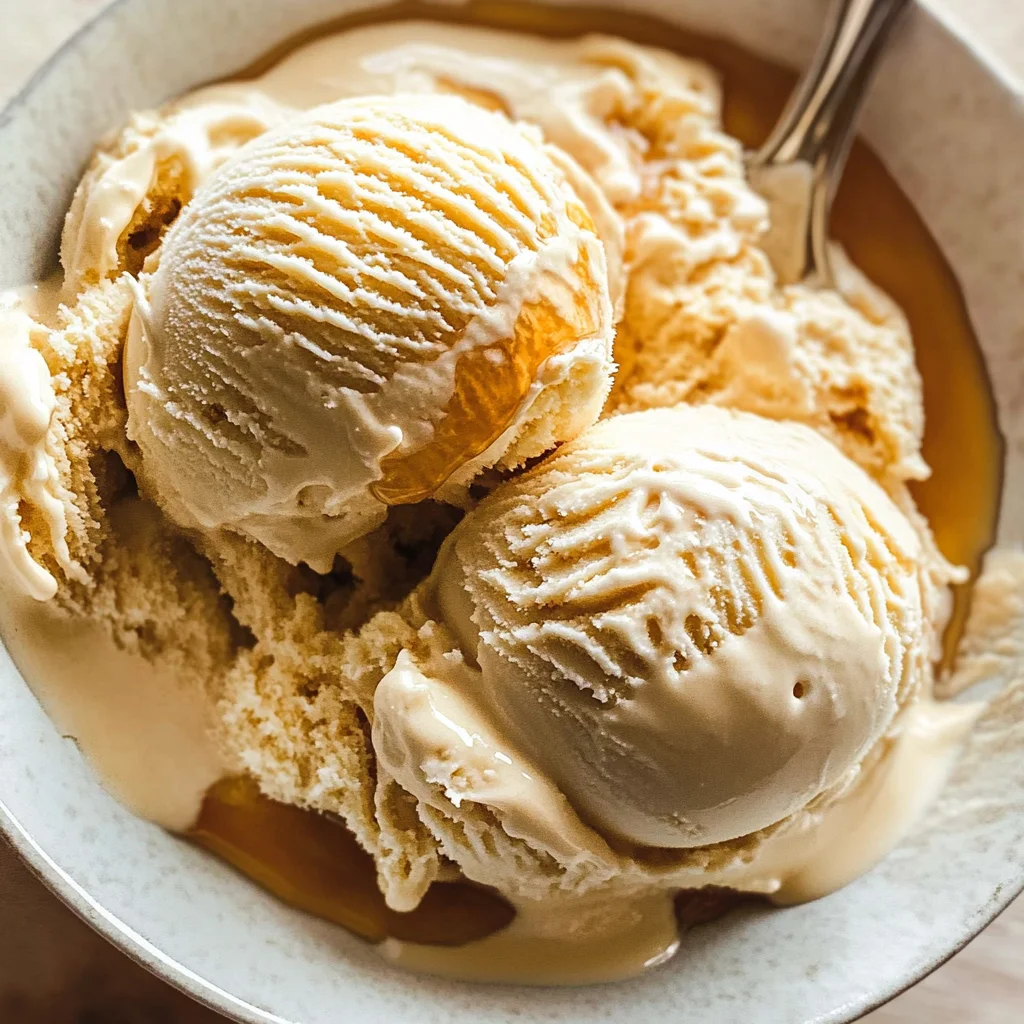
Homemade Maple Ice Cream
If you’re looking for a delightful treat that will make your taste buds dance, then this Homemade Maple Ice Cream is just what you need! This recipe has been a cherished favorite in my family for years. It’s creamy, smooth, and has just the right touch of maple flavor. The best part? It pairs beautifully with desserts like apple crisp or can be enjoyed all on its own. Whether you’re hosting a family gathering or simply treating yourself on a busy weeknight, this ice cream is sure to bring smiles all around.
There’s something special about making ice cream from scratch. Watching it come together brings back memories of summer afternoons spent in the kitchen with loved ones. Plus, the simplicity of this recipe means you can whip it up without stress. Let’s get started!
Why You’ll Love This Recipe
- Easy to make: This recipe comes together quickly, with just a few simple steps.
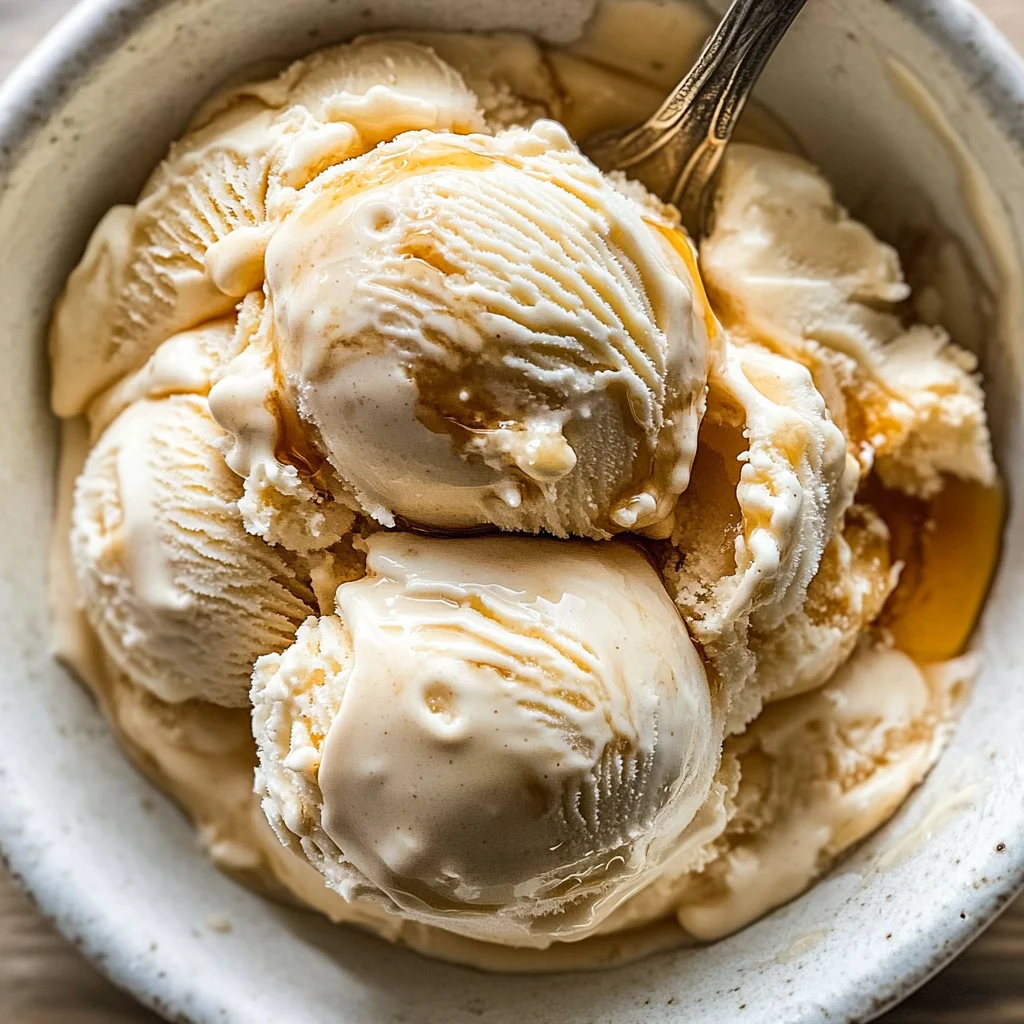
- Creamy and delicious: The combination of half and half and heavy cream creates an ultra-smooth texture.
- Family favorite: Everyone will love the light maple flavor—perfect for kids and adults alike!
- Perfect for any occasion: Whether it’s a party or a quiet night at home, this ice cream fits right in.
Ingredients You’ll Need
Making Homemade Maple Ice Cream is so simple thanks to these wholesome ingredients. You might already have most of them in your pantry! Here’s what you’ll need:
For the Custard Base
- 6 egg yolks
- 3/4 cup maple syrup (Grade B, see notes)
- 1 tsp arrowroot (tapioca starch or cornstarch)
- 1/4 tsp sea salt
- 1 1/2 cups half and half
- 1 1/2 cups heavy cream
- 1 tsp vanilla extract
Variations
One of the best things about this Homemade Maple Ice Cream recipe is its flexibility! Here are some fun ways to mix it up:
- Add some crunch: Stir in chopped nuts like pecans or walnuts for added texture.
- Mix in fruit: Fold in fresh blueberries or strawberries before freezing for a fruity twist.
- Infuse with spices: Add a pinch of cinnamon or nutmeg to the custard base for a warm flavor boost.
- Swirl in chocolate: Drizzle some melted dark chocolate into the ice cream during the last few minutes of churning.
How to Make Homemade Maple Ice Cream
Step 1: Whisk Together Ingredients
Start by whisking together the egg yolks, maple syrup, arrowroot, and sea salt until everything is fully combined. This step is important because it ensures that your flavors meld beautifully from the start.
Step 2: Cook the Mixture
Next, slowly whisk in the half and half into your egg mixture. Place it over medium-high heat and stir constantly until it begins to thicken but doesn’t boil. This gentle cooking process helps create that rich custard base we all love!
Step 3: Add Cream and Vanilla
Once thickened, remove the pan from heat immediately and whisk in the heavy cream and vanilla extract. This adds lusciousness to your ice cream while enhancing its flavor.
Step 4: Chill Time
Pour your custard through a strainer into another bowl to catch any stray bits. Now it’s time to chill! Cover and refrigerate for at least four hours. Chilling allows the flavors to develop fully.
Step 5: Freeze Your Ice Cream
Now comes the fun part! Freeze your chilled mixture according to your ice cream machine’s instructions. It’s ready when it stands up on a spoon—how exciting!
Step 6: Final Freeze
Once done, transfer your homemade maple ice cream to an airtight container and place it in the freezer for another 4-6 hours until fully set. Patience pays off here; this final freeze gives you that perfect scoopable texture!
Now that you know how easy it is to make Homemade Maple Ice Cream, I hope you give this recipe a try! Enjoy every creamy bite!
Pro Tips for Making Homemade Maple Ice Cream
Making your own ice cream can be a delightful experience, and these tips will help you achieve the best results possible!
- Use Grade B Maple Syrup: This type of syrup has a deeper, richer flavor that will enhance the taste of your ice cream, making it more robust and enjoyable.
- Don’t Skip the Strain: Straining the mixture before chilling removes any lumps or bits of cooked egg, ensuring a silky-smooth texture that’s essential for creamy ice cream.
- Chill Thoroughly: Allowing the custard to chill in the refrigerator for at least 4 hours (or overnight) helps to develop flavors and ensures that your ice cream churns properly in the machine.
- Monitor Freezing Time: Keep an eye on your ice cream as it freezes in the machine; over-churning can result in a grainy texture. Stop when it’s thick enough to hold its shape on a spoon.
- Store Properly: For the best texture, store your finished ice cream in an airtight container and press parchment paper against the surface before sealing. This prevents ice crystals from forming.
How to Serve Homemade Maple Ice Cream
Homemade Maple Ice Cream is not just delicious on its own; it can also be presented beautifully. Here are some fun ideas to make your dessert even more appealing!
Garnishes
- Chopped Nuts: A sprinkle of toasted pecans or walnuts adds a delightful crunch and complements the maple flavor perfectly.
- Fresh Berries: Raspberries or blueberries bring a burst of color and tartness that balances the sweetness of the ice cream.
- Whipped Coconut Cream: For a dairy-free option, add a dollop of whipped coconut cream for extra richness and flavor.
Side Dishes
- Apple Crisp: The warm, cinnamon-spiced apples paired with creamy maple ice cream create a comforting dessert duo that’s hard to resist!
- Chocolate Chip Cookies: Freshly baked cookies provide a sweet, chewy contrast to the smooth texture of maple ice cream — perfect for an indulgent treat.
- Pecan Pie Bars: These bars have a buttery crust and rich filling that pairs wonderfully with cold ice cream, making each bite an explosion of flavors.
- Grilled Peaches: Lightly grilled peaches served warm bring out their natural sweetness, making them an excellent companion for a scoop of cold maple goodness.
With these serving suggestions and pro tips, your Homemade Maple Ice Cream will not only taste fantastic but will also impress your friends and family! Enjoy every creamy bite!
Make Ahead and Storage
This Homemade Maple Ice Cream is not only a delightful treat but also perfect for meal prep! You can easily make it ahead of time and store it to enjoy later, making it an excellent choice for gatherings or simply to have on hand for those sweet cravings.
Storing Leftovers
- If you have any leftover ice cream, transfer it to an airtight container.
- Seal the container tightly to prevent ice crystals from forming.
- Store in the freezer where it will keep its delicious flavor for up to two weeks.
Freezing
- After churning your ice cream in the machine, scoop it into a container.
- Press a piece of parchment paper directly onto the surface of the ice cream before sealing with a lid.
- Freeze for 4-6 hours or until firm.
Reheating
- To soften the ice cream for easier scooping, let it sit at room temperature for about 10 minutes.
- Alternatively, you can microwave individual scoops for 10-15 seconds on low power if you’re really in a hurry!
FAQs
Here are some common questions about this delightful recipe:
Can I use different types of syrup instead of maple syrup in Homemade Maple Ice Cream?
While maple syrup is the star ingredient in this recipe, you can experiment with other syrups like agave or honey. Just keep in mind that these alternatives will change the flavor profile.
What makes this Homemade Maple Ice Cream so creamy?
The combination of heavy cream and half-and-half creates a rich base that contributes to its smooth texture. The egg yolks also add creaminess by emulsifying the mixture.
How long does Homemade Maple Ice Cream last?
When stored properly in an airtight container, your Homemade Maple Ice Cream should stay fresh for about two weeks in the freezer.
Is there a dairy-free version of Homemade Maple Ice Cream?
You can make a dairy-free version using coconut milk or almond milk as a substitute for half-and-half and heavy cream. Adjust the sweetness according to your preference!
Final Thoughts
I hope you enjoy making and sharing this Homemade Maple Ice Cream as much as I do! Its creamy texture and subtle maple flavor make it a special treat that pairs wonderfully with many desserts. Whether you’re serving it at a gathering or savoring it all by yourself, it’s bound to bring warmth and joy. Happy ice cream making!
Homemade Maple Ice Cream

Indulge in the delightful experience of making your own Homemade Maple Ice Cream, a creamy and luscious treat that’s sure to impress! This easy recipe brings together the rich flavor of maple syrup with a smooth custard base, creating an irresistible dessert that can be enjoyed on its own or paired with your favorite treats like apple crisp or chocolate chip cookies. Perfect for family gatherings or a cozy night in, this homemade ice cream is a sweet escape that everyone will love. With minimal ingredients and simple steps, you’ll find it’s easier than you think to create something extraordinary right in your kitchen!
- Prep Time: 15 minutes
- Cook Time: 15 minutes
- Total Time: 30 minutes
- Yield: Approximately 6 servings 1x
- Category: Dessert
- Method: Baking
- Cuisine: American
Ingredients
- 6 egg yolks
- 3/4 cup grade B maple syrup
- 1 tsp arrowroot (or cornstarch)
- 1/4 tsp sea salt
- 1 1/2 cups half and half
- 1 1/2 cups heavy cream
- 1 tsp vanilla extract
Instructions
- Whisk together egg yolks, maple syrup, arrowroot, and sea salt until combined.
- Slowly add half and half to the mixture and cook over medium-high heat, stirring constantly until thickened (do not boil).
- Remove from heat; whisk in heavy cream and vanilla extract.
- Strain the mixture into a bowl to remove lumps and chill for at least four hours.
- Freeze according to your ice cream machine's instructions until thickened.
- Transfer to an airtight container and freeze for an additional 4-6 hours until firm.
Nutrition
- Serving Size: 1/2 cup (125g)
- Calories: 360
- Sugar: 32g
- Sodium: 50mg
- Fat: 26g
- Saturated Fat: 15g
- Unsaturated Fat: 9g
- Trans Fat: 0g
- Carbohydrates: 30g
- Fiber: 0g
- Protein: 4g
- Cholesterol: 210mg